Wood Burning Tip for Writing
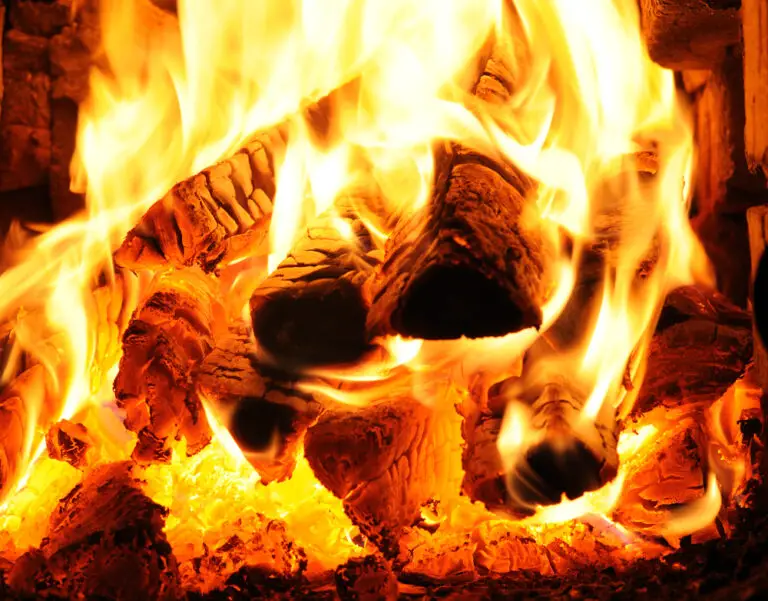
There’s something about the smell of wood smoke that just makes writing seem more important. Maybe it’s the sense of history associated with the smell, or the fact that it takes you back to a time when people wrote by candlelight. Whatever the reason, if you’re looking for a way to make your writing sessions feel more significant, try burning some wood in your fireplace or stove.
Are you looking for a unique way to add some flare to your writing? If so, then consider using a wood burning tip! This special technique can give your words and letters a rustic look that is sure to stand out.
Here are a few things to keep in mind when using a wood burning tip:
1. The temperature of the tip is important. Too hot and you could damage the paper or even start a fire.
Too cold and the design will be faint. Test the temperature on scrap paper before starting on your project.
2. Practice makes perfect!
Don’t be discouraged if your first attempt isn’t perfect. It takes time and patience to master this skill.
3. Be creative!
There are endless possibilities when it comes to designs. Just let your imagination run wild!
If you’re looking for an interesting way to spruce up your writing, then give wood burning a try!
With a little practice, you’ll be able create beautiful pieces that are truly one-of-a-kind.
Wood Burning Tips And Their Uses
Wood burning has been around for centuries and is a great way to add character to your home. There are a few things you need to know before you start, though. Here are some tips for wood burning:
1. Choose the right wood. Softwoods like pine and fir burn quickly and evenly, while hardwoods like oak and maple burn slowly and give off more heat.
2. Season your wood.
Cut it into logs in the fall and let it dry out over the winter so it’s ready to burn in the spring.
3. Build a hot fire. Start with small pieces of kindling and build up to larger logs, using an oxygen-rich fire starter if necessary.
Keep the flames going by adding more wood every few minutes.
4. Don’t overload your fireplace or stove. A big fire is nice, but too much wood can cause problems like smoke damage or even a chimney fire.
Stick to logs that are about 18 inches long and 4-6 inches in diameter.
5 Use a grate or log holder if necessary . This will help keep your logs burning evenly without falling over onto each other (and making a mess).
Some stoves come with built-in grates; others need them placed separately in front of the opening . If you have a fireplace , there are all sorts of options available for log holders , from simple metal racks to elaborate cast iron designs . Get creative !
Not only do they serve a purpose , they also can be quite attractive .
6 . Enjoy the warmth ! Sit back , relax , and enjoy the ambiance that only a real wood fire can provide .
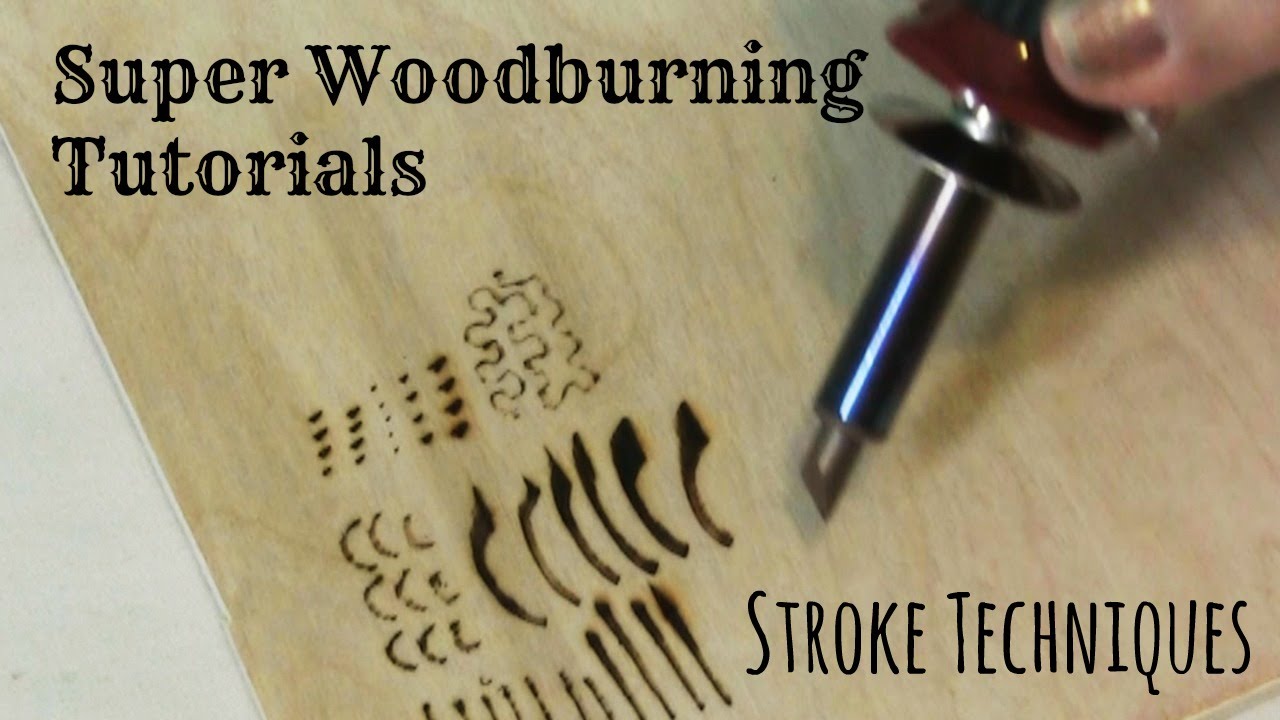
Wood Burning Tip Types
There are four main types of wood burning tips: the round tip, the flat tip, the pointed tip, and the knife tip. Each one is designed for a different purpose, so it’s important to choose the right one for your project.
The round tip is the most versatile and can be used for a variety of techniques, from general shading to creating fine lines.
It’s also the easiest to control, making it a good choice for beginners.
The flat tip is great for filling in large areas quickly. It can also be used to create sharp edges and clean lines.
The pointed tip is perfect for detailed work. It’s also useful for creating texture on your project.
The knife tip is primarily used for cutting lines into your wood piece.
It can also be used to score surfaces or create other effects.
Wood Burning Tips for Beginners
Wood burning is a great way to add a personal touch to your home. Whether you’re burning wood for heat or for decoration, there are a few things you should keep in mind to make sure you do it safely and effectively. Here are some tips for beginners:
1. Choose the right wood. Hardwoods like oak and maple burn slowly and produce more heat than softwoods like pine. If you’re looking for quick, hot flames, go with softwood.
If you want long-lasting warmth, hardwood is the way to go.
2. Season your wood properly. Wood that hasn’t been properly seasoned will produce more smoke than wood that has been dried out properly.
Seasoned wood also burns more evenly and produces less ash.
3. Build your fire slowly. Start with small pieces of kindling and build up to larger logs over time.
This will help prevent your fire from getting out of control quickly and reduce the amount of smoke it produces.
Best Wood Burning Tip for Lines
Are you looking for ways to make your wood burning projects more precise and professional? Then check out this great tip for lines!
One of the best ways to get clean, straight lines when wood burning is to use a template.
You can either purchase one specifically designed for wood burning at your local craft store, or improvise with any thin, flat piece of material that will fit underneath your project. Place your template underneath your project and trace around the edge with a pencil to transfer the design onto the wood.
Once you have transferred the design, it’s time to start burning!
Before you begin, make sure that your woodburning tool is set to the correct temperature. For most woods, a medium or low setting works best so that you don’t unintentionally scorch or damage the material. If you’re not sure what temperature to use, test it out on a scrap piece of wood first.
Now gently guide your woodburning tool along the pencil line, applying even pressure as you go. The key is to move slowly and steadily so that you achieve an even line width throughout. If you find that your lines are becoming too thick or thin in certain areas, simply adjust the pressure accordingly – more pressure will result in a thicker line while less pressure will create a thinner one.
And that’s all there is to it! With practice, using a template is an easy way to produce perfectly straights lines every time – no ruler required!
How to Burn Letters into Wood Without Tools
One of the most popular methods for burning letters into wood without tools is using a stencil. You can purchase these at any craft store, or even find them online. Simply trace your design onto the wood, and then use a small hand-held blow torch to carefully burn along the lines.
If you don’t have access to a blow torch, you can also use a soldering iron set to a low heat setting. Just be sure not to touch the iron to the wood for too long, as this could cause it to catch fire.
Another method is to freehand your design directly onto the wood with a pencil.
Once you’re happy with how it looks, go over the lines with a pen or Sharpie marker. Again, use either a blow torch or soldering iron set to low heat to carefully burn along the lines. This method takes a bit more practice, but once you get the hang of it you’ll be able to create beautiful burned designs without any fancy tools!
Credit: www.youtube.com
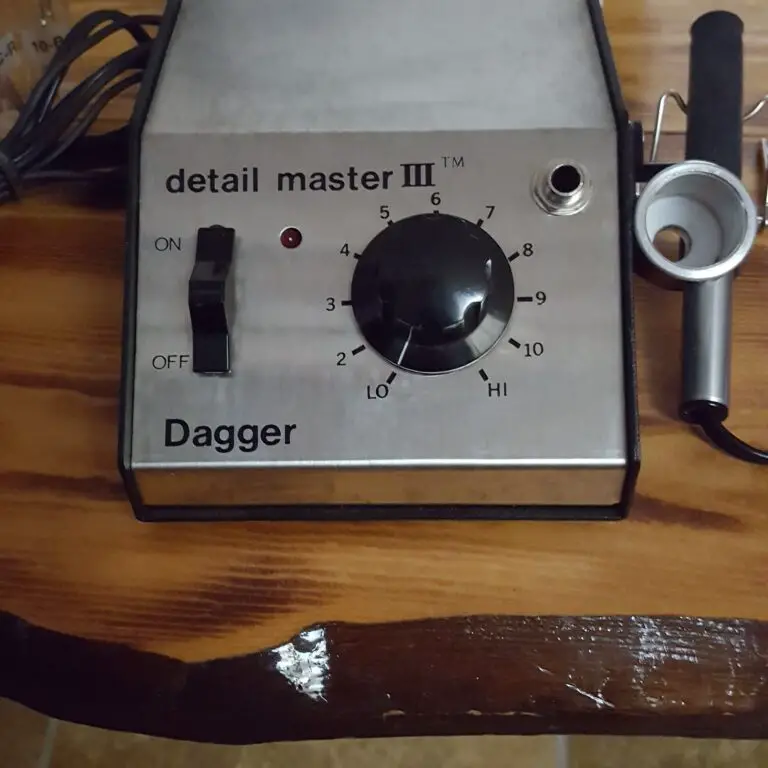
What Wood Burning Tip is Best for Writing?
There are many different types of wood burning tips that can be used for writing. The best tip to use depends on the type of wood you will be burning and the thickness of the paper you will be using.
If you are using a thin piece of paper, it is best to use a fine-tipped wood burning pen.
This will allow you to control the width of your letters and prevent them from bleeding through the paper.
If you are using a thicker piece of paper, such as cardstock, then you can use a chisel-tipped wood burning pen. This type of tip will give you more control over the depth of your letters and ensure that they do not bleed through the paper.
How Do You Do Wood Burning Calligraphy?
Wood burning calligraphy is a beautiful and unique way to add a personal touch to your home décor. This type of calligraphy uses a wood burning tool to write or draw letters and designs onto wood. Wood burning calligraphy is also known as pyrography.
To get started with wood burning calligraphy, you will need some basic supplies. These include:
-A wood burning tool: You can find these at most craft stores.
Look for one that has various tip sizes so you can create different thicknesses of lines.
-Wood: Any type of wood will work for this project, but softer woods are easier to burn. You can find pre-cut pieces of wood at most craft stores, or you can cut your own pieces to the size and shape you desire.
What is the Best Wood Burning Tip for Shading?
Shading is one of the most important aspects of wood burning, and there are a few different ways to go about it. One way is to use a pencil or pen to draw your design onto the wood before you start burning. This way, you can get a feel for where the darkest and lightest areas will be and plan accordingly.
Another way to shade is by using different tips on your wood burning tool. The round tip is great for creating smooth, even shading, while the chisel tip can be used for more defined lines and darker shading. Experiment with both until you find what works best for you!
Lastly, don’t forget that practice makes perfect. The more you shade, the better you’ll get at it. So don’t be afraid to experiment and have fun!
How Do You Get Woodburn Lines Straight?
There are a few things you can do to get woodburn lines straight. One is to use a ruler or other straight edge as a guide. Another is to practice and develop a steady hand.
Finally, you can try using pyrography software which will help you create perfectly straight lines.
How to use the Writing Tip in Pyrography
Conclusion
If you’re looking for a unique way to write, try using wood as your paper! This tip is perfect for those who love the outdoors and want to add a rustic touch to their writing. All you need is a piece of wood (preferably thin and smooth), a pen or pencil, and some ink.
Just make sure the ink is waterproof so it doesn’t run when the wood gets wet.