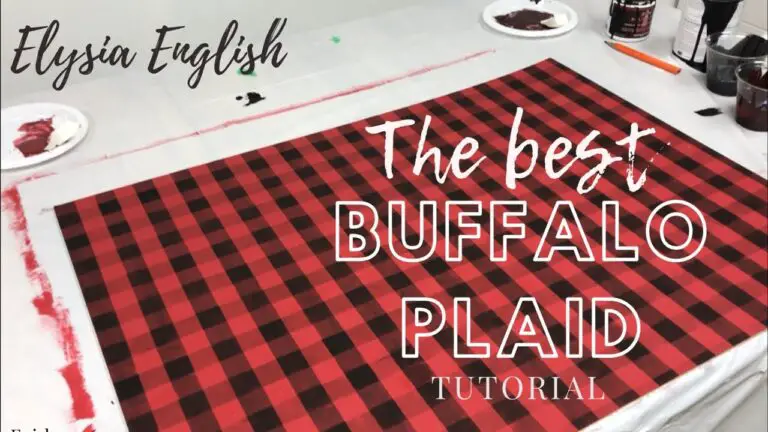
How to Silk Screen Print on Wood
Wood is a great surface to print on because it has a lot of texture. You can use different colors of ink to create interesting effects. Silk screen printing is a relatively simple process that anyone can do at home with the right supplies.
- 1) Cut out a piece of wood to the desired size and shape
- 2) Apply a layer of Mod Podge to the surface of the wood
- 3) Place your silk screen over the top of the Mod Podge and secure it in place with tape
- 4) Pour your ink onto the silk screen
- 5) Using a squeegee, spread the ink evenly over the surface of the screen
- 6) Carefully remove the silk screen from the wood and allow the ink to dry completely

Credit: www.screenprinting.com
Can You Silk-Screen on Wood?
Wood is a porous material, which means that it’s not ideal for silk-screening. The ink can seep into the wood and cause the image to be blurry or faded. However, if you’re determined to silk-screen on wood, you can try prepping the surface with a sealant or primer before printing.
How Do You Use Silk-Screen Stencils on Wood?
When it comes to stenciling on wood, there are a few different ways that you can go about it. One popular method is using silk-screen stencils. Silk-screening is a printing process that uses a fine mesh screen to transfer ink onto a surface.
It’s commonly used for things like t-shirts and posters, but it can also be used for stenciling wood.
The first thing you need to do is find a design that you want to use for your stencil. You can either create your own design or find one online.
Once you have your design, print it out onto transparency paper. Then, use an exacto knife to cut out the parts of the design that you want to be printed in white.
Next, lay your transparency over top of the screen and secure it in place with tape.
Then, using a squeegee, apply ink over top of the screen. Be sure to use even pressure so that the ink transfers evenly onto the surface below.
Once you’ve applied the ink, carefully remove the transparency and allow the ink to dry completely before moving on to the next step.
Now it’s time to transfer your design onto the wood surface. To do this, simply place your screen over top of the wood and press down firmly so that the ink transfers onto the wood beneath. Once again, make sure to use even pressure so that your design comes out looking clean and crisp.
Once your design has been transferred onto the wood, carefully peel up the screen and voila! You now have a beautiful piece of art made with silk-screen stencils!
How Do You Print Designs on Wood?
There are a few different ways that you can print designs on wood. One popular method is to use a stencil and paint the design onto the wood. Another way is to use a decal or sticker with the design already printed on it.
You can also find pre-printed boards with designs on them at some craft stores. If you have access to a printer, you can also print your own designs onto transfer paper and then iron them onto the wood.
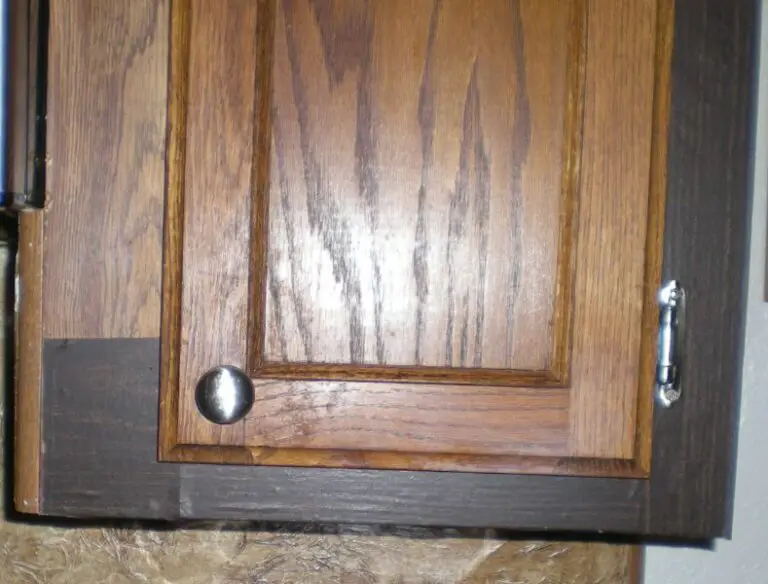
Can You Screen Print on Stained Wood?
Sure! Screen printing on stained wood is possible, but there are a few things to keep in mind.
First, the type of stain you use will affect how well the ink adheres to the wood.
Oil-based stains tend to work best, while water-based stains can be more difficult to print on. If you’re using a water-based stain, it’s important to make sure that it’s completely dry before attempting to screen print on it.
Second, the color of the stain will also impact the opacity of your printed design.
A lighter stain will allow for more ink coverage, while a darker stain will be more transparent. Keep this in mind when choosing colors for your design.
Finally, it’s important to seal the stained wood before printing on it.
This will help protect your design and ensure that it lasts for years to come.
How to Screen Print on Wood Using Craft Vinyl
How to Use Silk Screen Stencils on Wood
If you’re looking for a unique and custom way to personalize your wood projects, look no further than silk screen stencils! This printing method is perfect for creating intricate designs, logos, or patterns on your wood surfaces. Best of all, it’s easy to do at home with just a few supplies.
Follow these simple steps to get started:
1. Choose your design. You can either create your own stencil or purchase one online or at a craft store.
If you’re making your own, be sure to use a material that can withstand the heat of the iron, like freezer paper or vinyl.
2. Cut out your design. Use an X-Acto knife or similar tool to carefully cut out the areas of your stencil that will remain unprinted.
3. Place the stencil on your wood surface. Make sure it’s in the position you want before moving on to the next step.
4. Cover the stencil with parchment paper .
This will help protect your design from getting smudged or damaged during the printing process.
5.. Preheat your iron to its highest setting and place it over the parchment paper .
Be sure not to touch the iron directly to the stencil – this will cause it to melt! Hold it in place for 30-60 seconds until the adhesive backing of the stencil is melted and adhered to the wood surface beneath. Allow it to cool completely before peeling off both layers of parchment paper .
Conclusion
Looking to add a personal touch to your woodworking projects? Why not try silk screen printing! In this post, we’ll walk you through the basics of how to silk screen print on wood, including what supplies you’ll need and how to set up your workspace.
We’ll also give you some tips for getting the best results. So if you’re ready to get creative, read on!