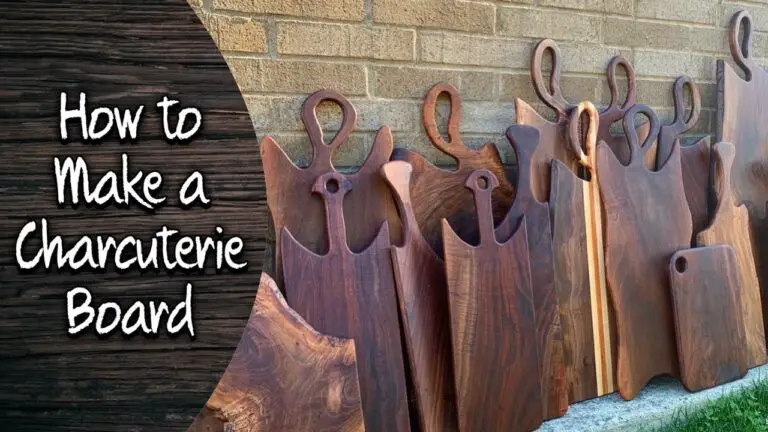
How to Make a Charcuterie Board from Wood
To make a charcuterie board from wood, you will need:
-One piece of wood (I used a 1x8x8)
-Chalkboard paint
-Paintbrush
-Mod Podge
-Foam brush
-Stencils
-Sandpaper
First, sand down your piece of wood until it’s smooth.
Then, using your chalkboard paint and paintbrush, cover the entire surface of the wood. Next, apply a layer of Mod Podge over the chalkboard paint with your foam brush. Be sure to evenly coat the entire surface.
Now it’s time to add your stencils! Once you have placed your stencils on the board, use a different color chalkboard paint to fill them in. I chose white for my design.
After the chalkboard paint has dried completely, carefully remove your stencils. Finally, give the entire surface a light sanding with some fine grit sandpaper to distress it slightly and you’re done!
- Cut your wood board to the desired size and shape
- If you are using a pre-cut board, skip to step 3
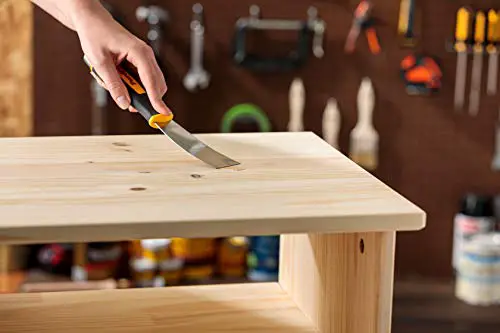
- sand down the edges of your wood board until they are smooth
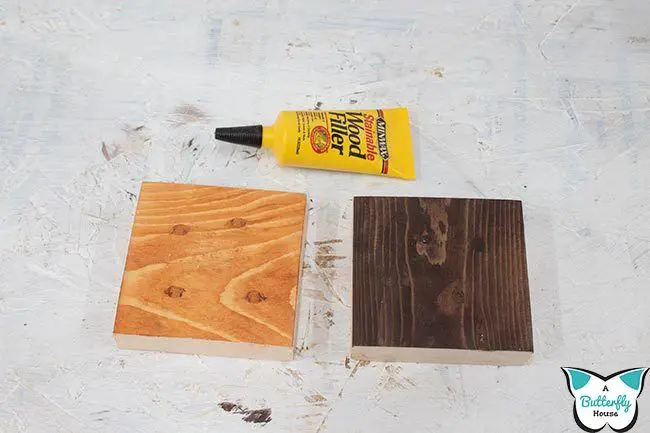
- Apply a food-safe finish to the board
- This will help protect the wood and make it easier to clean
- Arrange your charcuterie items on the board
- Be sure to include a variety of meats, cheeses, crackers, and other accompaniments such as jams, honey, or olives
Diy Charcuterie Board Wood With Handles
Charcuterie boards are all the rage these days, and for good reason! They make a beautiful and easy way to serve appetizers or even a light meal. This DIY charcuterie board is made of wood with handles, making it both attractive and functional.
To make this board you will need:
-1 piece of wood (I used an old cutting board, but you could use a new one or even repurpose an old cabinet door!)
-Ruler or measuring tape
-Pencil
-Jigsaw (if using a new piece of wood) or handsaw (if using an old piece of wood)
Assuming you are starting with a new piece of wood:
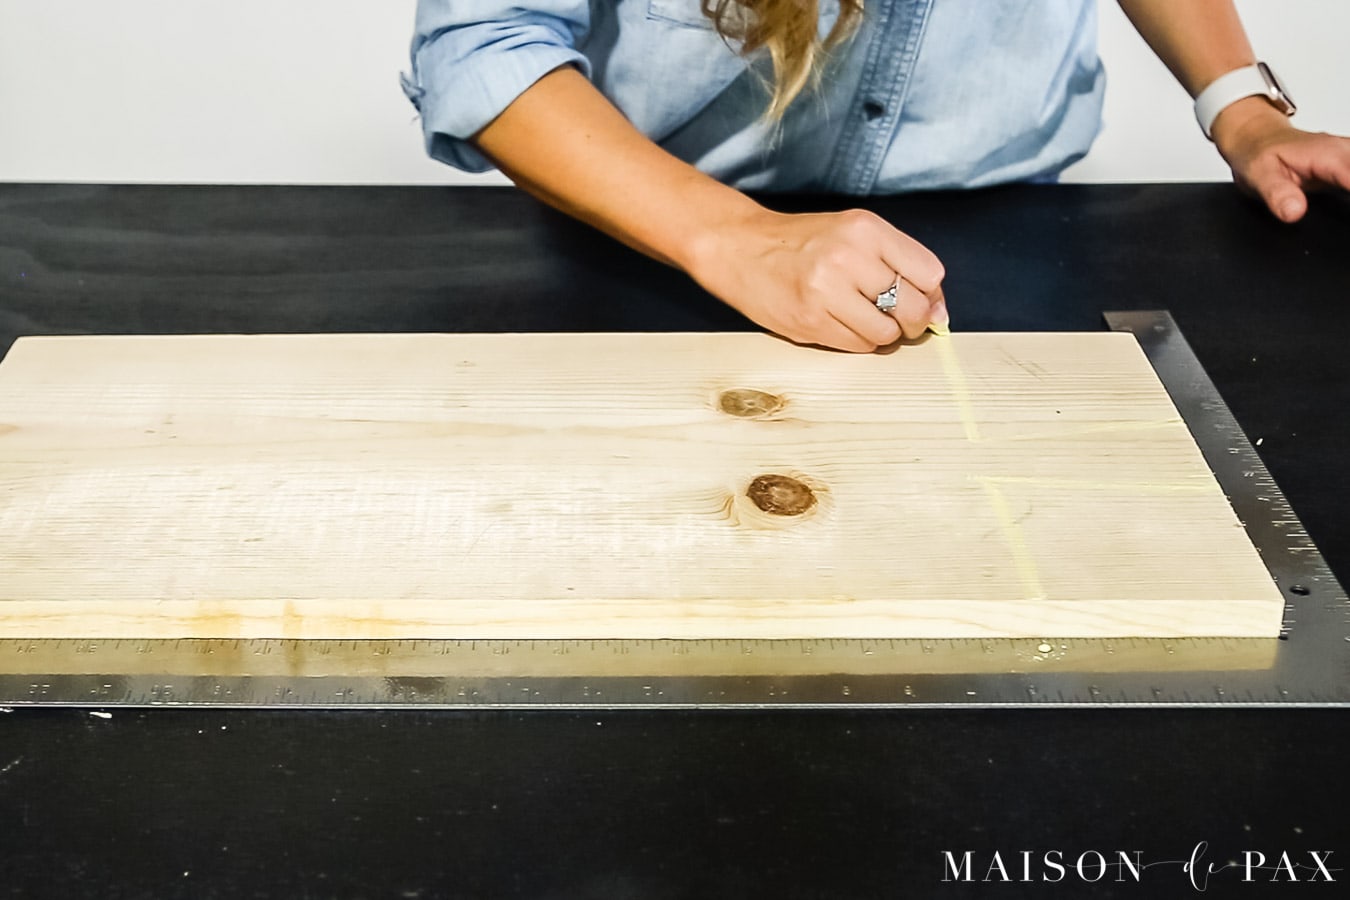
1. Measure and mark out the dimensions of your board on the wood. I wanted mine to be about 12″x16″.
2. Cut out your board using the jigsaw.
If you don’t have access to a jigsaw, you could also use a handsaw, but it will take some extra elbow grease!
3. sand down the edges of your board until they are smooth. You can do this by hand with sandpaper or by using an electric sander.
4. Drill holes for the handles into your board. I placed mine about 4″ in from each side and 2″ down from the top edge of my board. Be sure to drill pilot holes first so that your handles don’t split the wood when you screw them in!
5 Now it’s time to finish your board however you like! You could leave it natural, stain it, paint it, etc. I decided to give mine a white wash finish using watered down white paint . Simply brush on the paint and then wipe away any excess with a clean cloth . Allow the paint to dry completely before adding any food to your new charcuterie Board!
What Kind of Wood Do You Use for a Charcuterie Board
When it comes to charcuterie boards, there are a few key things to keep in mind. Firstly, you want to make sure that the wood you use is sturdy and won’t break easily. Secondly, you want to choose a material that won’t impart any unwanted flavors into your food.
And lastly, you want something that looks good! With all of that in mind, let’s take a look at some of the best woods for charcuterie boards:
Maple: Maple is a popular choice for charcuterie boards because it is both strong and flavorless.
Plus, its light color gives it a clean look that pairs well with any style of decor.
Cherry: Cherry is another great option for those looking for a sturdy yet flavorless wood. It also has a beautiful reddish hue that can add a pop of color to your board.
Walnut: Walnut is perfect if you’re looking for a darker wood option. It has a rich brown color and grain pattern that can give your board an elegant look. Additionally, walnut is very strong and durable, making it ideal for heavy-use items like charcuterie boards.
There are many other types of wood out there that could be used for charcuterie boards, but these three are some of the most popular choices. When selecting the right one for you, be sure to consider both function and form!
How to Make a Charcuterie Board Food Safe
Charcuterie boards are all the rage these days, but before you start putting together your own board, there are a few food safety guidelines you should follow. Here’s how to make sure your charcuterie board is food safe:
1. Choose high quality meat and cheese.
This is the most important step in making a food safe charcuterie board. Make sure to buy meat and cheese from a reputable source that has good food safety practices in place.
2. Keep it cold.
Once you have your meat and cheese, store it in the fridge until you’re ready to assemble your board. This will help keep bacteria from growing on the food.
3. Don’t let anything sit out for too long.
Once you’ve assembled your charcuterie board, try to keep it refrigerated as much as possible. If it does sit out at room temperature, don’t let any of the food sit out for more than two hours total (including time spent assembling the board). After two hours, bacteria can start to grow on the food and make people sick.
4. Use separate knives for each type of meat.
How to Make Charcuterie Boards to Sell
Charcuterie boards are a popular item to sell at farmer’s markets, craft fairs, and other events. They make a great addition to any party or gathering, and are a perfect way to show off your culinary skills. Here’s how to make charcuterie boards to sell:
1. Choose your meats. A variety of cured meats such as salami, prosciutto, and chorizo are good choices. You’ll need about 1/2 pound of meat per person.
2. Choose your cheeses. A variety of cheeses such as cheddar, brie, and goat cheese are good choices. You’ll need about 1 ounce of cheese per person.
3. Choose your crackers or breads. A variety of crackers or breads such as baguettes, sourdough bread, and wheat crackers are good choices. You’ll need about 2 ounces of bread or crackers per person.
4. Choose your fruits and vegetables . A variety of fruits and vegetables such as grapes, cherry tomatoes, carrots ,and celery are good choices .You’ll need about 1/2 cup of fruit or vegetables per person .
5.. Arrange everything on a large cutting board or platter . Place the meats ,cheeses ,crackers ,and fruits in separate sections .
Allow guests to build their own mini charcuterie boards .
Where to Buy Wood for Charcuterie Board
Charcuterie boards are all the rage right now, and for good reason! They make a beautiful presentation and are perfect for entertaining. But where do you buy wood for your charcuterie board?
The best place to buy wood for a charcuterie board is at your local lumberyard or home improvement store. You want to make sure that you get a piece of hardwood that is large enough to accommodate all of your meats, cheeses, and other goodies. Be sure to ask the staff at the store for help in choosing the right piece of wood.
Once you have your wood, it’s time to get creative! You can stain or paint it any color you like, or leave it natural. Then simply add your favorite meats, cheeses, crackers, and other snacks and enjoy!
Credit: www.maisondepax.com
How Do You Make a Wood Charcuterie Board for Beginners?
When it comes to creating a wood charcuterie board, there are a few things you need to keep in mind. First, you need to choose the right type of wood. Second, you need to make sure the boards are properly sealed.
And third, you need to be careful not to overdo it with the cheese and meats! Here’s a step-by-step guide on how to create a beautiful and delicious wood charcuterie board for your next party or gathering.
1. Choose the Right Type of Wood: When it comes to choosing the right type of wood for your charcuterie board, you have a few options.
You can use anything from maple or cherry wood, to bamboo or even slate. It all depends on what look and feel you’re going for. If you want something more rustic, opt for a darker wood like cherry or walnut.
If you’re looking for something lighter and brighter, go with maple or bamboo.
2. Seal Your Boards: Once you’ve chosen the perfect boards for your charcuterie spread, it’s time to seal them so that the cheese and meats don’t dry out. You can do this by simply rubbing some food-safe mineral oil into the surface of the boards with a clean cloth.
This will help protect them from moisture and keep them looking nice and shiny.
What Kind of Wood Do You Use to Make a Charcuterie Board?
There are a few different types of wood that can be used to make a charcuterie board, but the most popular type is acacia wood. Acacia wood is a hardwood that is naturally resistant to bacteria and moisture, making it the ideal material for food preparation. It also has a beautiful grain pattern that adds an elegant touch to any charcuterie board.
Other woods that can be used include maple, cherry and walnut.
When choosing the right wood for your charcuterie board, keep in mind that it will need to be able to withstand constant exposure to moisture and food particles. You’ll also want to choose a wood that is easy to clean and care for.
Acacia wood meets all of these criteria, making it the perfect choice for your next charcuterie board!
What Do You Seal a Wood Charcuterie Board With?
Charcuterie boards are often made of wood, and to keep the wood from warping or cracking, it is important to seal it. You can use a food-safe sealant like mineral oil or beeswax to do this. Just make sure to apply it evenly and rub it into the grain of the wood.
What are 5 Tips to Making a Charcuterie Board?
Charcuterie boards, also known as meat and cheese boards, are all the rage these days. Whether you’re hosting a party or just want to have a nice spread to snack on, charcuterie boards are always a hit. If you’re new to making them, don’t worry – it’s not as hard as it looks.
Here are five tips to help you make the perfect charcuterie board:
1. Choose your meats and cheeses wisely. When it comes to meats, opt for something that is high-quality and has good flavor.
cured meats like salami, prosciutto, and chorizo are always good choices. As for cheeses, go for a variety of textures and flavors. A nice mix of hard, soft, and creamy cheeses is always a good idea.
2. Add some variety with other items like crackers, breads, fruits, nuts, and olives. These add-ins will give your guests something to nibble on in between bites of meat and cheese. Plus, they add another layer of flavor and texture to the board.
3.. Arrange everything beautifully on the board. This is where your inner artist comes out!
Be creative with your meat and cheese placement – try different patterns or even create little scenes with your food items. Have fun with it!
4..
Don’t forget the garnishes! A few sprigs of fresh herbs or edible flowers can really take your charcuterie board up a notch visually (and taste-wise).
5.. Serve at room temperature . This allows all the flavors of the meats and cheeses to really shine through.
How To Make Charcuterie Boards
Conclusion
Making a charcuterie board from wood is a great way to impress your guests. Here are some tips on how to make one:
1. Choose the right wood for your board.
If you’re going to be cutting meat on it, make sure the wood is safe for that purpose.
2. Cut the wood into the desired shape and size for your board.
3. Sand down any rough edges on your board so they’re smooth.
4. Apply a food-safe finish to the board if you want, such as mineral oil or beeswax. This will help protect the wood and make it easier to clean.
5. Start adding your favorite cured meats, cheeses, fruits, and other snacks to the board!