How to Build a Charcuterie Board from Wood
A charcuterie board is a beautiful and delicious way to entertain guests. Building your own charcuterie board from wood is easy and fun! Here are the supplies you will need:
-One piece of wood, cut to desired size (I used a 12″x12″ piece of reclaimed barn wood)
-Chalkboard paint or chalkboard vinyl
-Paintbrush or roller
-Chalk or chalk markers
-Measuring tape or ruler
-Pencil
Instructions:
1. Begin by painting or applying your chalkboard surface to the wood. If using chalkboard paint, be sure to follow the manufacturer’s instructions for application and drying times.
I applied two coats of chalkboard paint to my wood piece.
2. Once the chalkboard surface is dry, measure and mark where you will place your handles or knobs. I placed mine about 2″ in from each side and 4″ down from the top edge of my board.
3. Drill holes at your marked locations, then attach your handles or knobs.
4. Use chalk or chalk markers to label sections on your board, such as “Cheese,” “Meat,” “Bread,” etc. Then start filling it up with all your favorite goodies!
- Choose a piece of wood that you would like to use for your charcuterie board
- You can find these at most craft stores or online
- sand down the piece of wood until it is smooth
- You don’t want any rough edges on your board
- choose the stains or paints that you want to use on your board
- Make sure to test them out on a scrap piece of wood first so that you know how they will look once applied
- apply the stain or paint to the board in even strokes and allow it to dry completely before moving on to the next step
- once the stain or paint is dry, you can now add any design details that you want, such as a monogram or other pattern
- Again, make sure that these are all completely dry before proceeding
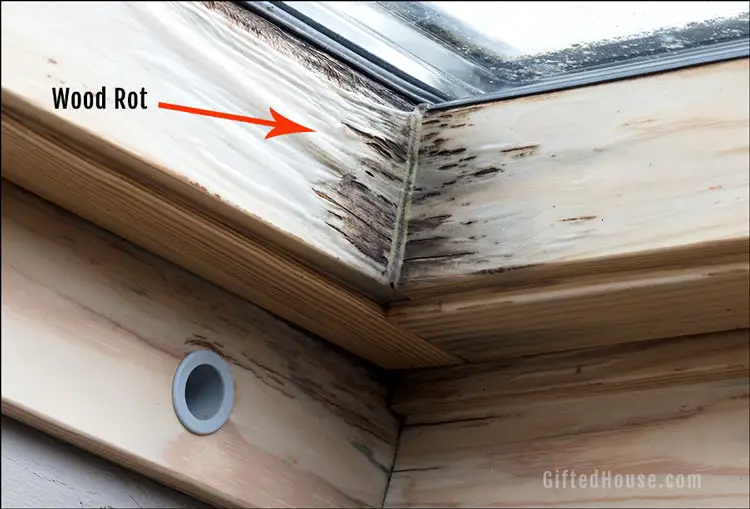
- Now it’s time to seal your board! This will help protect it from water damage and staining over time
- Use a food-safe sealer for this step and apply it evenly over the entire surface of the board
Charcuterie Board from Scrap Wood
Charcuterie boards are all the rage these days. But did you know that you can make your own charcuterie board from scrap wood?
All you need is a piece of scrap wood, some sandpaper, and a little bit of elbow grease.
Start by sanding down your piece of wood until it’s smooth. Then, use a saw to cut the wood into the shape you want your charcuterie board to be.
Once you have your board cut out, it’s time to start adding the finishing touches.
You can stain or paint the board if you want, or leave it natural for a more rustic look. Then, add some felt pads to the bottom so it doesn’t scratch your countertops or table.
Now it’s time to start filling up your charcuterie board!
Add meats, cheeses, crackers, fruit, nuts… anything you like! Get creative and have fun with it. Your friends and family will be impressed with your DIY skills – and they’ll love enjoying all the delicious food on your beautiful charcuterie board.
How to Make Charcuterie Boards to Sell
When it comes to creating stunning charcuterie boards that are sure to sell, there are a few key things to keep in mind. First, you want to make sure your board is filled with a variety of colors and textures. This not only looks visually appealing, but also provides a variety of flavors and aromas for your guests to enjoy.
Second, it’s important to choose a mix of meats, cheeses, fruits, and vegetables that complement each other well. And lastly, don’t forget the garnishes! A few sprigs of fresh herbs or some edible flowers can really take your board from good to great.
Now that you know the basics, let’s get into the specifics of how to create charcuterie boards that will have your customers coming back for more. When it comes to meat selections, prosciutto, salami, and chorizo are always crowd-pleasers. For cheese, try pairing sharp cheddar with creamy brie or pungent blue cheese.
As for fruit and vegetables, consider adding in grapes, apples slices, cherry tomatoes, olives, or roasted peppers. And finally, don’t forget the crackers! Plain water biscuits or gourmet crisps pair perfectly with all of the abovementioned ingredients.
Once you’ve gathered all of your ingredients , it’s time to start assembling your boards . If you’re working with large groups , it’s best to build individual charcuterie plates so everyone can customize their own experience . However , if you’re catering to smaller parties , feel free to create one large board that everyone can share .
Start by laying down a base layer of crackers or bread , then add on meats , cheeses , fruits , vegetables , and garnishes . Be creative with your placements and allow yourself plenty of time to play around with different combinations until you’re happy with the results .
And there you have it!
With these tips in mind , you’ll be able t o create beautiful charcuterie boards that are sure t o please any crowd . So what are you waiting for ? Get started today and see just how easy and fun it is t o make these delectable appetizers !
Where to Buy Wood for Charcuterie Board
If you’re looking for wood to make a charcuterie board, there are a few things to consider. The type of wood you choose will affect the look and feel of your board, as well as the taste of your food. Here are a few tips on where to buy wood for charcuterie boards.
The first thing to consider is the type of wood. There are many different types of wood, each with its own unique grain and color. You’ll want to choose a type of wood that compliments the rest of your kitchen or dining room decor.
If you’re not sure what type of wood to choose, ask someone at your local hardware store or lumberyard for advice.
Once you’ve selected the type of wood, it’s time to decide where to buy it. Charcuterie boards can be made from many different kinds of lumber, so there’s no need to limit yourself to one source.
However, some woods are better suited for cutting boards than others. For example, hardwoods like maple and cherry are good choices because they’re strong and durable. Softer woods like pine might be less expensive, but they’re also more likely to warp over time.
When you’re ready to purchase your lumber, head down to your local home improvement store or lumberyard. Be sure to ask about any discounts that might be available – many stores offer bulk discounts on larger purchases. Once you have your lumber in hand, it’s time to get started on making your very own charcuterie board!
How to Make a Charcuterie Board Food Safe
When it comes to food safety, there are a few extra steps you need to take when preparing a charcuterie board. Here’s what you need to do:
1. Choose your meats and cheeses carefully.
Make sure they are all fresh and have not been sitting out for too long. If in doubt, err on the side of caution and throw them out.
2. Cut up the meats and cheeses into small pieces so that they will cook evenly.
This will also help prevent the spread of bacteria.
3. Cook the meats thoroughly before adding them to the board. The same goes for any cooked eggs or vegetables that you might be including.
4. Keep hot foods hot and cold foods cold. Use separate plates or bowls for each type of food, and don’t let them sit out for more than an hour or two at a time.
5..
When it’s time to eat, use clean utensils and serve each person their own plate or bowl of food so that everyone isn’t sharing from the same platter.. And as always, wash your hands before handling any food!
Diy Charcuterie Board Wood With Handles
If you’re looking for a unique and impressive way to serve appetizers at your next party, look no further than a DIY charcuterie board! This guide will show you how to make your own charcuterie board out of wood, complete with handles for easy carrying.
Charcuterie boards are all the rage right now, and it’s not hard to see why.
They offer a beautiful and convenient way to serve a variety of meats, cheeses, fruits, and other snacks. Plus, they make an excellent conversation starter!
Making your own charcuterie board is easier than you might think.
All you need is some wood (we recommend using reclaimed wood for a rustic look), a few tools, and some imagination. Once you have your materials gathered, simply follow these steps:
1. Cut your wood into desired shape and size.
We recommend using a jigsaw for this step.
2. Sand down any rough edges on your wood piece. This will ensure that your guests don’t get splinters!
3 3 . Drill holes into the top corners of your charcuterie board . These will be used for attaching the handles later on .
4 4 . Stain or paint your wood piece , if desired . We recommend using food -safe stains or paints so that they won ‘t affect the taste of the foods you’ll be serving on it .
5 5 . Attach handles to each side of the board using screws or nails . Be sure that they are firmly attached so that the board can be easily carried .
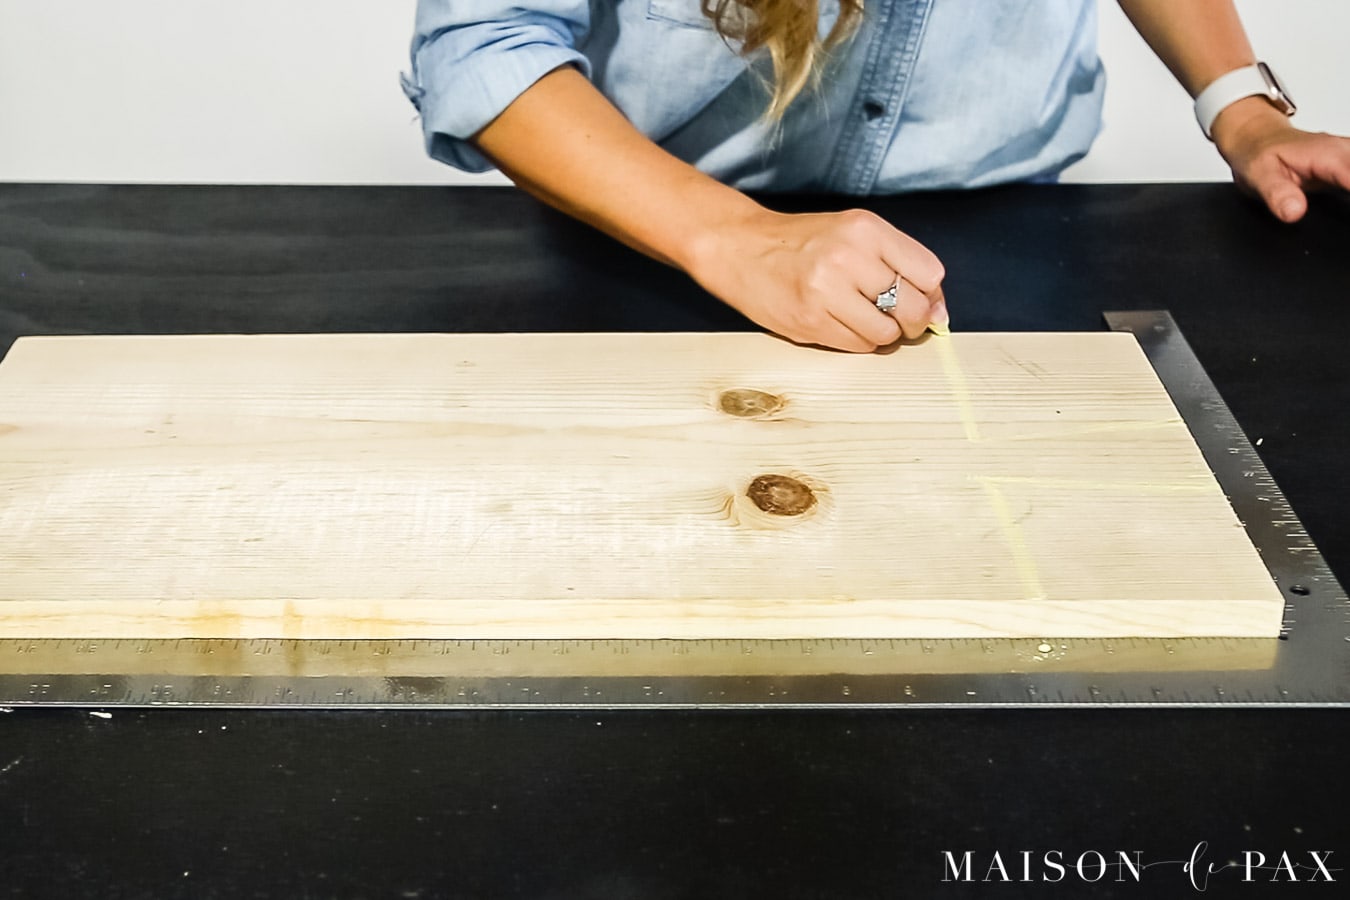
Credit: www.maisondepax.com
What Kind of Wood Do You Use for a Charcuterie Board?
Charcuterie boards are all the rage these days. They make for beautiful and tasty displays of meats, cheeses, fruits, and nuts – perfect for entertaining guests or enjoying a night in with family. But what kind of wood should you use for your charcuterie board?
Let’s take a look at some of the best options out there.
Hardwoods such as maple, cherry, walnut, and oak are all great choices for charcuterie boards. These woods are strong and durable, making them ideal for cutting and serving foods on.
They also have a beautiful grain that will add visual interest to your board. If you’re looking for something a little more unique, try using a live edge slab of wood – this will give your charcuterie board a one-of-a-kind look that is sure to impress your guests.
So what kind of wood should you use for your charcuterie board?
The answer really depends on personal preference. All of the woods mentioned above would make for a beautiful and functional board. Ultimately, it comes down to what YOU like best!
How Do You Make a Wood Charcuterie Board Food Safe?
Charcuterie boards are all the rage these days, and for good reason! They make a beautiful and impressive appetizer or party spread. But if you’re going to serve food on a wood charcuterie board, there are a few things you need to do to make sure it’s food safe.
First, start with a clean board. Wash it with warm, soapy water and let it air dry completely before using it. If your board is new, you may want to give it a quick sanding with fine-grit sandpaper just to rough up the surface slightly so that the finish will adhere better.
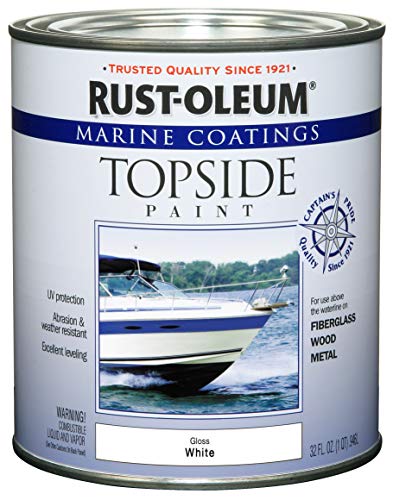
Next, apply a food-safe finish to the board. This can be anything from mineral oil to beeswax. Make sure to follow the directions on whatever product you choose; some require multiple coats, while others must be reapplied regularly.
Once your finish is applied, let the board cure for at least 24 hours before using it.
When you’re ready to use your wood charcuterie board, start by wiping it down with a damp cloth (not wet!) to remove any dust or debris that might have accumulated since you last used it. Then, lay out your meats, cheeses and other goodies in an attractive arrangement.
Be sure to use sharp knives when cutting cheese or meat so that you don’t damage the surface of the board. And finally, enjoy!
How Do You Make a Charcuterie Board Step by Step?
Charcuterie boards, also known as meat and cheese boards, are all the rage these days. And for good reason! They make for an impressive appetizer or party spread, and can be customized to suit any taste.
Plus, they’re really not that hard to put together. Here’s a step-by-step guide to creating your own charcuterie board.
1. Choose your meats and cheeses.
This is the fun part! There are endless possibilities when it comes to selecting meats and cheeses for your board. Consider things like variety (choose several different kinds of each), flavor (go for bold or mild options), and texture (include both soft and firm varieties).
Some of our favorite meats include prosciutto, salami, pepperoni, and chorizo; while some tasty cheese choices include cheddar, goat cheese, brie, and blue cheese.
2. Add some other goodies. Once you’ve got your meats and cheeses sorted out, it’s time to add in some extras.
Crackers or breadsticks make great base items, while olives, nuts , dried fruit ,and honey are all delicious additions . Get creative here – the sky’s the limit!
3 .
Put it all together on a platter or cutting board . Now it’s time to assemble your masterpiece! Start by spreading out crackers or breadsticks on one side of the board .
Then arrange your meats ,cheeses ,and other goodies in groups around the perimeter . If you like ,you can even use toothpicks or small knives to label each item . Voila – you’ve now got a beautiful charcuterie board ready to enjoy !
What is a Good Thickness for a Charcuterie Board?
Charcuterie boards are all the rage these days, and for good reason! They make a great appetizer or party spread, and they’re relatively simple to put together. But what is the ideal thickness for a charcuterie board?
The answer may surprise you – there is no “ideal” thickness for a charcuterie board! You can use any thickness of wood that you like, as long as it is food-safe. The most important thing is to make sure that the board is large enough to fit all of your desired meats, cheeses, and other toppings.
If you’re looking for a more rustic look, opt for a thicker board. If you want something that will be easier to clean, go for a thinner option. And if you’re unsure, err on the side of caution and choose a mid-range thickness.
No matter what thickness you choose, your charcuterie board will be delicious – so have fun experimenting until you find the perfect option for you!
How To Make Charcuterie Boards
Conclusion
Charcuterie boards are all the rage these days, and for good reason! They make a great centerpiece for any party or gathering, and they’re relatively easy to make. This blog post will walk you through the steps of how to build your own charcuterie board from wood.
You’ll first need to gather some supplies. You’ll need a piece of wood (preferably something that’s been sanded smooth), a saw, some clamps, wood glue, and finish of your choice (stain, paint, etc.). Once you have all of your supplies, it’s time to get started!
The first step is to cut your piece of wood into the desired shape. If you want a rectangular board, simply use a straight edge and saw to cut it to size. If you want something more unique, like a round board, use a jigsaw.
Once you have your board cut to size, it’s time to start clamping things down.
Place your board on top of some scrap wood or cardboard so that you don’t damage your work surface. Then, start clamping down your pieces of wood around the perimeter of the board.
Make sure that they’re snug against each other so that there are no gaps. Once everything is clamped down tight, apply some wood glue around the edges and let it dry overnight.
In the morning, unclamp everything and sand down any rough edges.
Then apply your finish of choice (paint/stain) and let it dry completely before adding anything to your board. And that’s it! You now have a beautiful charcuterie board that was made entirely by you!