How to Install Engineered Wood Siding
To install engineered wood siding, you will need: a level, a tape measure, saw horses, a chalk line, a circular saw or power miter saw, an impact drill with screw-driving bits, caulk gun and caulk. You should also have someone to help you with this project.
1. Start by measuring the length and width of the area where you will be installing the siding.
2. Cut your first piece of siding to size using a power miter saw or circular saw.
3. Hold the piece of siding up to the area where it will be installed and use a level to make sure it is straight. Make any necessary adjustments before attaching it to the wall.
4. Use an impact drill fitted with a screw-driving bit to attach the siding to the wall through predrilled holes at each stud location along the top edge of the piece of siding. Be sure not to over-tighten the screws as this can cause cracking in the engineered wood material.
5. Repeat steps 2-4 until all pieces of engineered wood siding are installed on your home’s exterior walls!
- Start by measuring the area you need to install the siding on
- Cut the siding to size using a power saw
- Apply a layer of construction adhesive to the back of each piece of siding
- Nail the siding into place using a pneumatic nailer or hammer and nails
- Seal all seams and edges with caulk or sealant
How to Install Engineered Wood Siding — Buildipedia DIY
How Much Overlap on Engineered Wood Siding?
There are a few things to consider when it comes to engineered wood siding and how much overlap is necessary. The first is the width of the siding panels. Most siding panels are between four and eight inches wide, so you will need to take that into consideration when deciding on the amount of overlap.
Generally, you will want to have at least two inches of overlap on each side of the panel in order to ensure a proper fit and seal against weather damage.
Another thing to keep in mind is the type of siding you are using. If you are using a vented type of siding, then you will want to make sure that there is at least an inch of space between each panel in order for air circulation.
Non-vented types of engineered wood siding do not require this extra space.
Finally, it is important to check with your local building code requirements before finalizing your installation plans. Some codes may require a certain amount of overlap in order to pass inspection.
By following these guidelines, you can be sure that your engineered wood siding installation will be up to code and look great for years to come!
How Much Does It Cost to Install Engineered Wood Siding?
The cost to install engineered wood siding will vary depending on the size of your home, the type of siding you choose, and the installer you use. However, on average, homeowners can expect to pay between $8,000 and $15,000 for this project.
If you’re looking for a more budget-friendly option, vinyl siding is a good alternative.
It’s typically less expensive to install and requires less maintenance than engineered wood siding.
Is Engineered Wood Siding the Same As Hardie Board?
Hardie board and engineered wood siding are two different types of products. Hardie board is a type of fiber cement siding, while engineered wood siding is made from real wood that has been treated to resist rot and pests. Both types of siding can provide a beautiful and durable finish to your home, but there are some key differences to consider when choosing between the two.
Hardie board is more resistant to fire than engineered wood siding, making it a good choice if you live in an area with high wildfires risk. It’s also resistant to mold and mildew, meaning it will stay looking newer for longer. However, hardie board can be more expensive than engineered wood siding, and it requires special tools and training for installation.
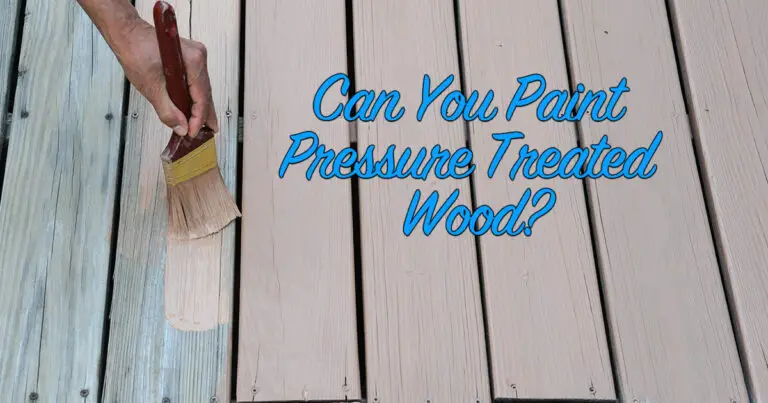
Engineered wood siding is less expensive than hardie board upfront, but it may require more maintenance over time. It’s important to regularly paint or stain engineered wood siding to protect it from the elements, as well as repair any damage that may occur. Engineered wood siding is also not as resistant to fire as hardie board, so keep this in mind if you live in an area with high wildfire risk.
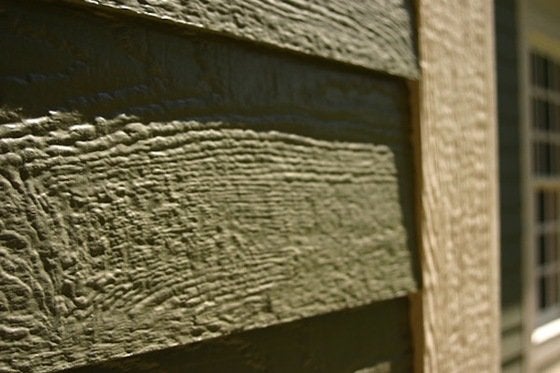
How Long Does Engineered Wood Siding Last?
If you’re looking for a durable, long-lasting siding option for your home, engineered wood siding is a great choice. Engineered wood siding is made from real wood fibers that are bonded together with resin and formed into boards. This type of siding is extremely strong and can withstand high winds and other harsh weather conditions.
It’s also resistant to rot, insect damage, and fire.
Engineered wood siding typically has a lifespan of 25-40 years. However, its lifespan will depend on the quality of the material used and how well it’s been maintained over the years.
If you take good care of your engineered wood siding, it will last longer and look better than if you neglect it. To extend the life of your engineered wood siding, make sure to regularly clean it (at least once a year) and repair any damage as soon as possible.
Credit: www.bobvila.com
How to Install Wood Siding Panels
If you’re looking to add some natural beauty and charm to the exterior of your home, wood siding panels are a great option. Not only are they aesthetically pleasing, but they’re also durable and easy to install. Here’s a step-by-step guide on how to install wood siding panels:
1. Start by measuring the area where you’ll be installing the panels. You’ll need enough panels to cover the entire area, plus an additional 10% for wastage and trimming.
2. Cut the panels to size using a power saw or hand saw.
Make sure all cuts are straight and precise.
3. Install a water-resistant barrier on the wall before attaching the panels, such as Tyvek or house wrap tape. This will help protect your home from moisture damage.
4. Use nails or screws to attach the panels to the wall, starting at one corner and working your way outwards.
How to Install Exterior Wall Siding
One of the most popular ways to update the look of your home’s exterior is by installing new siding. If you’re planning on tackling this project yourself, here’s what you need to know about how to install exterior wall siding.
First, you’ll need to choose the right type of siding for your home.
There are many different materials to choose from, including wood, vinyl, and fiber cement. Each has its own set of benefits and drawbacks, so do your research before making a decision.
Once you’ve selected the perfect siding material, it’s time to get started on installation.
The process will vary depending on the type of siding you chose, but there are some general steps that all installations will require. First, you’ll need to remove any existing siding or trim from the area where you’ll be working. Next, measure and cut your new siding pieces to fit.
Once everything is cut to size, it’s time to start nailing or screwing the pieces into place. Be sure to use manufacturer-approved fasteners and follow all instructions carefully to avoid voiding your warranty.
When installing horizontal Siding: Start at the bottom and work up , butt joints together .
When installing vertical Siding : start at one side work across . Overlap each piece 1/2″ as you go up . Use a level when attaching each piece , check for plumb (straight up and down), make adjustments as necessary before moving on .
How to Install 4X8 Wood Siding
Assuming you would like a blog post on instructions for installing 4×8 wood siding:
Wood siding is a classic and beautiful way to finish the exterior of your home. While it may seem like a daunting task to install, with proper preparation and care it can be a fairly easy process.
Here are some tips on how to install 4×8 wood siding:
1. Make sure your surface is level and smooth. Any irregularities will show through once the siding is installed, so take the time to prep your surface properly.
This usually involves filling in any holes or cracks and sanding down any rough spots.
2. Cut the boards to size. You’ll need a saw for this, and it’s important to make sure all of your cuts are straight.
Once the boards are cut, put them into place on your surface to make sure they fit properly before attaching them permanently.
3. Nail the boards into place using galvanized nails (this will help prevent rust). Start at the bottom of each board and work your way up, making sure to space the nails evenly as you go.
Use caulk or sealant around the edges of each board where it meets another piece of wood or trim for added protection against weather damage.
4X8 wood siding can add beauty and value to your home while providing an extra layer of protection against the elements. With just a little bit of know-how, you can easily install it yourself!
Conclusion
Installing engineered wood siding is a great way to improve the look of your home. Here are some tips on how to install it:
1. Start by measuring the area you want to cover and then cut the siding to size.
2. Next, use a level to make sure the boards are evenly spaced and then nail them into place.
3. Be sure to caulk all the seams and joints before painting or staining the siding.
4. Lastly, paint or stain the siding as desired for a finished look.