How to Make Carved Wood Signs
Carved wood signs can be made by following these steps:
1. Find a piece of wood that is the right size and shape for your sign.
2. Sketch out the design you want to carve onto the wood.
3. Use a hand saw or power saw to cut along the lines of your sketch.
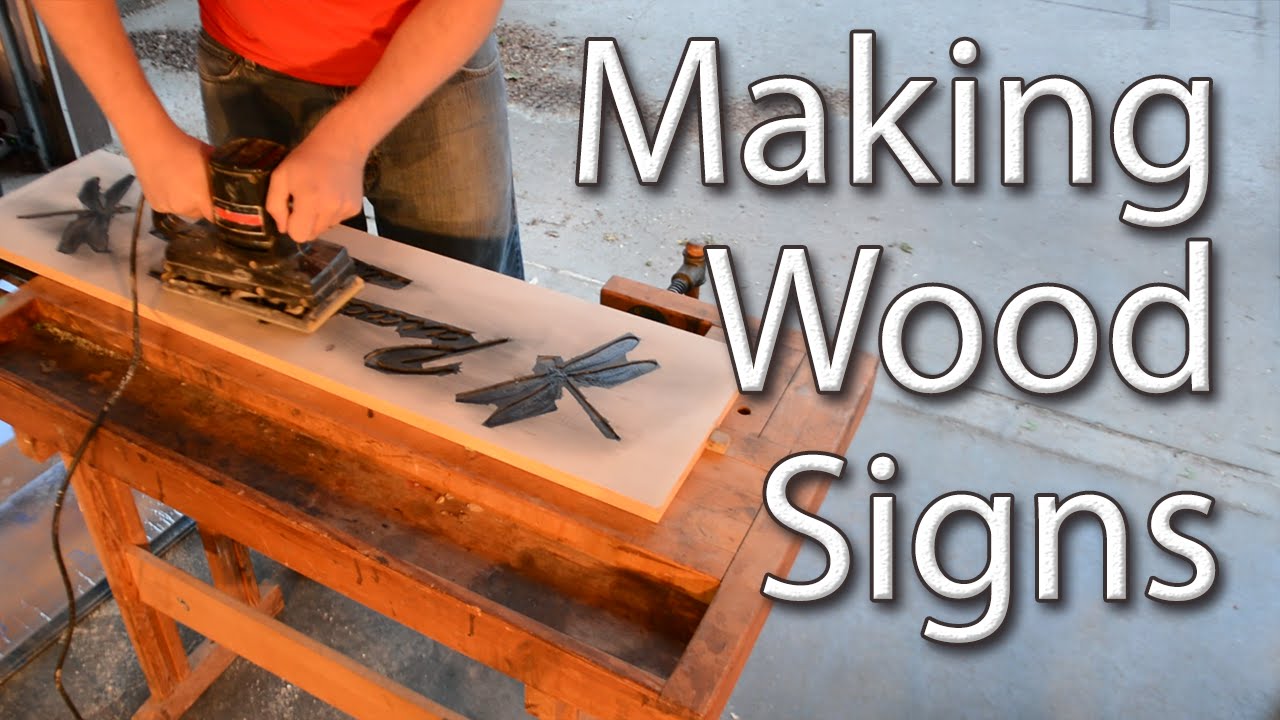
4. Smooth out the edges of your carving with sandpaper.
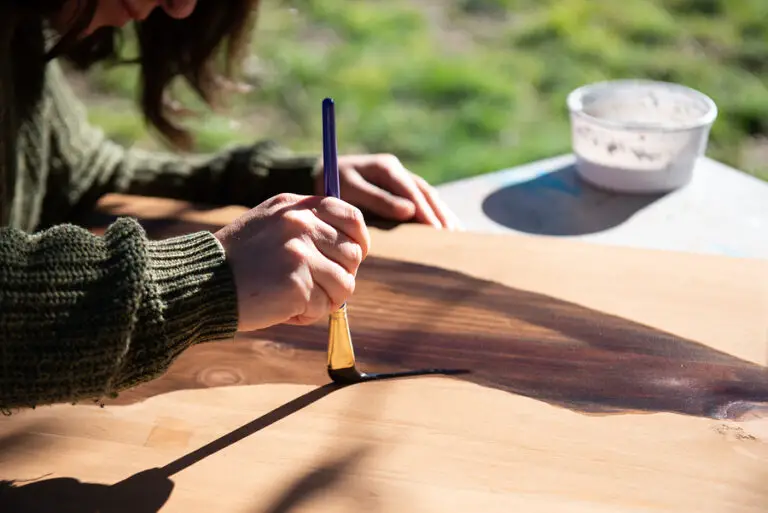
5. Paint or stain your sign, if desired.
- Carve your design into the wood using a variety of carving tools
- Sand the carved area smooth with progressively finer sandpaper
- Paint or stain the sign as desired
- Apply a clear sealer to protect the finish
How to make a hand carved sign – makers story
What is the Best Wood for Carving Signs?
When it comes to carving signs, there is no definitive answer as to what the best wood is. It really depends on personal preference and what type of look you are going for. Some people prefer softer woods like pine or basswood because they are easier to carve, while others prefer harder woods like oak or maple because they hold up better over time.
Ultimately, it is up to the individual carver to decide which wood is best for them.
How Do You Make a Hand Carved Sign?
There are a few different ways that you can make a hand carved sign. One way is to use a wood carving knife or chisel to carve the letters or design into the wood. Another way is to use a Dremel tool with a variety of attachments to sand, shape, and carve the wood.
You can also use power carving tools, which are similar to the Dremel but have more power and speed. Whichever method you choose, it is important to practice on some scrap wood first so that you get a feel for the tools and how much pressure to apply.
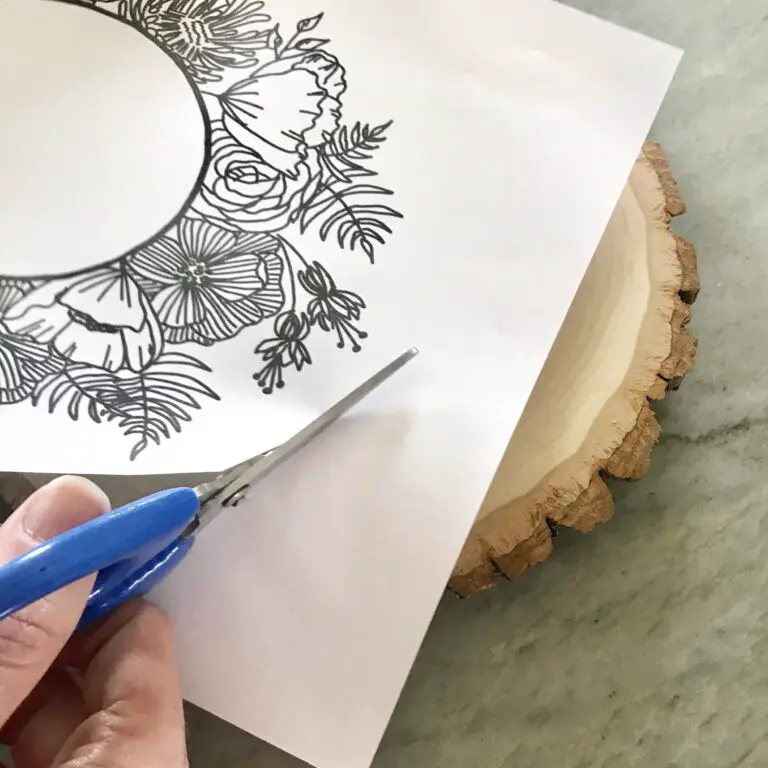
When you are ready to start carving your sign, sketch out your design onto the wood first.
Then, begin carving away at the excess wood until your design starts to take shape. Remember to go slowly and carefully at first – it is easier to remove more wood than it is to add it back! Once you are happy with your carved sign, you can then paint or stain it as desired.
What Tool is Used to Carve Wood?
There are a variety of tools that can be used to carve wood. The most common tool is probably the carving knife, which can be used for a variety of different techniques. Other popular tools include chisels, gouges, and rasps.
Carving knives are available in a wide range of sizes and shapes, so it’s important to choose one that is comfortable to use and that will suit the type of carving you want to do. For instance, a small knife with a sharp point is good for detailed work, while a larger knife with a blunt end is better for more aggressive carving.
Chisels are another essential tool for woodcarving.
They come in many different sizes and shapes, so you’ll need to experiment to find the ones that work best for you. Start by getting a few basic chisels – such as straight-edged, V-shaped and U-shaped chisels – then branch out from there as your skills develop.
Gouges are curved cutting tools that come in handy for creating hollows, channels and other concave shapes in wood.
Again, there are many different types available, so it’s important to choose the right ones for the job at hand. Short gouges with shallow curves are good for general purpose carving, while deeper gouges with more extreme curves are better suited to more specific tasks.
Rasps are coarse files that can be used to remove large amounts of material quickly.
How Do You Carve Letters in Wood With a Dremel?
Assuming you would like tips on how to carve letters into wood using a Dremel:
1. Choose the font you want to use and print out the letters you need. Tape the paper onto the wood.
2. Use a pencil to trace over the letters, pressing firmly so that an imprint is left in the wood.
3. Carefully remove the paper. You should now have an outline of your letters on the wood.
4. Get your Dremel and choose a bit that suits your needs – a small, sharp one for intricate work or a larger one for bigger areas. If you’re not sure, start with a smaller bit and move up if needed.
5. Start at the top of each letter and carve downwards, following your pencil lines as closely as possible.
Be extra careful around any curves or corners.
Credit: www.youtube.com
Carving Letters in Wood With Dremel
Assuming you would like a blog post discussing how to carve letters into wood using a Dremel:
Carving letters into wood can add a beautiful, personal touch to any project. Here’s how to do it using a Dremel tool.
1. Select the appropriate bit for your project. For carving letters into wood, we recommend using either a carbide engraving cutter or a steel gouge bits. Carbide engraving cutters are great for detailed work, while steel gouge bits can create deeper and wider cuts.
2. Mark out the area where you’ll be carving your letters. Use a pencil or other sharp-tipped object to lightly trace the outline of your letters onto the wood surface.
3. Start carving!
Begin by making shallow cuts with your Dremel following the lines you traced in step 2. If you’re using a carbide engraving cutter, apply gentle pressure and keep the speed around 15,000 RPM for best results. For steel gouge bits, use higher speeds (up to 35,000 RPM) and apply more pressure to make deeper cuts.
Carving Wood Signs With Router
If you’re looking for a unique way to add some personalization to your home, carving wood signs with a router is a great option! With a little bit of patience and practice, anyone can create beautiful, one-of-a-kind signs that will add charm and character to any space.
Here’s what you’ll need to get started:
– A router with an appropriate bit (we recommend using a 1/4″ or 1/2″ straight bit)
– A piece of wood at least 6″ wide and 12″ long (we like using cedar because it’s easy to carve and doesn’t splinter)
– Safety goggles
Carving Letters in Wood by Hand
Carving letters in wood by hand is a great way to add a personal touch to your projects. Whether you’re creating a sign for your home or business, or simply want to add a unique touch to a piece of furniture, carving letters by hand is an easy way to do it. Plus, it’s a lot of fun!
There are a few things you’ll need before you get started:
-A piece of wood. The size and type of wood will depend on what you’re using it for.
If you’re making a sign, for example, you’ll need a larger piece of wood than if you’re just adding some embellishments to a picture frame.
-A sharp knife. A utility knife or box cutter will work fine.
Just make sure the blade is sharp so that it can easily carve through the wood.
-A pencil. This is for tracing out your design onto the wood before you start carving.
-Sandpaper (optional). If you want a really smooth finish on your letters, sanding them after carving will help achieve that.
Conclusion
Making carved wood signs is a great way to add a personal touch to your home or office. You can use a variety of carving tools to create unique designs, and you can stain or paint the wood to match your décor. If you’re not an experienced carver, you can find templates online or at your local craft store.