How to Add Color to Wood Burning
Adding color to wood burning is a great way to personalize your project and make it unique. There are a few different ways that you can add color to your wood burning, and each method will give you different results. Experiment with different techniques and colors to find the perfect look for your project.
- Choose the right wood burning tool
- There are a few different types of wood burning tools available on the market, and each one is designed for a specific purpose
- Select a tool that is specifically designed for adding color to wood
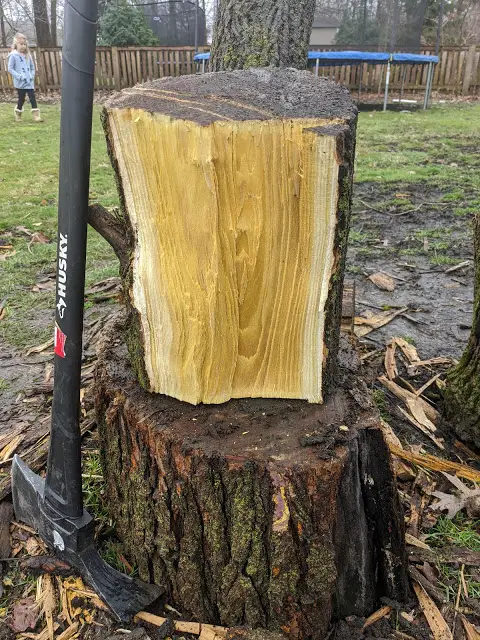
- Choose the right type of wood
- Not all woods are created equal when it comes to wood burning
- Some woods will absorb color better than others, so be sure to select a type of wood that will work well with your chosen coloring method
- Prepare the wood surface
- Before you begin adding color to the wood, you’ll need to prep the surface by sanding it down smooth
- This will help ensure that your colors go on evenly and look their best once they’re applied
- Add your colorant to the wood burning tool
- Most coloring agents can be added directly to the tip of your chosen wood burning tool before you start working on the project at hand
- This will make it easier to apply an even layer of color across the entire surface of the wood piece you’re working on colored
- 5 Burn slowly and evenly
- Once you have your tool loaded with color, it’s time to startBurning slowly and evenly acrossthe surfaceof Thewood pieceYou’re workingon Doing thiswill help prevent any unwanted blotches or streaks in The final product
Wood Burning With Paint
Wood burning with paint is a fun and easy way to add personal touches to your woodworking projects. By using a few simple tools and techniques, you can easily add unique details that will make your project stand out from the rest. Here are a few tips to help you get started:
1. Choose the right wood. When selecting wood for burning, it’s important to choose a variety that is dense and free of knots. Softwoods like pine or cedar are not ideal as they can char quickly and produce a lot of smoke.
Hardwoods like oak or maple are better choices as they burn slowly and evenly, giving you more control over the process.
2. Prep your workspace. Before starting any project, it’s important to prep your workspace accordingly.
This means clearing off any flammable materials (including rags or paper), setting up any fans or ventilation, and laying down some newspaper or other protective layer on your work surface.
3. Trace your design. Once you’ve selected the perfect piece of wood and prepped your workspace, it’s time to start tracing out your design onto the wood surface.
It’s helpful to use pencils with fine tips for this step so that you can easily erase any mistakes later on. If you’re working with intricate designs, consider transferring the design onto the wood using carbon paper before beginning to trace it out with a pencil.”
Read: Can You Burn Painted Wood?
Wood Burning With Colored Pencils
Wood burning with colored pencils is a great way to add some personalization to your woodworking projects. With just a few supplies, you can add unique and beautiful designs to your work. Here’s what you need to get started:
-A wood burning tool
-Colored pencils
-A piece of wood
First, select the design you’d like to burn into the wood. You can either freehand it or use a stencil. If you’re using a stencil, trace it onto the wood with a pencil.
Then, choose the colors you’d like to use for your design.
Once you have everything ready, plug in your wood burning tool and let it heat up. When it’s hot enough, start tracing over your lines with the colored pencils.
The heat from the tool will cause the wax in the pencils to melt and transfer onto the wood. Work slowly and carefully until you’ve finished your design.
Let the wax cool and harden before handling the piece too much – otherwise, you might smudge your work!
Once it’s cooled completely, your colored pencil design will be permanently burned into the wood.
How to Use Watercolor Pencils on Wood
Watercolor pencils are such a versatile medium! They can be used on paper, of course, but they’re also great for adding color to other surfaces like wood. Here’s how to use watercolor pencils on wood:
1. Start by sanding the wood surface to create a smooth base for the pencils.
2. Next, choose your colors and start drawing! Watercolor pencils can be used just like regular colored pencils, so feel free to get creative.
3. To add more dimension to your drawing, use a wet paintbrush to blend the colors together. This will also help the color stay put on the wood surface better than if you just used the pencils alone.
4. Finally, seal the whole thing with a clear varnish or lacquer to protect your work and make it last longer.
What Paint to Use in Pyrography
Paint is not necessary for successful pyrography, but some people like to use it for color or to speed up the process.
There are several types of paint that can be used on wood for pyrography, including water-based acrylics, oil-based enamels, and lacquers. A quick Google search will reveal many opinions about which type of paint is best for this craft.
In general, it seems that water-based paints are easier to work with and provide more consistent results. They also tend to be less expensive than other types of paint.
If you do decide to use paint in your pyrography, be sure to test it on a scrap piece of wood first.
This will help you get a feel for how the paint burns and what effect it will have on your design.
Read also: Best Leather for Pyrography
Epoxy Wood Burning
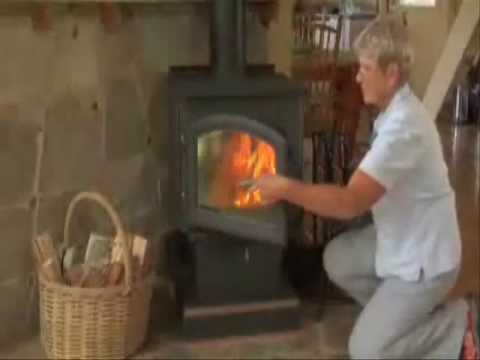
If you love the smell of wood burning in your fireplace, you can now enjoy that same scent while working on your latest DIY project! Epoxy wood burning is a new trend that is taking the crafting world by storm. This unique technique allows you to add a beautiful wood grain finish to any piece of wood, metal, or glass.
Best of all, it’s super easy to do! In this blog post, we’ll show you everything you need to know about epoxy wood burning, including how to get started and what materials you’ll need.
So what is epoxy wood burning?
Also known as pyrography, epoxy wood burning is a process of using heat to burn designs into wood. This can be done with a simple soldering iron or a more specialized pyrography pen. The tip of the pen gets extremely hot, so it’s important to be careful when using one.
Once you’ve chosen your design and transferred it onto your workpiece, simply follow the lines with the heated tip. The heat will cause the epoxy resin to darken and create a beautiful burned effect.
If you’re new to epoxy wood burning, we recommend starting with a simple design.
Once you get the hang of it, you can start experimenting with different techniques and patterns. If you want to add some color to your design, try using colored pencils or markers before you start burning. That way, you can see exactly where each color will go and make any necessary adjustments beforehand.
Now that you know all about epoxy wood burning, it’s time to give it a try! Gather up your supplies and transfer your design onto your workpiece. Then carefully follow the lines with your heated tool.
Remember to take breaks often so that you don’t overheat the tip of your pen. And most importantly – have fun!
Credit: feltmagnet.com
How Do You Paint Woodburn?
When it comes to painting wood, there are a few things you need to take into consideration before you start. The type of paint you use, the type of wood you’re painting, the primer you use and the finish you desire all play a role in how your project will turn out.
To ensure a successful project, it’s always best to consult with a professional painter or someone who is knowledgeable about painting wood before getting started.
But if you’re set on doing it yourself, here are a few tips to help you get started:
1. Choose the right paint for the job. There are different types of paint formulated for different surfaces and projects.
For example, there is exterior paint that is made specifically for outdoor projects like siding and decks. If you’re painting indoor trim or furniture, look for an interior paint that is durable and easy to clean.
2. Consider using a primer.
A primer provides a smooth surface for the paint to adhere to and can also help improve the longevity of your paint job by providing an extra layer of protection against wear and tear.
3. Be sure to sand down any rough spots on your wood before painting. This will help create an even surface that is easier to work with and results in a better-looking final product.
4 When applying paint to your wood project, start with thin coats and build up from there rather than trying to cover everything in one thick coat .
How Do You Stain Wood Burning?
When it comes to staining wood, there are a few things that you need to take into consideration. The first is the type of wood that you will be using for your project. Different woods absorb stain differently, so it is important to know what you are working with before getting started.
The second thing to consider is the type of finish that you want for your project. A high-gloss finish will require a different approach than a matte finish. Once you have these factors figured out, you can move on to the actual staining process.
There are two main ways to stain wood: with a brush or with a rag. If you are using a brush, dip it into the stain and then apply it evenly across the surface of the wood. You may need to go over areas multiple times in order to get even coverage.
When using a rag, soak it in the stain and then rub it onto the wood in small circles. Again, make sure that you cover the entire surface evenly.
Once you have applied the stain, allow it to sit for at least 15 minutes before wiping off any excess with a clean cloth.
If you are happy with the results at this point, allow the stain to dry completely before moving on to sealing or varnishing (if desired).
Read: Can You Burn Stained Wood
Can You Wood Burn Over Acrylic Paint?
Wood burning over acrylic paint is possible, but there are a few things you need to take into account before doing so.
First of all, the type of wood burning tool you use will make a difference. Acrylics can be sensitive to heat, so using a low-heat wood burner will help to prevent any damage to the paint layer underneath.
Secondly, the thickness of the paint layer will also affect how well the wood burning takes. If the paint is too thin, then it’s likely that the wood burning won’t show up as well. Conversely, if the paint is too thick it could start to blister and bubble.
So it’s important to find a happy medium when choosing your paint thickness.
Finally, the kind of paper you’re using also plays a part. Woodburning works best on smooth surfaces, so using something like watercolor paper will give you the best results.
Taking all of these factors into account, wood burning over acrylic paint can be a great way to add another dimension to your artwork. Just be sure to experiment first on some scrap pieces before trying it out on your masterpiece!
Read to know: Which Tip is Best for Wood Burning?
How Do You Darken Wood Burning?
When it comes to darkening wood burning, there are a few different methods that you can use. One popular method is to use a torch. By using a torch, you can quickly and easily darken the wood burning without having to worry about ruining the finish.
Another method that you can use is to apply a stain or paint to the wood burning. This will also help to darken the wood burning, but it may take some time for the stain or paint to dry.
How to Add Color to Wood Burning
Conclusion
Adding color to wood burning is a great way to add some pizzazz to your project. Here are a few tips on how to do it:
1) Use colored pencils or crayons.
Simply draw your design onto the wood with the desired colors. Then, use a wood burning tool to trace over the lines. The heat from the tool will cause the wax in the pencils or crayons to melt and transfer onto the wood.
2) Experiment with different woods. Some woods will produce more vibrant colors than others. For example, birch is known for creating bolder hues.
3) Apply a thin layer of paint before burning. This can help intensify the colors and make them pop even more! Just be sure that the paint is compatible with your chosen woodburning tool (e.g., water-based paints won’t work with an electric burner).