How to Season Wood for Furniture
seasoning wood is an important process that should be done before using the wood for furniture. There are a few things to keep in mind when seasoning wood, such as the type of wood, the thickness of the boards, and the climate. Seasoning wood can be done by either air drying or kiln drying.
Air drying is the most common method and is typically used for thinner boards. Kiln drying is a quicker process but requires more expensive equipment. The type of wood will also affect how it should be seasoned.
Hardwoods, such as oak and maple, take longer to season than softwoods, such as pine and cedar. Thicker boards will also take longer to season than thinner boards. In general, it takes about 6-12 months to fully season wood.
- Choose the type of wood you want to use for your furniture
- Cut the wood into the desired pieces for your furniture
- Sand down the wood to create a smooth surface
- Apply a coat of primer to the wood and let it dry completely
- Paint or stain the wood with the color of your choice and let it dry completely
- Apply a top coat of sealer to protect the finish and let it dry completely
How to Dry Wood Without Cracking
When drying wood, it is important to avoid cracking. Cracks can occur when the wood dries too quickly or unevenly. To prevent cracking, the wood should be dried slowly and evenly.
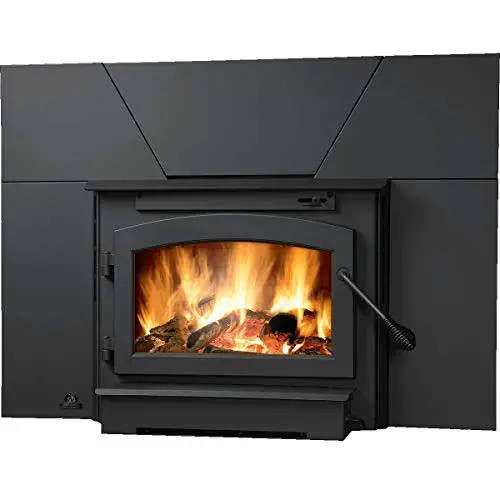
There are several ways to dry wood slowly and evenly. One method is to place the wood in a kiln set at a low temperature. Another method is to air-dry the wood by placing it in a well-ventilated room with low humidity.
Whichever method you choose, it is important to monitor the progress of the drying process closely. Check for cracks regularly and adjust the drying conditions as necessary to prevent cracking.
Credit: www.wood-database.com
How Long Does It Take to Season Wood for Woodworking?
When it comes to seasoning wood for woodworking, there is no one-size-fits-all answer. The amount of time it takes to season wood will depend on the type of wood being used, the thickness of the boards, and the desired level of moisture content. In general, however, thicker boards and harder woods will take longer to season than thinner boards and softer woods.
The first step in seasoning wood is to allow it to dry naturally. This can take anywhere from a few weeks to a few months, depending on the conditions where the wood is stored. Once the wood has dried out sufficiently, it can then be kiln-dried or air-dried (if you’re patient enough).
Kiln drying is faster than air drying but requires access to specialized equipment; air drying is slower but can be done with nothing more than a well-ventilated space and some patience.
Once the wood has been dried sufficiently, it’s time to start working on achieving the desired moisture content. For most applications, somewhere between 6% and 10% moisture content is ideal.
Again, this will vary depending on the specific project requirements. To get an accurate reading of moisture content, you’ll need a digital hygrometer/moisture meter .
There are several ways to go about reducing moisture content in lumber; which method you choose will depend on your particular circumstances and preferences.
One popular method is known as ‘stickering’, which involves stacking lumber in a well-ventilated space with spacers between each board (sticks or strips of scrap lumber work well for this). As the lumber dries out further, evaporation causes an exchange of water vapor between individual boards; this helps ensure that all boards achieve equilibrium at roughly the same moisture content. Another common method is using a dehumidifier , which can speed up the process considerably while still allowing some control over final moisture levels.
Once you’ve achieved your desired moisture content levels, Congratulations! Your lumber is now seasoned and ready for use in whatever project you have planned!
Do You Need to Dry Wood before Making Furniture?
When it comes to woodworking, there are a lot of different schools of thought out there. Some people say that you need to dry wood before making furniture, while others believe that it’s not necessary. So, what’s the truth?
Well, it really depends on the type of wood you’re working with. If you’re using fresh-cut lumber from a sawmill, then it’s definitely best to let it dry out for a few months before using it for furniture. This will allow the lumber to acclimate to its new environment and avoid any potential warping or cracking down the road.
On the other hand, if you’re working with reclaimed wood or even some types of hardwood that have been kiln-dried, then there’s no need to worry about drying them out first. In fact, trying to force these woods to dry any further can actually cause damage. So just go ahead and use them as is!
At the end of the day, there is no right or wrong answer when it comes to this issue. It really just depends on the type of wood you’re working with and your personal preference. If you want to play it safe, always err on the side of caution and dry your lumber before using it for furniture projects.
How Do You Dry Fresh Wood for Woodworking?
Drying your own wood for woodworking projects has many benefits. The process is relatively simple and can be done using a few common household items. By drying the wood yourself, you can control the moisture content, preventing the wood from warping or cracking as it dries.
The first step is to cut the lumber into pieces that are manageable for your kiln or dehydrator. If you’re using a dehydrator, set it to its lowest setting – around 115 degrees Fahrenheit. Place the cut lumber on the racks, making sure that there’s plenty of space between each piece for air circulation.
Check on the wood periodically, and rotate the pieces if necessary to ensure even drying. Depending on the thickness of the lumber, it should be dry within 24-48 hours.
Once the lumber is dry, it’s ready to use in whatever project you have planned!
How Do You Dry Wood So It Doesn’T Crack?
When it comes to drying wood so that it doesn’t crack, the process is actually quite simple. All you need to do is ensure that the wood is properly seasoned before you begin the drying process. Seasoning the wood will help to remove any moisture that is present in the wood, which will then allow it to better withstand the drying process.
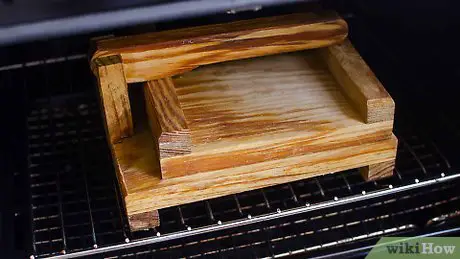
Once you have seasoned the wood, you can then start by slowly and evenly heating it. This can be done using an oven set on a low temperature, or even by placing the wood in direct sunlight for a period of time. The key here is to gradually heat the wood so that it doesn’t crack from being dried too quickly.
Once the wood has been sufficiently heated, you can then finish up by cooling it down just as slowly and evenly as you heated it up. Again, this can be done in an oven set on a low temperature or by placing it in a shady spot outside. Once cooled, your wood should be dry and ready to use without fear of cracking!
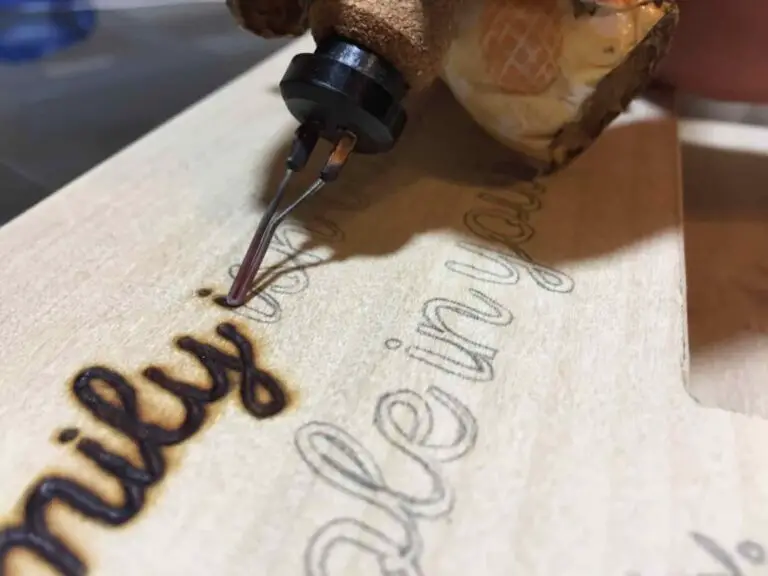
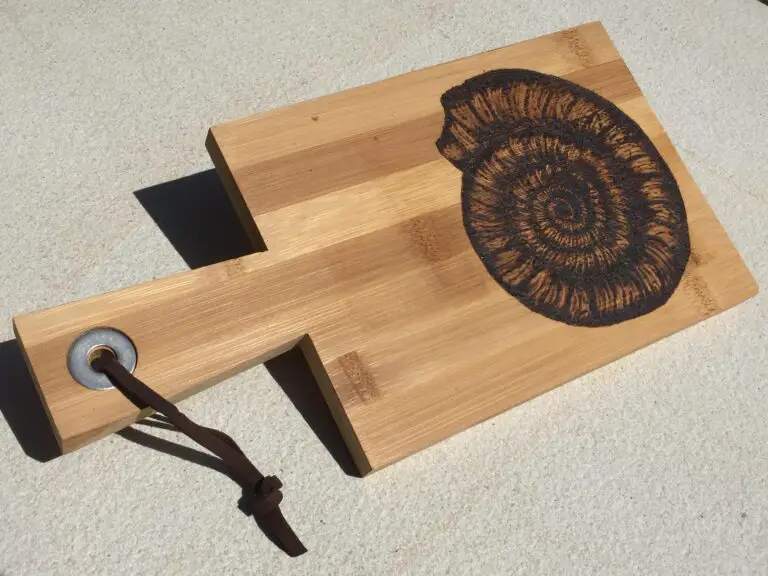
How to season wood for wood carving. (naturally)
Conclusion
Wood furniture can last for generations if it is properly cared for and protected from the elements. One of the most important steps in caring for wood furniture is to season it regularly. Seasoning wood furniture helps to protect it from water damage, warping, and cracking.
There are a few different ways that you can season your wood furniture. One way is to use a natural oil like linseed oil or tung oil. These oils help to create a barrier against water and moisture.
Another way to season your wood furniture is to use a commercial sealer or topcoat. This will provide an extra layer of protection against the elements.
Whatever method you choose, be sure to follow the manufacturer’s instructions carefully.
Applying too much sealer or oil can actually damage your wood furniture over time. If you’re not sure how often to season your wood furniture, ask a professional for advice.