Can You Mix Stain With Wood Filler
Stain and wood filler are two products that are commonly used in woodworking projects. While they serve different purposes, it is possible to mix the two products together to create a custom stain color or to fill in small holes and cracks in wood. When mixing stain and wood filler, it is important to use a ratio of three parts stain to one part wood filler so that the mixture is still easy to apply and spread evenly.
- If you are using a water-based stain, mix it with a water-based wood filler
- If you are using an oil-based stain, mix it with an oil-based wood filler
- Mix the stain and wood filler together until they are fully combined
- Apply the mixture to your project using a brush or rag, working it into the grain of the wood
- Allow the mixture to dry completely before applying a topcoat or sealer
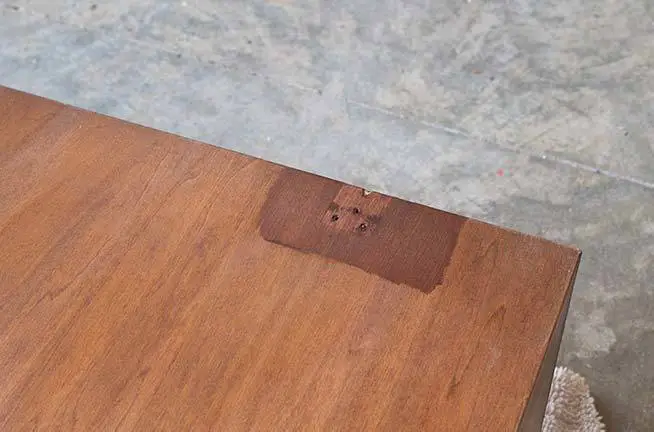
How to Hide Wood Filler After Staining
If you’re staining wood and you need to use wood filler, there are a few things you can do to make sure the filler doesn’t stand out after it’s been stained. First, choose a filler that’s close in color to the stain you’ll be using. This will help blend the two colors together.
Second, apply the stain evenly across the surface of the wood. You don’t want any blotches or unevenness in the finish. Finally, when you’re applying the stain, make sure to wipe off any excess that gets on the wood filler.
A little bit is fine, but too much will make it difficult to achieve an even finish.
Can You Stain Over Wood Filler
If you’re looking to give your woodworking project a new lease on life, staining over wood filler is a great way to do it! Wood filler is a material used to fill in holes or cracks in wood, and it can be stained just like regular wood. This makes it an ideal way to repair damaged wood or change the color of your project without having to start from scratch.
There are a few things to keep in mind when staining over wood filler. First, make sure the filler is completely dry before applying any stain. If it’s even slightly damp, the stain will not adhere properly.
Second, use a brush or rag to apply the stain rather than pouring it directly onto the filler; this will help avoid creating any streaks or uneven areas. Lastly, allow plenty of time for the stain to dry completely before moving on to the next step in your project.
With these tips in mind, staining over wood filler is a quick and easy way to give new life to an old piece of furniture or add some extra character to your latest creation!
Staining Over Wood Filler Gives Blotchy Results
Most wood fillers are designed to accept stains and finishes, but sometimes you can still end up with blotchy results. If this happens, there are a few things you can try to even out the color.
First, make sure that you’ve applied the stain evenly.
If you see areas that look darker or lighter than others, go back and even them out. You may need to apply several coats of stain before you get an even result.
Another trick is to mix your own custom stain.
This can be done by combining different colors of wood stain together until you get the desired shade. This is a great way to get creative with your finish and achieve a unique look for your project.
Finally, if all else fails, you can always paint over the wood filler.
This will give you a uniform color that will cover any imperfections in the finish. Just be sure to sand smooth first and prime the surface before painting.
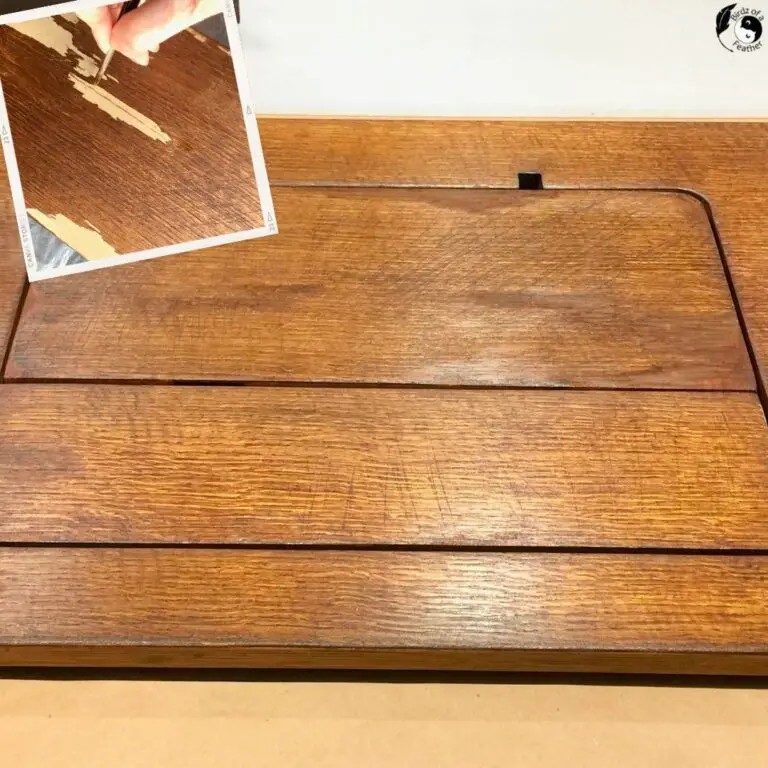
How to Stain Wood Filler to Match Floor
When it comes to staining wood filler, the process is actually quite simple. The most important thing to keep in mind is that you need to work with a small amount of filler at a time. This will ensure that the color of the filler is even and consistent.
To start, add a small amount of wood filler to a bowl or container. Next, use a stir stick to mix in your chosen stain until the desired color is achieved. Once you’re happy with the color, apply the stained wood filler to your floor using a putty knife.
Work in small sections and be sure to wipe away any excess before moving on.
Allow the stained wood filler to dry completely before walking on it or adding any furniture back into the room. With just a little bit of time and effort, you’ll have floors that look like new again!
Staining Plastic Wood Filler
Staining plastic wood filler is not as difficult as it may seem. In fact, with the right tools and techniques, you can get a beautiful finish that will last for years to come. Here are the basics of how to stain plastic wood filler so that you can get started on your next project.
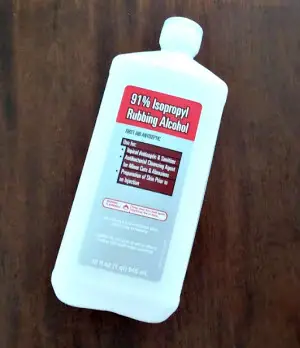
The first thing you need to do is sand the surface of the plastic wood filler. This will help to create a smooth surface for the stain to adhere to. If there are any rough spots or imperfections in the wood filler, they will show through after you stain it.
Use a fine-grit sandpaper and sand until the surface is smooth.
Once you have sanded the surface, wipe it down with a damp cloth to remove any dust particles. Then, apply a thin layer of stain evenly across the surface of the plastic wood filler using a brush or rag.
Allow the stain to dry completely before applying another coat if necessary.
When staining plastic wood filler, it’s important to use a high-quality product so that your finished project looks its best. Be sure to read all instructions on the label before beginning your project and always test stains in an inconspicuous area first before proceeding with your main project area.
With just a little bit of care and attention, you can achieve beautiful results when staining plastic wood filler!

Credit: abutterflyhouse.com
How Do You Add Color to Wood Filler?
Wood filler is a type of material used to fill in holes, cracks, or gouges in wood surfaces. It is typically made from a wood pulp and resin mixture, and can be purchased in either pre-mixed colors or as a white paste that can be tinted with stains or paint. When adding color to wood filler, it is important to first mix the desired amount of pigment with an equal amount of water.
This will create a liquid stain that can be easily added to the filler and mixed thoroughly. It is also important to remember that the final color of the filler will be darker than the liquid stain, so it is best to err on the side of a lighter shade. Once the desired color has been achieved, the filler can be applied to the surface using a putty knife or other similar tool.
How Do You Darken Wood Filler?
To darken wood filler, mix a small amount of stain into the filler until you achieve the desired color. If the filler is still too light after adding stain, you can try adding a bit of dark paint to it.
What Can You Mix With Wood Filler?
Wood filler is a versatile material that can be used for a variety of different purposes. It can be mixed with water to create a paste-like consistency, or it can be used as-is to fill in cracks and holes in wood surfaces. Wood filler can also be mixed with paint or stain to create a custom color match, or it can be used as an adhesive to attach two pieces of wood together.
Can You Make Stainable Wood Filler?
Yes, you can make your own stainable wood filler by mixing sawdust with epoxy resin. First, collect some sawdust from the same type of wood you’re using for your project. Next, mix the sawdust with epoxy resin in a 1:1 ratio.
Once the mixture is thoroughly combined, apply it to your project as you would any other wood filler. Allow the filler to dry completely before staining or painting it.
Is Wood Filler Actually Stainable? An Experiment
Conclusion
Stain and wood filler are two different products that serve different purposes. Stain is used to add color to wood, while wood filler is used to fill in holes or cracks in wood. While it is possible to mix stain and wood filler together, it is not recommended as the two products have different properties and mixing them together can cause problems.