How to Wrap a Beam in Wood
Beams are an important part of any construction project. They provide support and stability to the structure. When wrapping a beam in wood, it is important to use the proper techniques.
The following steps will help you wrap a beam in wood quickly and securely.
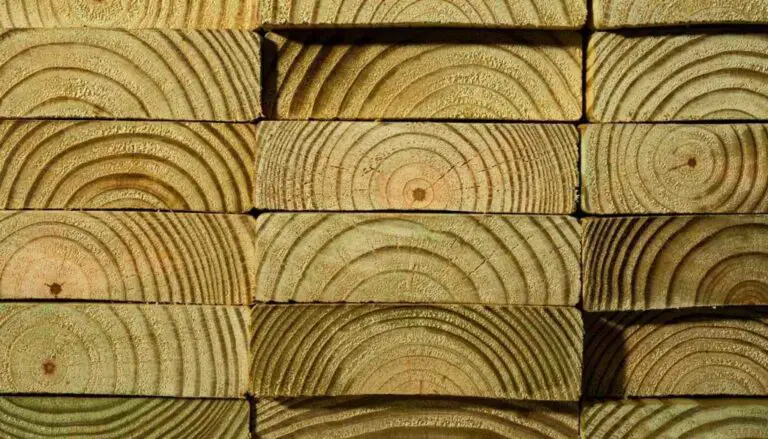
- Choose the wood you will use to wrap the beam
- Cut the wood to size, making sure to leave enough extra on each end to allow for trimming later if needed
- Attach the wood to the beam using screws or nails, starting at one end and working your way down
- Be sure to countersink any screws so they are flush with the surface of the wood
- If using nails, predrill holes first to avoid splitting the wood
- Finish by trimming off any excess wood at the ends, then sanding and staining or painting as desired
Credit: excelsiorwood.com
How Do You Wrap a Beam to Look Like Wood?
Beam wraps are a great way to add a natural wood look to any room. Here are some tips on how to wrap a beam to look like wood:
1. Start by measuring the beam and cutting the wrap to size.
2. Apply glue or adhesive tape to the back of the wrap.
3. Wrap the beam starting at one end and working your way around until the entire beam is covered.
4. Use a utility knife or scissors to trim off any excess wrap material.
5. Finish by applying a clear sealant or varnish over the wrapped beam for protection.
How Much Does It Cost to Wrap a Beam?
There’s no easy answer when it comes to how much it costs to wrap a beam, as the price will vary depending on a number of factors such as the size and type of beam being wrapped, as well as the material used for the job. However, we can give you a general idea of what you might expect to pay for this type of project.
For starters, wrapping a small beam with basic materials may cost anywhere from $50 to $100.
If you’re working with a larger or more complex beam, however, the price could jump up to $500 or even $1,000. And if you’re using premium materials like aluminum or stainless steel, the cost could easily exceed $2,000.
Of course, these are just rough estimates – your actual costs will depend on a number of factors specific to your project.
So if you’re planning on wrapping a beam anytime soon, be sure to get some quotes from reputable contractors before making any decisions.
How Do You Cover a Beam?
Beams are an important structural element in any home or building. They help to support the weight of the roof, floors, and walls. When it comes time to cover a beam, there are a few things to keep in mind.
The first step is to determine what type of material you will be using. Beams can be covered with wood, metal, or stone. Each material has its own advantages and disadvantages.
Wood is the most common material used to cover beams. It is relatively inexpensive and easy to work with. Metal is another popular choice for covering beams.
It is more durable than wood and can give the beams a more finished look. Stone is the strongest of the three materials but it is also the most expensive.
Once you have chosen a material, you need to measure the beam so you know how much you will need to purchase.
Be sure to allow for extra material so you can make any necessary cuts or adjustments during installation.
Next, it’s time to install your new beam coverings! If you’re working with wood, you’ll need to use nails or screws to attach it to the beam.
For metal or stone, you may need special brackets or adhesive depending on the size and weight of the materials involved. Once everything is secured in place, take a step back and admire your handiwork!
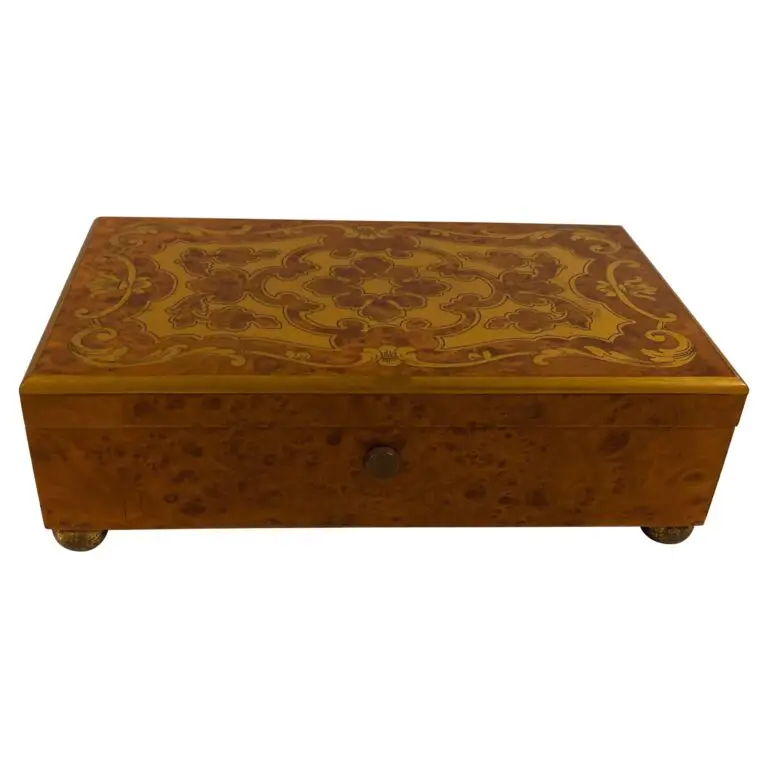
How Do You Dress Up a Beam?
Beams are an important structural element in any home. They can be both decorative and functional, and there are a few different ways you can dress them up.
One way to decorate a beam is by adding trim around it.
This can be done with molding or other types of trim, and it can really add some visual interest to the room. Another option is to paint the beam a different color than the rest of the walls. This can help it stand out as a focal point, and it can also make the room feel more unique.
If you want to get really creative, you could even wallpaper the beam or add tile to it. These options will definitely make it stand out, and they can really transform the look of a space. Just make sure that whatever you do doesn’t compromise the structural integrity of the beam!
DIY FAUX BEAM | Under $75
Wrapping Exposed Beams
Whether your home is old or new, the character that exposed beams add is undeniable. If you have beams in your home that are in need of a facelift, why not try wrapping them? This simple project can make a big impact and completely change the look of your space.
Here’s what you need to know about wrapping exposed beams:
What You Need
To wrap exposed beams, you’ll need wood veneer strips (you can find these at most home improvement stores), wood glue, a putty knife, clamps, and sandpaper.
You may also want to paint or stain the beams before wrapping them, depending on the look you’re going for.
The Process
1. Start by measuring the width and length of each beam.
Cut the veneer strips to size using a sharp utility knife.
2. Apply wood glue to one end of each strip using a putty knife. Starting at one end of the beam, adhere the strip and continue until the entire beam is covered.
Use clamps to hold the strips in place while they dry (this could take up to 24 hours).
3. Once dry, use sandpaper to smooth out any rough edges where the strips meet. That’s it!
Your newly wrapped beams are now ready for show!
Conclusion
If you’re looking to add a touch of rustic charm to your home, wrapping a beam in wood is a great way to do it. Here’s how:
1. Start by measuring the beam and cutting the wood to size.
Make sure to allow for some overlap so that the beam is completely covered.
2. Next, apply a layer of construction adhesive to the back of the wood.
3. Carefully position the wood on the beam and press it into place.
Use clamps or weights to hold it in place while the adhesive dries.
4. Once the adhesive is dry, finish up by trimming any excess wood and adding any desired finishes (stain, paint, etc.).