How to Make Wood Engraving Stand Out
Wood engraving is a type of printmaking that involves carving lines into a piece of wood. The lines are then inked and pressed onto paper. Wood engravings can be used for illustrations, logos, or other artwork.
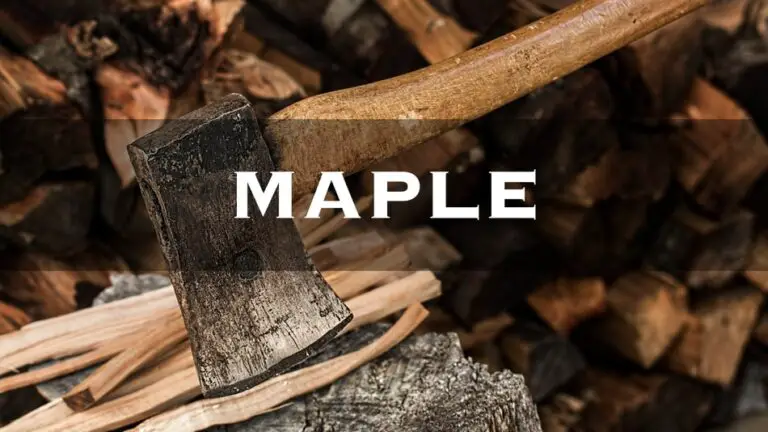
To make your wood engraving stand out, start by choosing the right wood. A hardwood like cherry or maple will work best. Avoid using pine or other softwoods as they will be more difficult to carve.
Once you have the right wood, use a sharp knife or chisel to carve your design into the surface. If you want a deeper carving, you can use a Dremel tool or other power tool. Just be careful not to overdo it and damage the wood.
After you’ve carved your design, it’s time to ink it up. Use a block printing ink or another type of oil-based ink. Apply the ink evenly across the surface of your carving using a brayer roller.
Then, carefully place your paper onto the inked carving and run it through an etching press (or use heavy books to weight it down). Your wood engraving is now complete!
How to make metal engraving stand out when using the engraving tip of the Cricut Maker
- Start by finding a wood panel that is the right size for your project
- Trace your design onto the wood using a pencil or pen
- Use a hand-held router to carve out your design
- Sand down the edges of your carving to smooth them out
- Apply a coat of varnish or lacquer to the wood to protect it from moisture and wear-and-tear
How to Fill Engraving With Paint
If you’re looking to add a little extra flair to your next project, why not try engraving? Engraving is a great way to personalize any item, and with the right paint, it can really stand out. Here’s how to fill engraving with paint:
1. Start by sanding the area you want to engrave. This will help the paint adhere better.
2. Next, apply a thin layer of paint to the area.
You can use a brush or airbrush for this.
3. Allow the first layer of paint to dry completely before adding another layer, if desired.

Credit: www.wikihow.com
How Can I Make My Engraving More Visible?
There are a few things you can do to make your engraving more visible. One is to use a thinner font. This will make the letters appear taller and therefore easier to read.
Another is to use a darker color for the text. Black or dark gray are good choices. You could also try increasing the contrast between the text color and the background color.
For example, if your text is white, you could use a black background. Or, if your text is black, you could use a white background. Finally, you could try making the text itself larger.
If you want to get really fancy, you can try using multiple colors for your engraving. This can create a very striking effect that is sure to get noticed. Just be sure not to go overboard with it – too many colors can be confusing and difficult to read.
How Do You Make Wood Engraving Darker?
Wood engraving is a technique that has been around for centuries. It involves using a sharp tool to carve out a design in wood. The deeper the cuts, the darker the overall appearance of the finished piece.
One way to make wood engraving darker is to use a V-shaped bit. This type of bit will create deeper cuts than a standard straight bit. You can also try using multiple passes with the same bit to create even deeper cuts.
Another way to make your wood engraving darker is to apply a stain or dark paint to the finished piece. This will help to bring out the contrast of the light and dark areas created by the carving.
Finally, you can also try burning the wood with a torch or other heat source before you begin carving.
This will give the wood a nice dark color that will show through your carving. Just be careful not to burn yourself!
What is the Best Way to Engrave on Wood?
If you’re looking to add a personal touch to a wooden item – whether it’s a piece of furniture, a keepsake box, or a sign for your home – engraving is the perfect way to do it. But what’s the best way to engrave on wood?
The answer may depend on the type of wood you’re working with, as well as the size and depth of the engraving you want to create.
For smaller, shallow engravings, using a hand-held rotary tool with an engraving bit is often the best option. You can also use this method for larger projects, but it will take longer and require more effort.
If you want to create a deeper engraving, you’ll need to use specialized woodworking tools like chisels and gouges.
This method takes more time and practice to master, but it’s worth it for the professional-looking results.
No matter which method you choose, always test your tools and techniques on scrap wood first before moving on to your final project. And take your time – rushing through the engraving process will only result in mistakes that are difficult (or impossible) to fix.
How Do You Color Fill Wood Engraving?
Wood engraving is a form of relief printing and is typically done using a handheld tool called a burin. The first step is to draw your design onto the wood block using a pencil or other sharp instrument. Next, you will need to carve out your design using the burin.
Be sure to go slowly and carefully so that you don’t make any mistakes!
Once your design is carved into the wood block, it’s time to start coloring it in. You can use any type of paint or ink that you like, but water-based media works best since it won’t damage the wood.
Simply apply your chosen colorant to the recessed areas of the carving using a small brush or cotton swab. Allow the color to dry completely before moving on to the next step.
Finally, you will need to seal the colored wood engraving with a clear sealer such as varnish or polyurethane.
This will protect the colors from fading and also make them more durable. Apply two or three coats of sealer, allowing each one to dry completely before applying the next. Once everything is dry, your wood engraving is ready to display!
Conclusion
Wood engraving is a type of printmaking that involves carving out a design on a block of wood. The block is then inked and pressed onto paper to create an image. Wood engravings can be made by hand or with the help of a machine, and the finished product can be either black and white or color.
When it comes to making wood engravings stand out, there are several things you can do. First, make sure your design is well-planned and thought out. This will make it easier to execute and will result in a cleaner final product.
Second, use a high-quality wood for your block – this will ensure that your carving looks sharp and precise. Finally, take your time when carving and inking the block – rushing through the process will only lead to mistakes. With these tips in mind, you can create beautiful wood engravings that are sure to impress!