How to Make a Cheese Board from Wood
Building a cheese board from wood is a fun and easy project that makes a great addition to any kitchen. Cheese boards can be made from a variety of different woods, but some of the best include maple, cherry, and walnut. The key to making a good cheese board is to choose the right wood for the job.
Maple is a good choice for its strength and durability, while cherry and walnut offer a more elegant look.
When it comes to choosing the right wood for your cheese board, there are a few things you need to keep in mind. First, consider the type of cheese you will be using most often.
Hard cheeses like cheddar or Parmesan require a stronger board that can withstand repeated cuts, while softer cheeses like Brie or Camembert can be cut on a more delicate board. Second, think about how you want your cheese board to look. Do you want it to be simple and functional, or do you want it to have an intricate design?
Once you’ve decided on the type of wood you want to use for your cheese board, it’s time to get started! Begin by cutting your wood into pieces that are roughly 1 inch thick and 6 inches wide. If you’re using multiple pieces of wood, make sure they are all the same thickness so that your cheese board will be level when assembled.
Once all of your pieces are cut, sand them down smooth with medium-grit sandpaper. Next, use a router or jigsaw to create any designs or patterns on the surface of your cheese board (if desired).
Make a Cheeseboard!
- Start with a piece of wood that is large enough to fit all the cheese and other items you want to include on your board
- You can use any type of wood, but something like cedar or maple would be ideal
- Use a saw to cut the wood into your desired shape
- If you want a more rustic look, you can leave the edges rough
- Otherwise, sand them down until they are smooth
- Once the board is cut to size, stain or paint it in any color or design you like
- Let the board dry completely before proceeding to the next step
- To make sure the cheese doesn’t stick to the board, rub some beeswax over the entire surface
- You can also use food-safe mineral oil for this step if you prefer
- Now it’s time to start adding your cheese! Arrange them however you like, and don’t forget to include some crackers or bread and a few pieces of fruit or nuts as well
How to Make Charcuterie Boards to Sell
Charcuterie boards are all the rage right now. They make for beautiful displays at parties and events, and they’re a delicious way to enjoy some of your favorite meats, cheeses, and other snacks. If you’re looking to get in on the action and start selling charcuterie boards of your own, here’s what you need to know.
First, choose a variety of meats, cheeses, and other snacks that will appeal to your customers. It’s important to have a good mix of flavors and textures so that there’s something for everyone. Some popular options include cured meats like salami or prosciutto, aged cheeses like cheddar or gouda, fresh fruits and vegetables like grapes or cherry tomatoes, crackers or breadsticks, and dips or spreads such as hummus or fig jam.
Once you have your ingredients selected, it’s time to start assembling your boards. A standard charcuterie board should be large enough to comfortably fit all of your ingredients without being too cramped. Start by laying down a base of crackers or breadsticks around the edge of the board.
Then arrange the meat and cheese slices in small piles around the crackers. Fill in any empty spaces with the fruit, vegetables, dips, or spreads.
When you’re finished assembling your board, it’s time to price it accordingly.
Charcuterie boards can range anywhere from $15-$50 depending on the size and contents. Be sure to factor in how much each ingredient costs so that you can price your board competitively yet still make a profit.
Now that you know how to make charcuterie boards to sell, get out there and start whipping up some creations of your own!

Credit: www.youtube.com
What is the Best Wood for a Cheese Board?
If you’re looking for the best wood for a cheese board, you’ll want to choose a hardwood that’s durable and won’t absorb flavors or odors. Maple, cherry, and walnut are all good choices. You’ll also want to make sure the board is smooth so your cheese doesn’t get stuck to it.
How Do You Make a Charcuterie Board Out of Raw Wood?
Charcuterie boards made out of raw wood are all the rage these days, and for good reason! They make a beautiful and rustic addition to any kitchen or dining room, and can be used for both decoration and function. Here’s how to make your own charcuterie board out of raw wood:
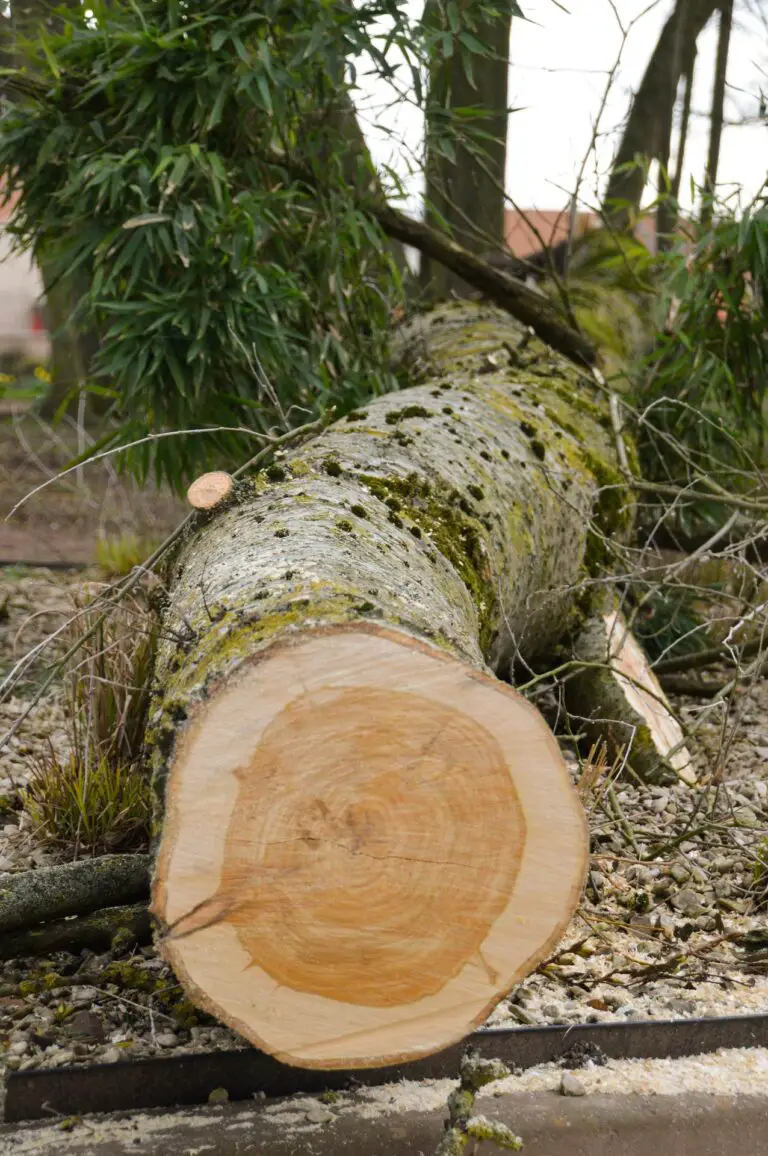
1. Start by finding a piece of raw wood that you like the look of. It should be large enough to fit all the food items you want to include on your board, but not too thick or bulky. You can find raw wood at most hardware stores or online.
2. Once you have your piece of wood, sand it down until it is smooth. This will help prevent splinters and make it more pleasant to use.
3. Next, stain or paint the wood if desired.
This step is entirely optional, but can help give your board a more finished look. Choose a color that goes well with your kitchen décor or dining room furnishings.
4. Now it’s time to start adding your food!
Begin by spreading out a layer of crackers, breads, or other small bites. Then add some meats, cheeses, vegetables, fruits, nuts, and anything else you like on your charcuterie board. Be sure to arrange everything in an appealing way so that it looks as good as it tastes!
5 finally Add any finishing touches like herbs sprigs or edible flowers , then serve and enjoy!
How Do You Make Homemade Cheese Boards?
If you love cheese as much as we do, then you probably dream of having a beautiful cheese board at your next party. But what if we told you that you don’t need to go out and buy one? You can easily make your own!
Here’s what you’ll need:
– A cutting board or wooden tray
– A sharp knife
– A variety of cheeses (we recommend 3-5 different kinds)
– Assorted crackers or breads
– Fresh fruit and/or nuts (optional)
– Jam or honey (optional)
First, choose your cheeses. It’s important to have a variety of textures and flavors, so pick one soft cheese, one hard cheese, and one somewhere in between.
Then, cut the cheeses into bite-sized pieces using your sharp knife. Arrange the pieces on your cutting board or tray. Add crackers or bread around the edge of the board.
If you want, you can also add fresh fruit and/or nuts for extra flavor and texture. Finally, drizzle with jam or honey if desired. And that’s it!
Your homemade cheese board is ready to enjoy.
What Type of Wood is Used for Cheese?
There are many types of wood used for cheese, each with its own unique flavor. The most common type of wood is oak, which imparts a strong, earthy flavor to the cheese. Other popular types of wood include cherry, maple, and hickory.
Each type of wood will give the cheese a different flavor profile, so it is important to choose the right one for your desired taste.
Conclusion
A cheese board is a great way to show off your favorite cheeses, meats, and fruits. And, it’s easy to make one from wood!
Here’s what you’ll need:
– A piece of wood (we used a 1x8x8)
– A jigsaw or hand saw
– Sandpaper
– Stains or paints (optional)
– Cutting board oil (optional)
– Cheese knives (optional)
First, use a jigsaw or hand saw to cut your piece of wood into the desired shape. We went with a simple rectangle, but you can get creative! If you’re using a hand saw, be sure to sand down the edges afterwards so they’re nice and smooth.
Next, decide whether or not you want to stain or paint your cheese board. This step is completely optional – we just decided to go with a dark walnut stain for ours. If you do choose to stain or paint, make sure you give the board plenty of time to dry before moving on.
Once your board is dry, it’s time to season it with cutting board oil. This helps protect the wood and prevents moisture from seeping in and causing theboard to warp over time. Just pour some oil onto the surface of the board and rub it in with a clean cloth until the entire thing is covered.
Then let it sit for at least an hour so that the oil can really soak in.
Finally, if you’d like, add some cheese knives to your cheese board for an extra special touch! These are totally optional – but they definitely come in handy when it comes time to actually serve up your beautiful creation.