How to Seal Sharpie on Wood
One of the great things about Sharpies is that you can use them on just about any surface, including wood. However, if you want your Sharpie drawing or writing to last on wood, you’ll need to seal it. Sealing a Sharpie on wood is easy to do and only requires a few materials that you likely already have around the house.
With a little bit of time and effort, you can seal your Sharpie drawings or writings on wood so that they will last for years to come.
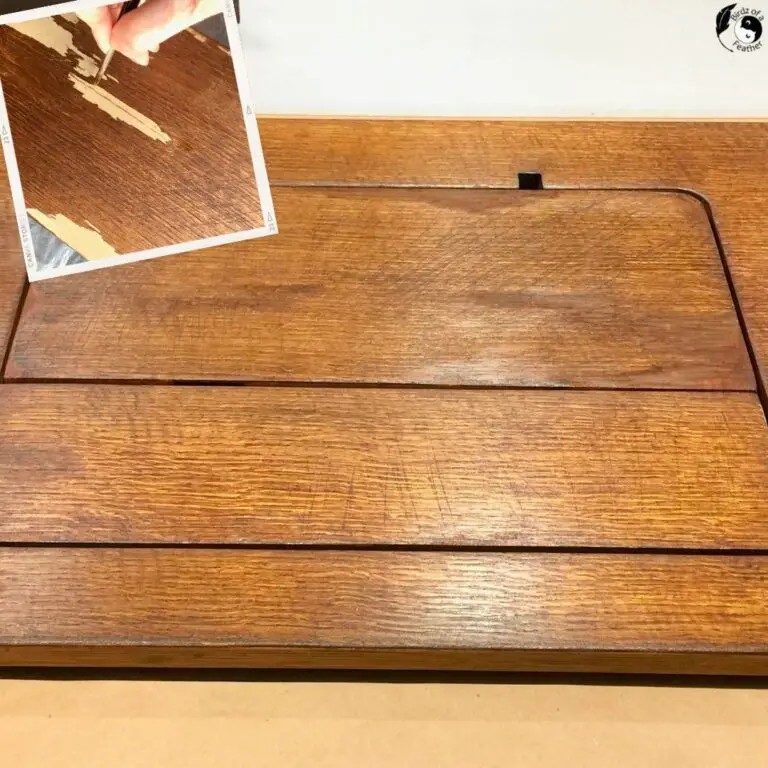
- Begin by sanding the wood surface to create a smooth base for the Sharpie ink
- Apply a thin layer of clear sealant over the entire wood surface
- Allow the sealant to dry completely before proceeding
- Use a Sharpie marker to draw or write on the wood surface as desired
- Allow the ink to dry completely, then apply another layer of clear sealant over top
- Allow the sealant to dry completely and enjoy your handiwork!

Credit: www.artnyfair.com
What Can You Use to Seal Sharpie on Wood?
There are a few things you can use to seal sharpie on wood. One is to use a clear acrylic sealer. You can also use Mod Podge or even hairspray!
Just make sure to test a small area first to see how the Sharpie reacts with each of these products.
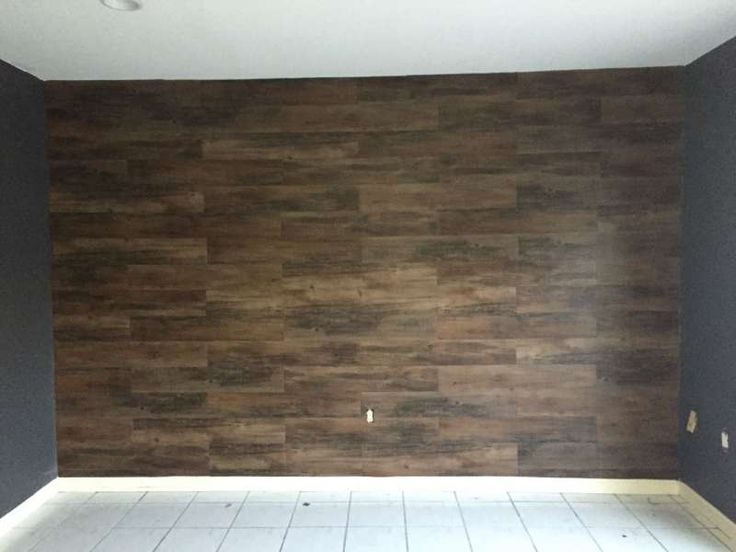
Does Sharpie Last on Wood?
Yes, Sharpie does last on wood. In fact, many people use Sharpies to decorate wood surfaces because the ink is permanent and won’t fade over time. However, it’s important to note that Sharpies are not waterproof, so if you’re using them outdoors or in a humid environment, they may not last as long.
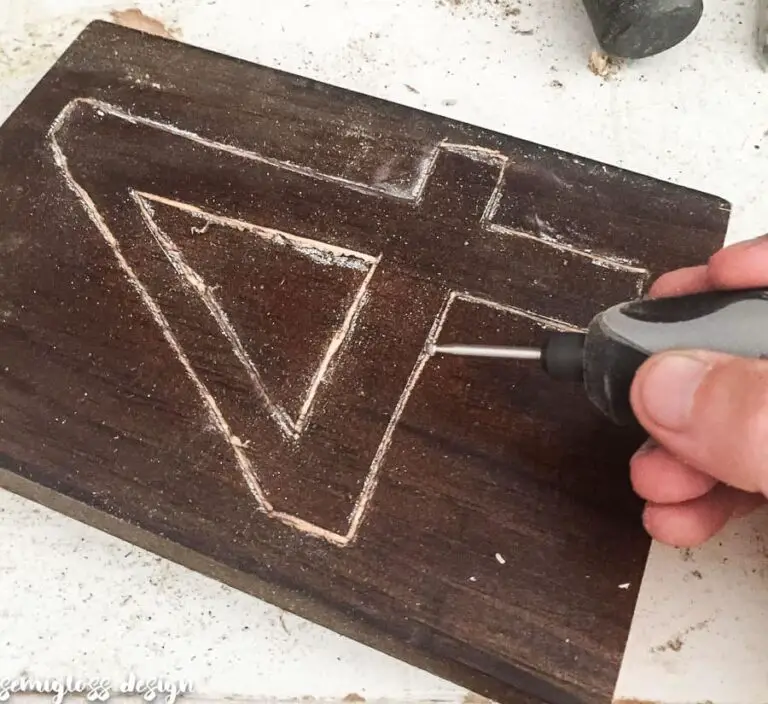
How Do You Keep Sharpie from Bleeding on Wood?
If you’re looking to keep your sharpie drawings from bleeding on wood, there are a few things you can do. First, make sure that the wood is sanded smooth – this will help to create a barrier between the ink and the wood. Next, apply a base coat of paint or primer to the wood – this will also help to create a barrier and prevent the ink from bleeding through.
Finally, when you’re ready to draw with your sharpie, use a light hand and go slowly – if you press too hard or move too fast, the ink is more likely to bleed through. With these tips in mind, you should be able to keep your sharpie drawings looking neat and clean on wood surfaces!
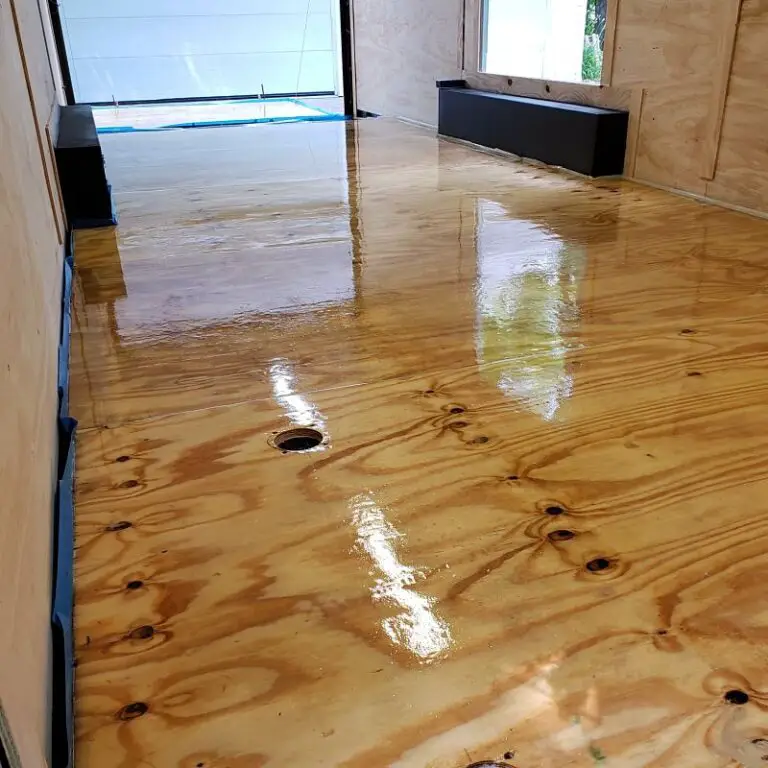
Can You Polyurethane Over Sharpie?
Yes, you can polyurethane over sharpie. However, there are a few things you need to do in order to make sure the sharpie doesn’t bleed through the polyurethane. First, you need to make sure the sharpie is completely dry.
If it’s even slightly damp, it will bleed through the polyurethane. Second, you need to apply a thin layer of polyurethane. If you apply too much, it will seep into the sharpie and cause it to bleed.
Third, you need to let the first layer of polyurethane dry completely before applying another one. Otherwise, the sharpie will bleeding again.
How to Seal Sharpie Paint Marker Projects
How to Seal Sharpie on Painted Wood
One of the great things about Sharpie paint pens is that they can be used on a variety of different surfaces, including painted wood. However, you may be wondering how to seal Sharpie on painted wood so that your design will last. Here are some simple tips:
1. Use a clear acrylic sealer: Applying a clear acrylic sealer over your Sharpie design will help to protect it from wear and tear. You can find clear acrylic sealers at most craft stores.
2. Apply several coats: For extra protection, consider applying several coats of sealer to your design.
Allowing each coat to dry completely before adding another will give you the best results.
3. Let it dry completely: Once you’ve applied the sealer, be sure to let it dry completely before using or handling the item. Otherwise, you run the risk of smudging your hard work!
Conclusion
To seal a Sharpie on wood, you’ll need to use a clear acrylic sealer. First, make sure the wood is clean and dry. Then, apply the sealer with a brush or sprayer.
Allow the sealer to dry completely before using the Sharpie.