Can You Wood Burn Over Paint
Can you wood burn over paint? This is a question I get asked a lot. The answer is yes, but there are a few things you need to know before you start.
First of all, not all paints are created equal. Some will burn better than others. Second, the thicker the paint, the more difficult it will be to burn through it.
And lastly, the darker the paint, the easier it will be to see your design.
- Begin by sanding down the area you wish to wood burn
- This will help create a smooth surface for burning and also remove any existing paint or varnish
- Next, select the type of wood burning tool you would like to use
- There are many different types available on the market, so choose one that best suits your needs and skill level
- Once you have your wood burning tool, practice using it on a scrap piece of wood before beginning on your project piece
- This will help you get a feel for how the tool works and avoid making any mistakes
- When you’re ready to begin, start by slowly tracing over any lines or designs you wish to burn into the wood
- Take your time and be careful not to apply too much pressure, which can cause the tool to gouge the wood
- As you work, periodically stop and check your progress
- If you’re happy with the results, continue working until you’ve finished your design
- If not, make any necessary adjustments and continue until satisfied
Can You Wood Burn Over Stain
Wood burning is a great way to add personal touches to your woodworking projects. But can you wood burn over stain?
The answer is yes!
Wood burning over stain is a great way to add detail and interest to your projects. There are a few things to keep in mind when wood burning over stain, however.
First, it’s important to use a light touch when wood burning over stain.
This will help prevent the stain from smearing or running.
Second, it’s best to use a fine-tipped wood burning pen for detailed work. A thicker pen may cause the stain to bleed or run.
Finally, be sure to let the stain dry completely before starting your wood burning project. This will ensure that the design you create is crisp and clean.
Painting Over Wood Burning
If you’re like most people, you probably have a wood burning fireplace that you rarely use. But did you know that you can actually paint over wood burning?
Yes, it’s true!
You can give your old fireplace a new lease on life by painting it. This is a great way to update the look of your home without spending a lot of money.
Here are some tips for painting over wood burning:
1. Choose the right paint. Make sure to use a high-quality latex paint that is designed for use on fireplaces. You don’t want to use just any old paint, as it may not stand up to the heat generated by the fireplace.
2. Prepare the surface. Before painting, make sure to clean the surface of the fireplace with soap and water. If there is any soot or dirt build-up, this will need to be removed before painting.
Once the surface is clean, sand it down smooth so that the paint will have a good surface to adhere to.
3 Paint in thin coats . When painting over wood burning, it’s best to apply several thin coats of paint rather than one thick coat .
This will help ensure even coverage and prevent drips or runs in the paint job . Allow each coat of paint to dry completely before applying the next one . 4 Let it cure .
After you’ve applied all of your coats of paint , let them cure for 24 hours before using your fireplace again .
How to Add Color to Wood Burning
Adding color to wood burning is a great way to personalize your project and make it truly unique. There are a few different ways that you can add color to your wood burning, and each one will give you different results.
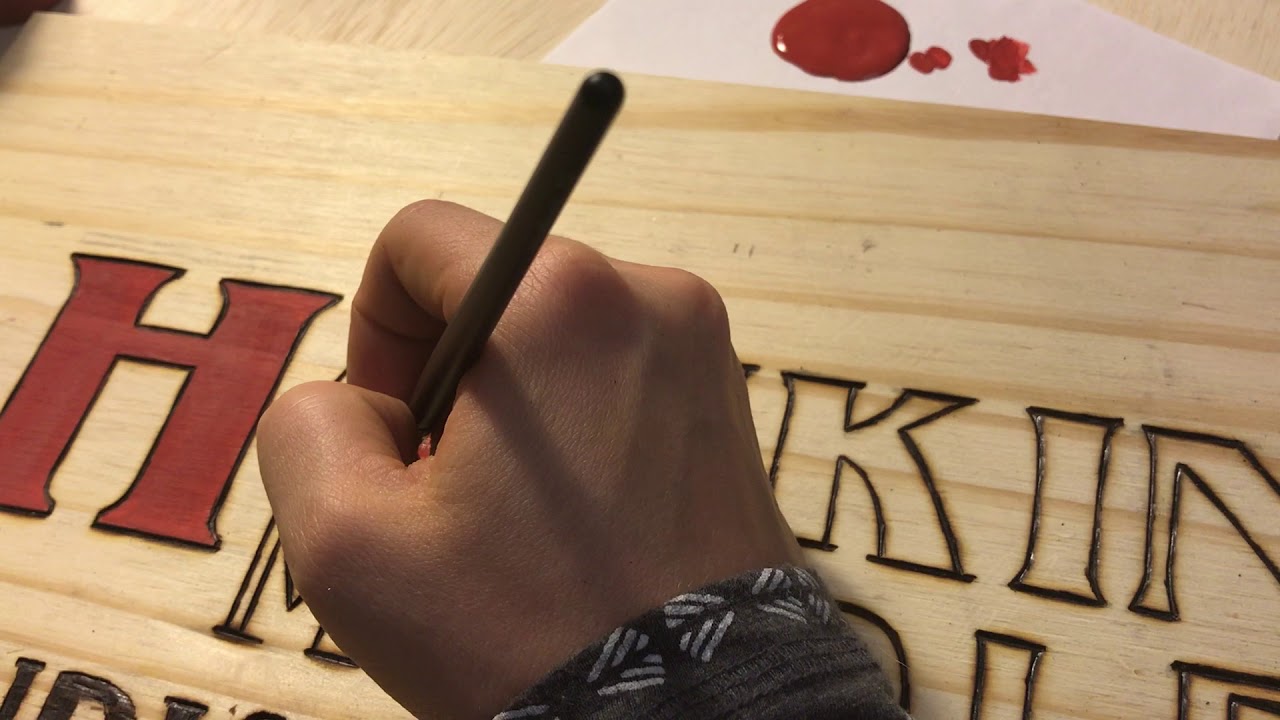
One way to add color to wood burning is by using colored pencils.
You can either use regular colored pencils or watercolor pencils. Watercolor pencils will give your project a more blended look, while regular colored pencils will give it more of an opaque look. Either way, simply color over the area that you want to be colored and then burn over it with your wood burner.
The heat from the burner will cause the wax in the pencils to melt and adhere to the wood, creating a beautiful and colorful design.
Another way to add color to wood burning is by using markers. This method works best on lighter woods, such as balsa or basswood.
Color directly onto the surface of the wood with whichever colors you like, and then go over it with your wood burner set on a low setting. The heat from the burner will cause the ink in the markers to slightly fuse with the surface of the wood, giving it a beautiful stained glass effect.
So whether you want a subtle hint of color or something bold and bright, adding color to your wood burning projects is easy and fun!
Experiment with different techniques and materials until you find something that you love.
What Paint to Use in Pyrography
There are a few different types of paint that can be used for pyrography, but the best type to use is acrylic paint. Acrylic paint is easy to work with and dries quickly, making it ideal for this type of project. Plus, it comes in a wide variety of colors so you can find the perfect shade for your project.
Cricut Wood Burning
If you’re looking to add a personal touch to your DIY projects, wood burning may be the perfect solution. And with a Cricut cutting machine, it’s easier than ever to get started!
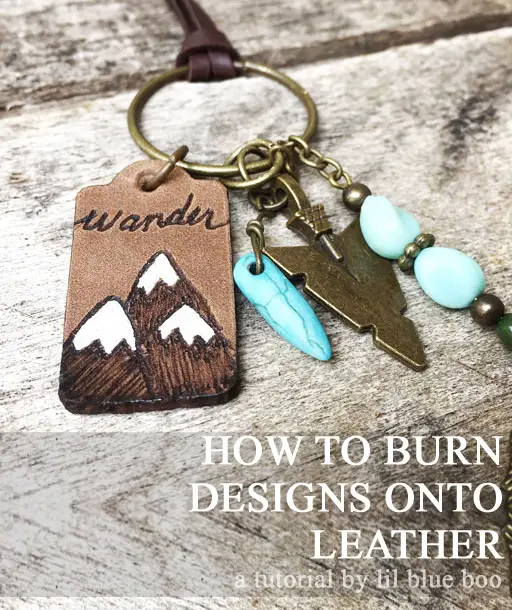
Wood burning is a technique that involves using a heated tool to burn designs into wood.
This can be done freehand or with stencils, and the results can be very striking. If you’re new to wood burning, starting out with a Cricut machine is a great way to get beautiful results without a lot of hassle.
Here’s what you need to know about using your Cricut machine for wood burning:
1. Choose the right tools. You’ll need a woodburning pen and some stencils (if desired). Be sure to select pens that are specifically designed for use with Cricut machines – this will make things much easier.
2. Prep your work surface. It’s important to have a clean, flat surface to work on when doing any kind of precision crafting like this. A cutting mat is ideal, but you can also use cardboard or poster board if necessary.
Just be sure whatever surface you use is smooth and won’t warp under heat.
3 .Load your design into the Cricut software and adjust as needed .
This part is key – if your design isn’t properly sized or positioned , it won’t transfer correctly onto the wood . Once everything looks good , hit “Go” and let your machine do its thing !
4 .
Position your stencil (if using) on the wood and secure in place . Then , carefully attach your chosen tip onto the pen according to manufacturer’s instructions .
5 . Slowly move the tip along the edge of your stencil , being careful not to veer off course . As you work ,the pen will heat up and begin Burning through both The paper stencil and The Wood beneath it . Keep moving until Your design is complete !
6 Let the burned image cool completely before removing The Stencil paper . You’re done !
Credit: www.youtube.com
Can You Burn Wood That Has Paint on It?
If you’re looking to get rid of an old piece of furniture or perhaps some trim around the house, you may be wondering if you can burn wood that has paint on it. The answer is yes, but there are a few things to keep in mind.
First off, it’s important to note that the burning of any kind of treated wood is not recommended.
This includes wood that has been painted, stained, or otherwise coated with a sealant or chemicals. Burning these materials can release harmful toxins into the air which can be dangerous to your health.
With that said, if you do choose to burn painted wood, it’s best to do so outdoors in a well-ventilated area.
Be sure to monitor the fire closely and extinguish it completely before leaving the area. It’s also a good idea to wear gloves and a dust mask to protect yourself from any fumes or particles that may be released during the burning process.
Can You Burn Painted Wood in Wood Burner?
When it comes to burning painted wood in your wood burner, there are a few things you need to take into consideration. The first is the type of paint that is on the wood. If the paint is oil-based, it can release harmful chemicals into the air when burned.
However, if the paint is latex-based, it should be safe to burn.
Another factor to consider is how thick the layer of paint is on the wood. If the paint is too thick, it could cause the wood to burn less efficiently and produce more smoke.
So, while you can technically burn painted wood in your wood burner, it’s important to do your research beforehand to make sure you’re taking all necessary precautions.
Can I Woodburn Acrylic Paint?
Yes, you can woodburn acrylic paint, but it takes a little bit of patience and practice to get the hang of it. Acrylic paint is a plastic based paint, so it doesn’t burn as easily as traditional oil or water-based paints. However, with a little bit of heat and pressure, you can create some beautiful wood burned designs with acrylic paint.
Here are a few tips to help you get started:
1. Use a lower temperature setting on your wood burning tool. This will help to prevent the paint from burning too quickly or becoming too charred.
2. Experiment on scrap pieces of wood first to get a feel for how the heat and pressure affects the paint.
3. Use light strokes at first until you get a feel for how much pressure to apply. You don’t want to press too hard and end up with an uneven design.
4. Be patient! Wood burning takes time and practice to master, but it’s definitely worth it when you see the beautiful results that you can create.
Can You Burn Wood With Latex Paint on It?
It’s not recommended to burn wood with latex paint on it. While the paint itself is not toxic, the fumes created when burning painted wood can be. Inhaling these fumes can lead to headaches, nausea and other respiratory problems.
If you must burn painted wood, do so outdoors and away from any buildings or people.
Woodburning and paint, how to add color and what to use.
Conclusion
Yes, you can wood burn over paint! The key is to use the right type of paint and to prepare your surface correctly. We’ll walk you through the process step-by-step so that you can get started on your own project.