Wood Slice Ornaments Ideas
Wood slice ornaments are a great way to add a rustic touch to your holiday decor. You can find wood slices at most craft stores, or you can cut your own from a piece of scrap wood. To make your own wood slice ornament, start by painting the front and back of the wood slice with acrylic paint.
Once the paint is dry, use a hot glue gun to attach a ribbon for hanging. Then, decorate the front of the ornament with stickers, buttons, sequins, or any other small embellishments.
Wood slice ornaments are a beautiful and unique way to add a personal touch to your holiday decor. Here are some ideas to get you started:
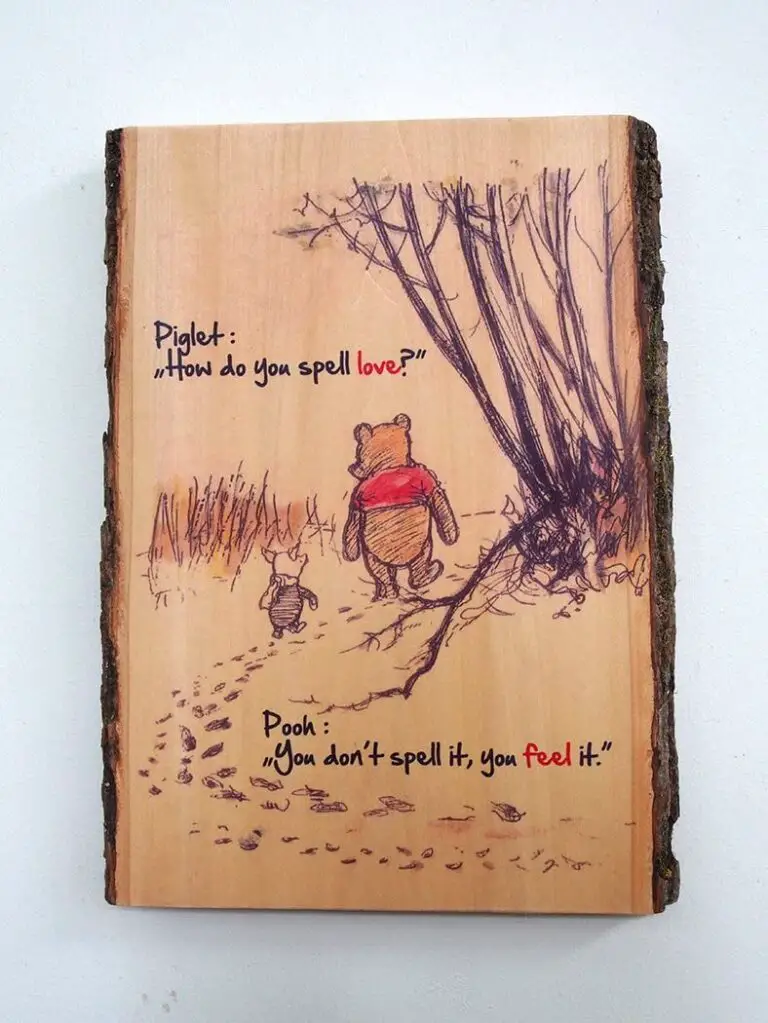
1. Use a wood burner to create intricate designs on your wood slices.
You can even write holiday messages or the names of loved ones.
2. Paint your wood slices in festive colors and patterns. This is a great option if you’re not confident in your wood burning skills!
3. Decorate your wood slices with beads, sequins, and other small embellishments. This is a fun way to really make your ornaments stand out.
4. Drill small holes in the top of each slice and thread them together with ribbon or twine to create a garland or mobile.
5. Get creative and use your imagination! There are endless possibilities when it comes to decorating wood slice ornaments.
DIY Wood Slice Ornaments – Personalized with Vinyl Decals!
Wood Slice Ornaments Bulk
Looking for a unique and natural way to decorate your home this holiday season? Look no further than wood slice ornaments! These beautiful, rustic decorations are perfect for adding a touch of nature-inspired charm to your Christmas tree.
Plus, they’re super easy to make yourself with just a few supplies.
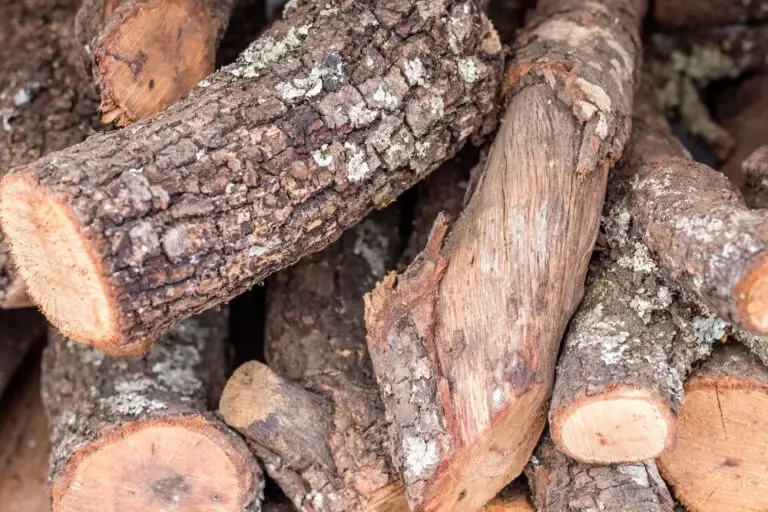
To get started, you’ll need a log or branch that’s about 6 inches in diameter. Cut it into 1-inch thick slices using a saw (a hand saw or power drill with an attached saw blade will work fine).
Once you have your slices, use a pencil or pen to draw whatever design you’d like on the front of each one. You can go for something simple like dots or stripes, or get creative with snowflakes, reindeer, trees, etc.
Once your designs are all drawn on, it’s time to start painting!
Use acrylic paint in any color(s) you desire – we love the look of metallic gold and silver against the dark wood grain. Let your creativity flow and have fun with it! Once dry, add a ribbon loop to the top of each ornament so you can hang them up.
There you have it – DIY wood slice ornaments that are sure to add some personality and pizzazz to your holiday decorating!
Etsy Wood Slice Ornaments
Etsy Wood Slice Ornaments are the perfect way to add a rustic touch to your holiday decor! These natural wood slices are hand-painted with festive designs and can be personalized with your family name or a special message. hung from your tree or used as unique gift tags, these Ornaments are sure to become a cherished part of your holiday tradition.

Credit: www.madetobeamomma.com
How Do You Decorate Wood Slice Ornaments?
If you’re looking for a rustic, homemade look for your Christmas tree this year, consider making your own wood slice ornaments! Wood slices can be found at most craft stores, or you can make them yourself by cutting thin slices off of a log with a saw. Once you have your wood slices, the sky is the limit when it comes to decorating them!
Here are some ideas to get you started:
-Paint them with festive holiday designs using acrylic paints.
-Use a wood burning tool to create unique patterns or words on the surface of the wood.
-glue on sequins, beads, buttons or other small decorations.
-Wrap twine or ribbon around the edge of the ornament for a finishing touch.
Making your own wood slice Ornaments is a fun and easy project that can be done in an afternoon.
And since no two Ornaments will be exactly alike, they make great gifts that are sure to be cherished for years to come!
Do You Seal Wood Slice Ornaments?
Wood slice ornaments are a beautiful and unique way to decorate your home for the holidays. But do you need to seal them?
It depends on the type of wood and how you plan to use them.
If the wood is unfinished, it will likely absorb moisture and stain easily. You may also want to seal it if you plan on using it outdoors, as weather can cause the wood to warp or crack.
If the wood is finished, it shouldn’t need any additional sealing.
However, if you’re unsure, it’s always better to err on the side of caution and give it a light coat of sealant. This will help protect against staining and damage from moisture.
How to Make Wood Slice Christmas Decorations?
Wood slice Christmas decorations are a unique and beautiful way to add a rustic touch to your holiday decor. Here are some tips on how to make your own wood slice Christmas decorations:
1. Start with a clean, dry log.
If you have a fresh cut log, you will need to let it cure for several weeks before using it for crafts.
2. Use a saw or other cutting tool to slice the log into thin pieces. The thickness of the slices will depend on the look you want to achieve.
3. Once all of the slices are cut, sand them down smooth with fine-grit sandpaper. This step is optional, but it will help create a more polished look for your finished product.
4. To give your wood slices some festive color, consider painting them or applying a stain/sealer of your choice.
Red and green are traditional Christmas colors, but feel free to get creative! Let the paint or stain dry completely before proceeding to the next step.
5 .
Now it’s time to add any embellishments you desire. Some popular ideas include gluing on faux holly leaves and berries, attaching jingle bells, or writing holiday messages with a permanent marker or paint pen . Be creative and have fun!
6 . Once everything is dry , string each slice onto some strong twine or fishing line , making sure to leave enough length at either end for hanging . Your wood slice Christmas decorations are now ready to enjoy !
How Do You Put Pictures on a Wood Slice Ornament?
If you’re looking to add a personal touch to your holiday decorations this year, why not try making your own wood slice ornament? With just a few supplies and some simple steps, you can create a unique ornament that is sure to be a hit with family and friends.
Here’s what you’ll need:
-A wood slice (you can find these at most craft stores)
-Mod Podge or other decoupage glue
-A paintbrush
-Scissors
-Your desired image printed on cardstock paper (make sure it’s the right size for your wood slice!)
First, brush a layer of Mod Podge onto the front of your wood slice.
Then, place your printed image onto the wet glue and smooth it down. Be careful not to rip the paper. Once your image is in place, brush another layer of Mod Podge over top.
This will help seal everything in place. Let the ornament dry overnight before adding any additional embellishments. If you want to hang your ornament, simply tie some string or ribbon around the top before the final coat of Mod Podge dries.
And that’s it! You now have a beautiful homemade wood slice ornament that is perfect for gifting or keeping for yourself!
Conclusion
This holiday season, add a personal touch to your Christmas tree with these wood slice ornaments. These ornaments are easy to make and can be customized to fit your own style. To make these ornaments, you will need a few supplies including wood slices, paint, Mod Podge, and ribbon.
Once you have gathered your supplies, simply paint the wood slices in any design you like and then seal them with Mod Podge. Finally, add a ribbon loop to the top of each ornament so that they can be hung on the tree. These ornaments are a great way to add a personal touch to your Christmas decor this year!