Wood Filler Not Taking Stain
If you’ve ever tried to stain wood and found that the filler won’t take the color, you’re not alone. It’s a common problem, but there are a few things you can do to fix it. First, try sanding the area with fine-grit sandpaper.
This will rough up the surface of the filler and help the stain adhere. If that doesn’t work, try using a pre-stain conditioner or a gel stain. These products are designed to penetrate into the wood and provide even coverage.
Finally, make sure you’re using a fresh can of stain. If it’s been sitting around for awhile, it may have lost its potency and won’t be able to penetrate the filler.
If you’re trying to stain your wood filler so that it matches the rest of your woodwork, and it’s not taking the stain, there are a few things you can try. First, make sure that the wood filler is completely dry. If it’s even slightly damp, the stain will have trouble adhering.
Once it’s dry, sand it down with fine-grit sandpaper until the surface is smooth. Then, apply a coat of pre-stain conditioner before staining. This will help the stain to evenly absorb into the wood filler.
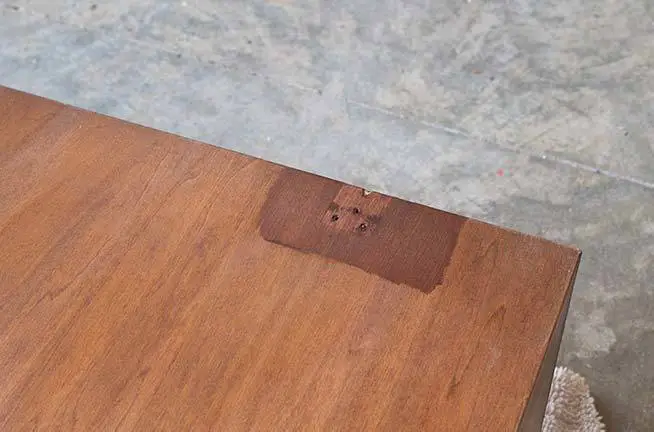
Finally, use a rag to wipe off any excess stain after applying it to the wood filler – otherwise you’ll end up with a dark spot where the Stain pooled.
How to Hide Wood Filler After Staining
If you’re staining your woodwork and you want to hide any imperfections, here’s how to do it. First, apply a coat of stain with a brush or cloth. Wipe off any excess stain with a clean rag.
Then, using a putty knife, fill in any cracks or holes with wood filler. Once the filler is dry, sand it down until it’s flush with the rest of the wood. Finally, apply another coat of stain over the filler.
This will help blend it in with the rest of the woodwork and give it a more finished look.
How to Make Wood Filler Look Like Wood
Wood filler is a great way to fix small cracks and holes in wood surfaces. However, sometimes it can be difficult to get the filler to match the color of the surrounding wood. Here are a few tips on how to make wood filler look like wood:
– Use a putty knife or other sharp tool to apply the filler into the crack or hole.
– Work the filler into the crack or hole until it is level with the surface of the wood.
– Wipe away any excess filler with a damp cloth.
– Allow the filler to dry completely before sanding it down so that it is flush with the rest of the surface.
Staining Over Wood Filler Gives Blotchy Results
Wood filler is a great way to fix small holes and cracks in wood surfaces. However, staining over wood filler can give blotchy results. To avoid this, first apply a thin layer of shellac or other sealer over the wood filler.
Allow the sealer to dry completely before applying your stain. This will help to create a more even appearance.
How to Stain Over Wood Filler
When staining wood, it’s important to consider the type of wood filler you’re using. Some fillers are more absorbent than others, and will therefore require different methods for staining. In this blog post, we’ll provide a detailed guide on how to stain over wood filler, so that you can achieve the perfect finish for your project.
The first step is to select the right type of wood filler for your needs. If you’re looking for a natural look, choose a water-based wood filler. For a more durable option, go with an epoxy-based filler.
Once you’ve selected the right product, follow the manufacturer’s instructions for application and allow it to dry completely before proceeding.
Once the filler is dry, it’s time to start staining. If you’re using an oil-based stain, apply it liberally with a brush or rag and allow it to sit for several minutes before wiping away any excess.
Water-based stains can be applied in a similar manner, but should be wiped off sooner to avoid damaging the wood beneath. Whichever type of stain you’re using, always test it in an inconspicuous area first to ensure desired results.
After applying your chosen stain evenly across the surface of the wood filler , allow it to dry completely before moving on .
Once dry , sanding may be necessary to create a smooth , even finish . If desired , additional coats of stain can be applied until desired darkness is achieved .
With these tips in mind , staining over wood filler should be no problem !
Just remember to take your time and work in small sections until you get the hang of it . With practice , achieving beautiful results will be easy peasy !
Wood Filler Too Light
Wood filler is a type of material used to fill in holes, cracks, or indentations in wood. It can be made from a variety of materials, but most commonly it is made from wood dust or sawdust mixed with a binder, such as glue.
When choosing a wood filler, it is important to consider the color of the filler relative to the color of the surrounding wood.
If the filler is too light, it will be very noticeable and may not look natural. On the other hand, if the filler is too dark, it may not provide enough contrast to be effective. The best way to select an appropriate color for your project is to test the filler on a scrap piece of similar wood before starting your repair.
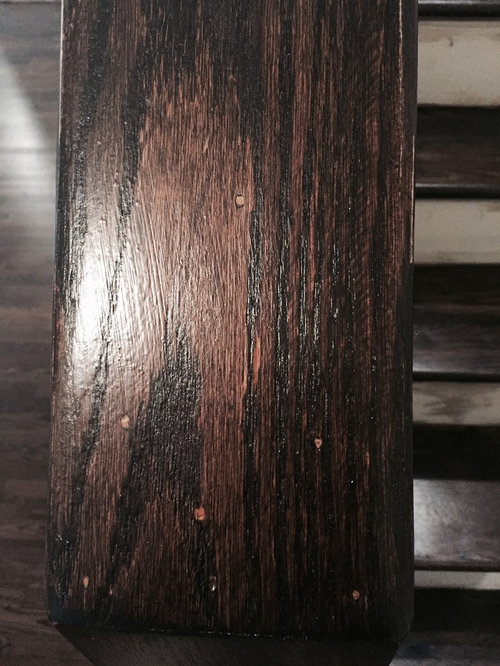
Credit: www.houzz.com
Does Wood Filler Accept Stain?
Wood filler is a material used to fill in holes or cracks in wood. It is available in different colors, but it is usually best to match the color of the wood filler to the color of the surrounding wood. Wood filler can be stained, but it is important to note that the stain will not be as intense as it would be on bare wood.
To achieve the best results, it is necessary to first apply a coat of primer before staining the wood filler.
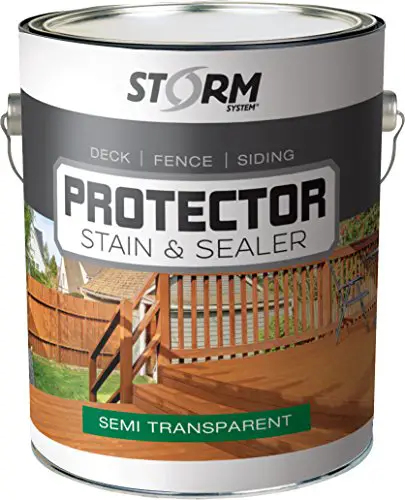
Which Wood Filler Accepts Stain the Best?
There are a few things to consider when choosing a wood filler if you want it to accept stain well. The first is the type of wood filler – there are water-based and oil-based fillers available. Water-based fillers tend to absorb stains better than oil-based fillers.
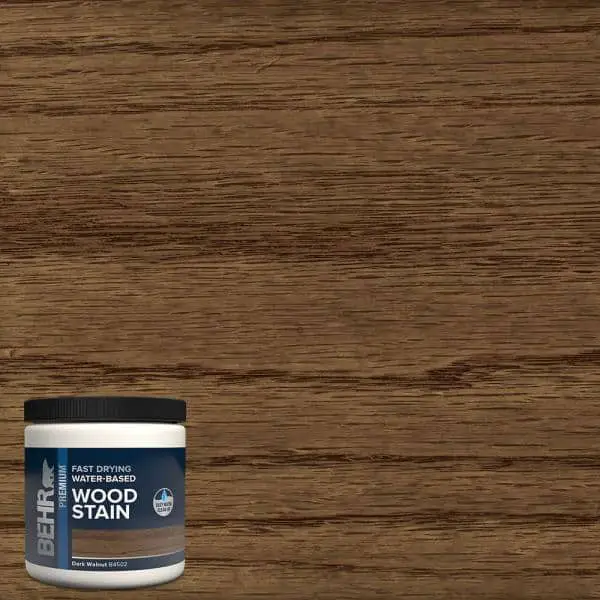
The second thing to consider is the color of the filler. You’ll want to choose a filler that is close in color to the stain you plan on using, so that it will blend in well.
Finally, make sure you test the stain on a small area of the wood filler before applying it to your project, just to be sure that it will give you the results you’re hoping for.
How Long Should Wood Filler Dry before Staining?
Wood filler is a great way to repair small holes and cracks in wood surfaces. But before you stain the wood, you need to make sure the wood filler is completely dry.
If you’re using a water-based wood filler, it should be dry to the touch within 30 minutes.
If it’s still tacky after that, you can try letting it air dry for a few hours or overnight. Oil-based wood fillers will take longer to dry – usually around 24 hours.
Once the wood filler is dry, sand it smooth with fine-grit sandpaper and then proceed with staining the wood as usual.
Why is Wood Filler Showing Through Paint?
One of the most common questions we get here at The Paint Pit is why wood filler is showing through paint. There are a few reasons this might happen, so let’s dive in and figure out what’s going on.
The first reason wood filler might show through paint is because the wood itself is absorbent.
This means that it’s soaking up the paint, which can thin it out and make it more transparent. To combat this, you need to make sure you’re using a primer before painting. This will create a barrier between the wood and the paint, preventing the paint from being absorbed.
Another reason wood filler might show through paint is because of how it was applied. If you just slathered on a thick layer of wood filler, it’s likely that some will end up poking through once the paint dries. To avoid this, make sure you smooth out the wood filler before painting over it.
You can use a putty knife or your fingers to do this – just make sure everything is nice and even before moving on to painting.
Lastly, sometimes wood filler can show through paint if the paint itself is too thin or watery. This usually happens when people try to stretch their paint by adding too much water to it.
If your paint looks like it’s getting thinner as you’re painting with it, stop adding water! This will help prevent any further issues with transparency down the line.
We hope this clears up any confusion about why wood filler might be showing through your paint job!
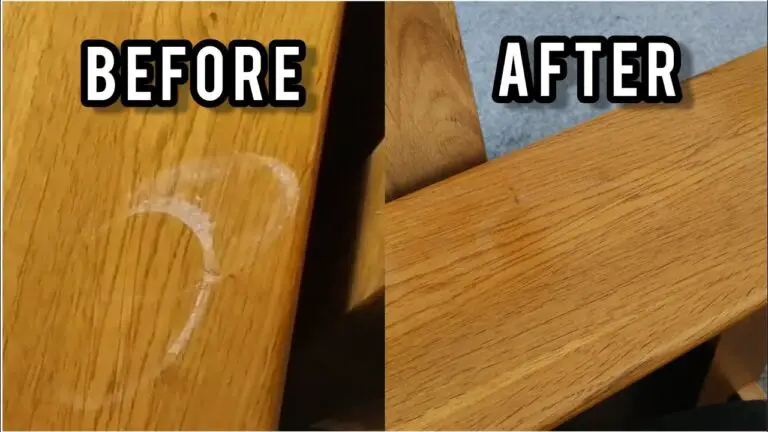
Is Wood Filler Actually Stainable? An Experiment
Conclusion
If you’re trying to stain your wood project and the filler isn’t taking the stain, there are a few things you can do. You can try sanding the filler down until it’s smooth and then staining it. You can also try using a different type of filler that is made to take stain.
Or, you can use a gel stain which will work better on porous surfaces like filler.