How to Seal Wood Burned Cutting Board
If you’re looking for a unique and beautiful cutting board, look no further than a wood burned cutting board. Sealing your wood burning is a simple process that will protect your investment and ensure that your cutting board lasts for years to come.
- Clean the cutting board with a damp cloth to remove any dirt or debris
- Sand the surface of the cutting board with medium-grit sandpaper
- Wipe the dust off of the cutting board with a clean cloth
- Apply a thin layer of mineral oil to the cutting board with a clean cloth
- Allow the mineral oil to soak into the wood for at least 30 minutes before using the cutting board again
How to Seal Cutting Board After Painting
If you’re looking for a way to add a personal touch to your kitchen, why not try painting your cutting board? It’s a fun project that doesn’t require much time or money, and it’ll give your cutting board a one-of-a-kind look. Plus, if you seal the paint job properly, your cutting board will be protected from scratches and stains.
Here’s how to do it:
1. Choose the right paint. You’ll want to use a food-safe paint that won’t chip or peel easily.
A good option is enamel paint, which is designed for use on metal surfaces.
2. Prepare the surface of the cutting board. sanding lightly with fine-grit sandpaper until the surface is smooth.
Wipe away any dust with a damp cloth before painting.
3. Apply the paint in thin, even coats using a small brush or roller designed for use with enamel paints..
Allow each coat of paint to dry completely before applying the next one.. Depending on the type of paint you’re using, you may need 4-6 coats for full coverage.
.
4 Once you’ve achieved the desired color and opacity level.,Its time to seal in the paint job with a layer of food-safe polyurethane varnish .
This will protect your painted cutting board from water damage and everyday wear and tear.. Apply the varnish in thin coats following manufacturer’s instructions , allowing it to dry completely between each coat . Once all coats are applied , let the varnish cure for 24 hours before using your newly painted cutting board .
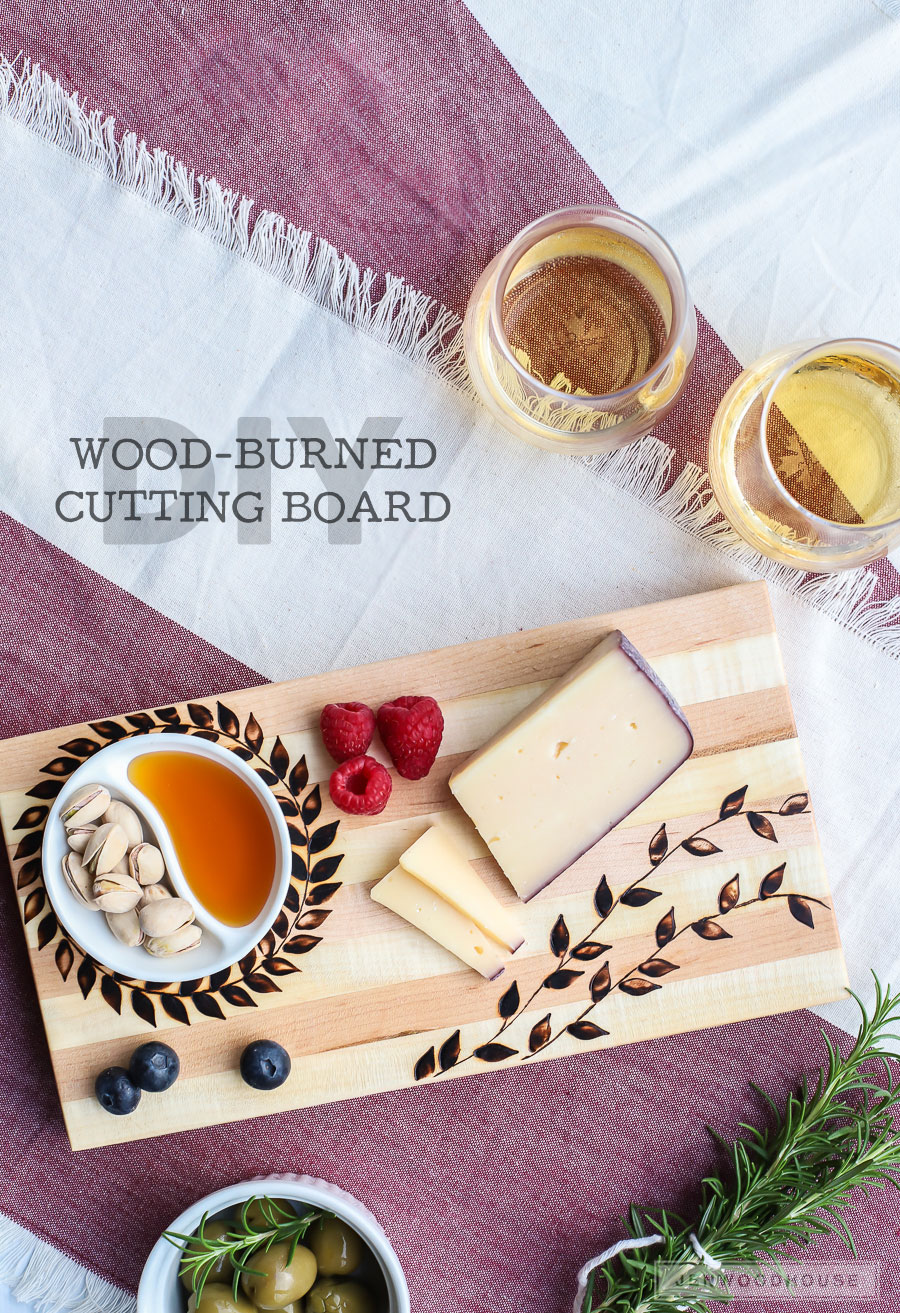
Credit: jenwoodhouse.com
What Do You Use to Seal Burnt Wood?
There are a few different options when it comes to sealing burnt wood. One is to use a clear sealer, which will protect the wood and allow the natural beauty of the burned wood to show through. Another option is to use a tinted sealer, which will add a bit of color to the wood while still allowing the grain to show through.
Finally, you can use paint or stain to give the wood a more finished look.
Do You Have to Seal Wood After Burning?
Yes, you have to seal wood after burning it. Otherwise, the burned wood will absorb moisture from the air and become discolored and warped.
How Do You Fix a Burnt Wooden Cutting Board?
If you’ve accidentally burned your wooden cutting board, don’t despair! With a little elbow grease and some basic household supplies, you can fix it up and have it looking good as new in no time.
Here’s what you’ll need:
-Sandpaper (fine and coarse grits)
-Mineral oil or beeswax
-A clean cloth or brush
To start, sand down the burnt area with fine grit sandpaper until it’s flush with the rest of the board. You may need to use coarse grit sandpaper to remove any stubborn burns. Once the burnt area is smooth, apply a generous amount of mineral oil or beeswax to nourish and protect the wood.
Rub it in well with a clean cloth or brush, then let the board dry for at least an hour before using it again.
What Do You Put on Wood After Wood Burning?
Assuming you’re talking about pyrography, the process of burning images or patterns into wood, there are a few things you can do to protect your work.
One is to simply seal the wood with a clear polyurethane. This will help to protect the wood from moisture and other elements that could damage it over time.
Another option is to apply a thin layer of beeswax over the top of the wood. This will create a barrier that will help to keep the burned image from fading or becoming damaged.
Finally, you can also varnish the wood after burning.
This will provide another layer of protection and also help to bring out the beauty of the burned design.
WOOD BURNING! BURN PICTURES & DESIGNS INTO WOOD W/ ANY CRICUT MACHINE | CRICUT TUTORIAL FOR BEGINNER
Conclusion
If you’re looking for a unique and beautiful way to spruce up your kitchen, look no further than this tutorial on how to seal wood burned cutting boards. This easy DIY project will add a lovely personal touch to any kitchen, and it’s also a great way to protect your cutting board from water damage.
To get started, you’ll need a cutting board (preferably made of hardwood), some wood burning tools, and some clear polyurethane sealant.
Begin by lightly sanding the surface of your cutting board with medium-grit sandpaper; this will help the wood burning tools glide more smoothly over the surface. Next, use your wood burning tools to create whatever design you like on the top of the cutting board. Once you’re happy with your design, carefully apply a layer of clear polyurethane sealant over the entire surface of the board.
Allow the sealant to dry completely before using your newcutting board; enjoy!