How to Seal Live Edge Wood With Bark
Sealing live edge wood with bark is a great way to protect it from the elements and extend its lifespan. There are a few different ways you can do this, but the most common is using a polyurethane sealer. This type of sealer will penetrate deep into the wood and form a barrier against moisture and other environmental factors.
It’s important to apply multiple coats of sealer to ensure adequate protection. You can also use a wax or oil finish to seal your live edge wood, though these will need to be reapplied more often than polyurethane.
- Gather your materials
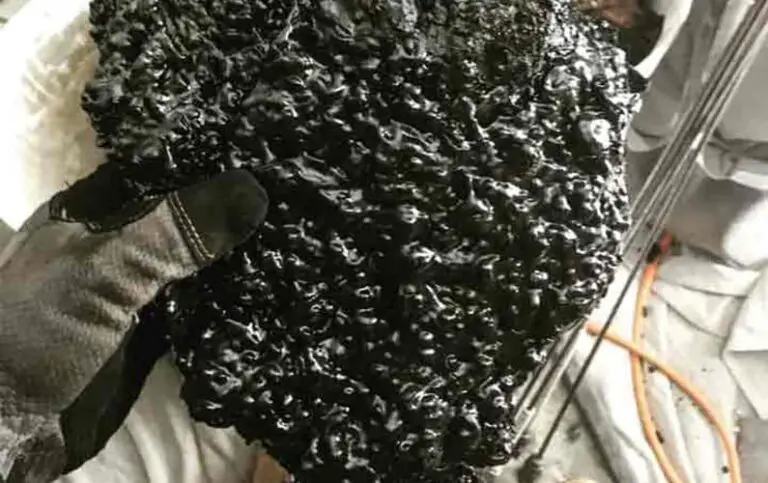
- You will need a live edge piece of wood with bark still attached, epoxy resin, hardener, mixing cups and stir sticks, gloves, and a respirator mask
- Clean the surface of the wood with alcohol to remove any dirt or debris
- Mix together the epoxy resin and hardener according to the manufacturer’s instructions
- Apply the mixed epoxy onto the live edge of the wood using a brush or spatula, being sure to evenly coat all areas
- Allow the epoxy to cure for 24 hours before handling or sanding smooth as desired
Credit: www.youtube.com
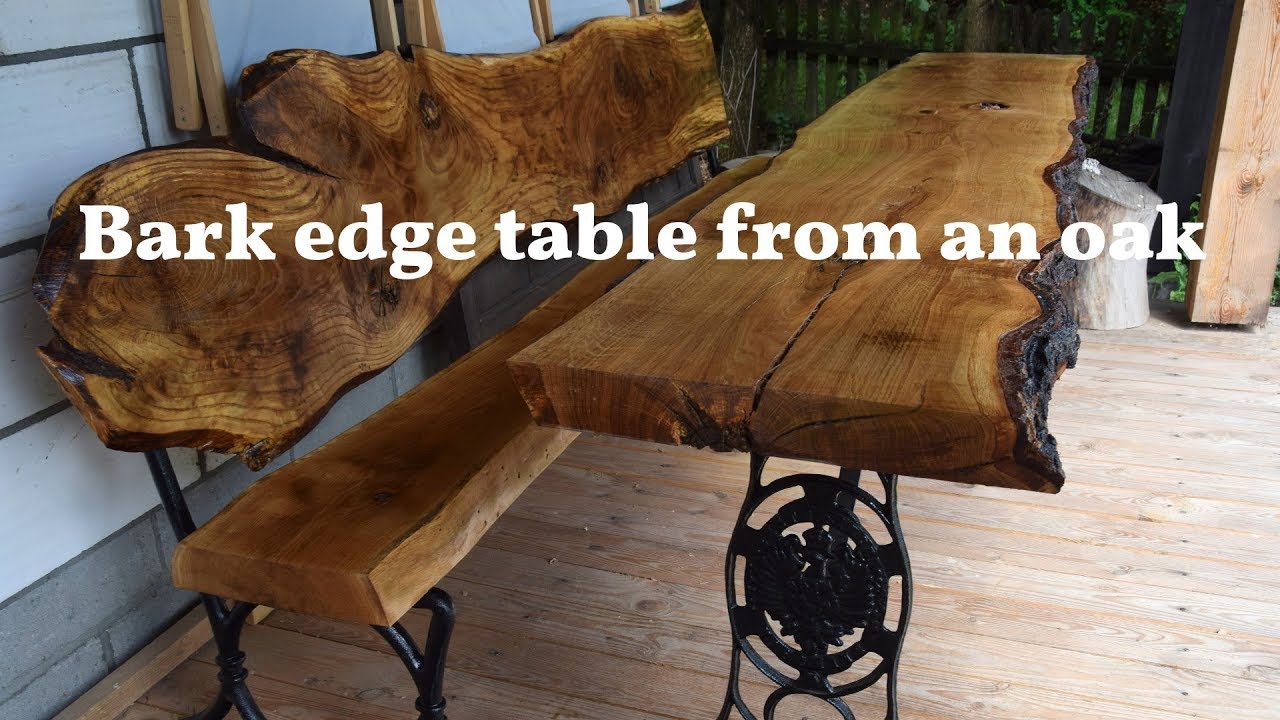
Can You Leave Bark on Live Edge?
When it comes to working with live edge lumber, one of the most common questions is whether or not you can leave the bark on. The answer is yes, you can leave the bark on live edge lumber, but there are a few things to keep in mind.
First, the bark will add some thickness to your piece of lumber.
This means that you’ll need to take care when cutting and shaping it so that everything remains proportional.
Second, the bark can be susceptible to damage if it’s not protected properly. If you’re going to be using power tools or sanding down your live edge piece, make sure to cover the bark with tape or another barrier so that it doesn’t get damaged in the process.
Finally, keep in mind that the bark may eventually fall off on its own over time. This is natural and nothing to worry about, but it’s something to be aware of if you’re planning on using your live edge piece for a long period of time.
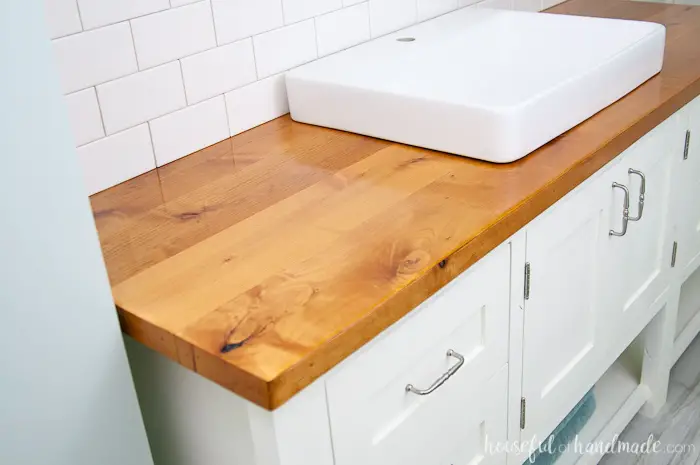
What Do You Seal Live Edge Wood With?
There are a few different ways that you can seal live edge wood. One way is to use a clear epoxy resin. This will fill in any cracks or voids and give the wood a nice smooth finish.
Another way is to use a polyurethane sealer. This will protect the wood from water damage and also give it a nice shine. You can also use an oil-based sealer, which will help to protect the wood from UV damage and also give it a nice deep color.
How Do You Seal Bark on Wood Slices?
If you’re looking to add a rustic touch to your home décor, wood slices are a great way to do it. But if you want your wood slices to last, you’ll need to seal them. Sealing bark on wood slices is actually pretty simple, and there are a few different ways you can do it.
One way to seal bark on wood slices is with polyurethane. Polyurethane is a clear finish that will protect your wood from moisture and wear. It’s also fairly easy to apply – just brush it on with a soft cloth or sponge brush.
You’ll want to apply several thin coats, letting each one dry completely before applying the next. Once you’re finished, your wood slice will have a nice shine and be protected from the elements.
Another option for sealing bark on wood slices is beeswax.
Beeswax is a natural product that will also help protect your wood from moisture and wear. It’s not quite as durable as polyurethane, but it’s much easier to apply. Simply rub the beeswax onto the surface of the wood slice with a clean cloth until it’s evenly coated.
You can find beeswax at most craft stores or online retailers that sell crafting supplies.
Once you’ve sealed your bark on wood slice with either polyurethane or beeswax, it’s important to store it in a cool, dry place out of direct sunlight. This will help ensure that the finish lasts for many years to come!
What is the Best Way to Finish Live Edge Wood?
Live edge wood is a type of lumber that has been cut in such a way that the natural edge of the tree is retained. This gives the lumber an organic and rustic look that is popular in many different types of design.
When it comes to finishing live edge wood, there are a few different options that you can choose from.
One option is to simply seal the wood with a clear sealer. This will protect the wood from moisture and other elements, but it will also allow you to see the beautiful grain pattern of the wood.
Another option is to stain the live edge wood.
This can give the lumber a darker or richer appearance, depending on the type of stain that you use. You can also experiment with different colors of stains to create a unique look for your project.
Finally, you can also paint live edge wood.
This is a great way to add some contrast to your project, and it allows you to really customize the look of your finished piece. Just be sure to use a high quality paint that will not chip or peel over time.
VLOG_02 Sealing the bark
Keep Bark on Wood Slices
If you enjoy woodworking or simply crafting with natural materials, you may have considered using wood slices as part of your project. Wood slices make great coasters, trivets, ornaments, and more. But what do you do if the bark starts to come off?
There are a few things you can do to keep the bark on your wood slices. First, avoid putting them in direct sunlight or heat as this can cause the bark to loosen. Second, store them in a cool, dry place away from humidity.
Lastly, when handling them be careful not to rub or scrape the bark off.
If despite your best efforts the bark does start to come off, there’s no need to worry. You can still use your wood slice – just sand down any rough edges and apply a clear sealant to both sides of the slice.
This will help protect it from further damage and give it a nice finish.
Conclusion
This blog post covers how to seal live edge wood with bark. It explains the process of first removing the bark from the tree, then sealing the wood with a clear coat. The author provides step-by-step instructions and photos to illustrate the process.