How to Preserve Wood Slices
If you have ever walked through a forest, you have probably seen tree stumps that have been cut down and left behind. These tree stumps can be used to make beautiful wood slices that can be used for decoration in your home. You can use these wood slices to make coasters, trivets, or even clocks!
Here is a guide on how to preserve your own wood slices so that they will last for years to come.
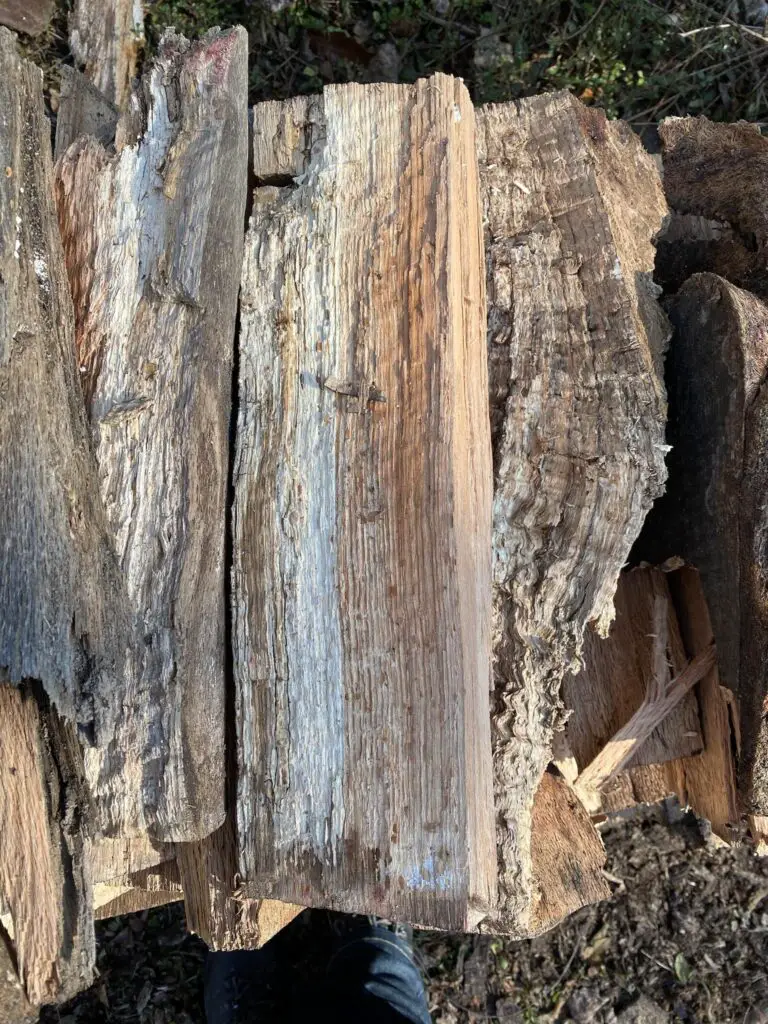
The first thing you need to do is find the perfect tree stump. You want to look for a stump that is at least 6 inches in diameter and has been cut down recently.
Once you find the perfect stump, use a saw to cut it into 1-inch thick slices. If the slices are too thin, they will be difficult to work with and may break easily. Once you have all of your wood slices cut, it is time to start the preservation process.
- Cut the wood slices into desired thickness and length
- Place the wood slices on a clean surface and allow them to dry completely
- Once dry, brush on a layer of polyurethane or other sealant to protect the wood from moisture
- Allow the sealant to dry completely before handling or displaying the wood slices

Credit: www.wikihow.com
How Do You Preserve Natural Wood Slices?
If you’re looking to preserve natural wood slices, there are a few things you can do. One option is to use a sealant or varnish on the wood. This will help protect it from moisture and other elements that could cause it to rot or deteriorate over time.
Another option is to keep the wood in a cool, dry place. This will help prevent it from warping or cracking. Finally, if you plan on using the wood slice for decoration, you may want to consider adding a coat of paint or stain to give it some extra protection.
Read: How to Strip Wood With Oven Cleaner
How Do You Seal Wood Slices?
One of the most popular ways to seal wood slices is with a polyurethane finish. This type of finish will protect your wood slice from moisture and wear, while still allowing it to breathe. You can apply a polyurethane finish with a brush or a sprayer, and it will dry clear in about 24 hours.
Another option for sealing your wood slice is to use beeswax. Beeswax will create a waterproof barrier on your wood slice, while also giving it a beautiful shine. You can apply beeswax with a cloth or brush, and it will need to be reapplied every few months to keep its waterproofing properties effective.
Finally, you can also seal your wood slice with an oil finish. This is best for indoor use, as it won’t stand up to the elements as well as other finishes. However, it will give your wood slice a beautiful natural sheen that won’t change its color or appearance over time.
Read also: Cost to Make Wood Pellets
What to Put on Wood Slices to Preserve Them?
If you’re looking to preserve wood slices, there are a few things you can do. First, you’ll want to make sure the wood is clean and free of debris. Once it’s clean, you can apply a sealant such as varnish or polyurethane.
This will help protect the wood from moisture and other elements that could cause it to break down over time. You can also stain or paint the wood before applying the sealant, if you’d like. Just be sure to let the stain or paint dry completely before applying the sealant.
How Do You Preserve Wood Slices With Bark?
There are a few different ways that you can preserve wood slices with bark. One way is to coat them in a clear sealant or varnish. This will help to protect the wood from moisture and other elements that could cause it to degrade.
You can also soak the wood slices in a solution of water and Borax, which will help to kill any insects or larvae that may be present. Once the wood is dry, you can then coat it in the sealant or varnish of your choice.
Another way to preserve wood slices with bark is to store them in a cool, dry place.
If you live in an area with high humidity, you may want to consider storing them in a container with silica gel packets, which will help absorb any moisture that might be present. Whichever method you choose, make sure that the wood slices are completely dry before attempting to seal or store them, as this will help prevent mold and mildew from developing.
Read to know: How Do You Dye Wood With Acrylic Paint?
How to Preserve Wood Cross Cuts and Keep Them from Splitting or Cracking
How to Preserve Wood Slices for Wedding
Are you looking for a unique way to add a natural element to your wedding decor? Wood slices are a beautiful and rustic way to do just that! But how do you preserve them so they last long enough to make it down the aisle?
Here are some tips on how to preserve wood slices for your wedding:
1. Choose the right tree. Hardwoods like oak, maple, or walnut will be the best options for wood slices that will stand the test of time.
Avoid softer woods like pine as they will be more likely to warp and crack over time.
2. Cut the slices thick. Thicker slices of wood will be less likely to warp or crack than thinner ones.
Aim for at least 1 inch thick when cutting your own wood slices or purchasing them from a florist or supplier.
3. Seal with polyurethane. A clear coat of polyurethane will help protect your wood slices from moisture and other elements that could cause them to degrade over time.
Be sure to apply it in thin coats and allow it plenty of time to dry between each coat.
4. Store in a cool, dry place until ready to use.
Conclusion
If you’re looking for a fun and unique way to decorate your home, try preserving wood slices! It’s a simple process that requires just a few supplies, and the results are beautiful and totally unique. Here’s how to do it:
First, find a piece of wood that you like. A fallen tree branch or log is perfect. Cut it into thin slices using a saw or knife.
Next, soak the slices in water overnight. This will help them retain moisture and prevent them from cracking when they dry.
After they’ve soaked, place the slices on a wire rack or drying screen and let them air dry for several days.
Once they’re completely dry, sand down any rough edges with sandpaper.
Now it’s time to seal the wood slices. You can use any type of sealer or varnish, but we recommend something clear so that the natural beauty of the wood can shine through.
Apply one or two coats, letting each coat dry completely before applying the next.
Once your sealer is dry, you can optionally stain the wood if you want to change its color. Just remember that stained wood will need to be sealed as well so that it doesn’t fade over time.
Finally, add some felt pads to the bottom of each slice and arrange them however you like!