How to Make Wood Bench
Assuming you would like a general guide on how to make a bench out of wood:
1. Choose your lumber. You will need enough boards to span the desired length of the bench, plus additional boards for supports and braces.
2. Cut your lumber to size. If using a power saw, be sure to wear protective gear.
3. Assemble the frame of the bench using nails or screws and brackets or other reinforcement as needed.
4. Add any cross supports or backrests at this time as well.
5a. For a basic wooden bench with no upholstery, sand the entire piece until it is smooth to the touch and then finish with stain or paint as desired.
5b. If adding upholstery, do so now following instructions for your particular method (stapling, tacking, etc).
- Gather the materials you will need for this project
- This includes a piece of wood (preferably pine, oak, or cedar), a saw, clamps, drill, dowel jig, T-bar clamp, belt sander, wood glue, wood screws, wire brush, and finish of your choice
- Cut the wood to size
- You will need two pieces that are 18 inches wide by 48 inches long and two pieces that are 12 inches wide by 48 inches long
- Use a dowel jig to create holes for the dowels
- Drill four evenly spaced holes into each of the long boards and three evenly spaced holes into each of the short boards
- Cut the dowels to size
- You will need eight pieces that are 3 inches long and six pieces that are 2 inches long
- Assemble the bench using wood glue and clamps
- Insert the dowels into the holes and secure in place with wood glue
- Clamp everything together and let dry overnight before proceeding to step 6
- Sand everything down using a belt sander until it is smooth to the touch
- Be sure to sand down any sharp edges as well
- 7 Wire brush all surfaces to remove any lingering sawdust particles
- 8 Apply your chosen finish liberally with a brush or cloth , allowing it time to dry completely between coats according
The $15 Fifteen Minute Bench – Easy DIY Project
How Do You Make a Simple Wooden Bench?
Assuming you would like a step by step guide on how to make a basic wooden bench:
1. Choose your wood. For this project, we recommend using 2x4s, 4x4s, or 6x6s.
You will need enough lumber to create the seat and two legs of the bench. Make sure to select boards that are straight and free of any major knots or damage.
2. Cut your lumber to size.
Depending on the height you want your bench to be, you will need to cut your 2x4s, 4x4s, or 6x6s down to size. For reference, a standard dining chair is about 18 inches tall, so you will want your seat boards to be around this length. As for the width of the seat, it is up to you how wide you want your bench to be.
Just remember that you will need two legs for stability, so factor that in when deciding on the dimensions of your seat boards.
3. Create the frame of the bench by attaching the seat boards together using screws or nails. If you are using 2x4s or 4x4s for your seat boards, we recommend attaching them together with screws since they will provide a stronger hold than nails alone.
However, if you are using 6x6s for your seat boards then either screws or nails should work just fine since these boards are much thicker and more durable than 2x4s or 4x4ss..
Once all of your seat boards are attached together (screwed/nailed), it’s time to attach the legs of the bench!
If you are using 2×4’s for theseatboards ,then we recommend cutting them down into leg lengths that measure anywhere from 16-24 inches long .As for width ,the best thingto do is take oneofyourseatsboardandmarkwhereyouwillcutit intwo even pieces–thishorizontal line should be whereyouwill makeyourcutson both2×4’sthatwill serve aslegsofyourbench . Sowhen makingthese cuts ,just make suretoleave some extra lengthon each board sothat theycanbe easilyattachedtothe seatsboardlater on .
What Kind of Wood Should I Use to Make a Bench Seat?
There are many different types of wood that can be used to make a bench seat. The type of wood you choose will depend on the style of bench you want to create, as well as the budget you have to work with. Some common woods used for benches include cedar, pine, redwood, and teak.
If you want a natural look for your bench, cedar is a good option. This type of wood has a beautiful grain pattern and is also resistant to rot and insect damage. Pine is another popular choice for benches due to its affordability and durability.
Redwood is another good option if you’re looking for a durable wood that has a beautiful reddish hue. Finally, teak is an expensive but very strong and weather-resistant option for outdoor benches.
How to Make a Wooden Bench Out of 2X4?
Building a wooden bench is a project that can be fun and practical. A 2×4 bench can be made out of either new lumber or reclaimed lumber, and it can be finished in a variety of ways to create a unique piece of furniture. Here are some tips on how to make a wooden bench out of 2x4s.
The first step is to cut the lumber to size. If you’re using new lumber, you’ll need to cut four legs at 24 inches each, two supports at 16 inches each, and six slats for the seat and back at 12 inches each. If you’re using reclaimed lumber, you’ll need to adjust the dimensions accordingly.
Next, drill holes for dowels in the legs and supports. The dowels will help reinforce the joints and make the bench stronger. For best results, use a dowel jig when drilling the holes.
Then, assemble the legs and supports with wood glue and dowels, making sure to clamp everything together until the glue dries completely. After that’s done, attach the seat slats by screwing them into place from underneath. And finally, finish off your bench by sanding it down smooth and applying a sealant or stain of your choice.
How to Build Outdoor Wooden Bench?
Building an outdoor wooden bench is a fun and rewarding project that can be completed in a weekend. With the right tools and materials, it’s easy to build a beautiful and functional piece of furniture that will last for years. Here’s how:
1. Choose the right wood. For durability and strength, opt for hardwoods like teak, mahogany, or oak. If you’re looking for a more budget-friendly option, eucalyptus or acacia are also good choices.
Avoid using pine or cedar as they are not as durable and will require more maintenance over time.
2. Cut the lumber to size. Using a saw, cut the lumber into pieces that are 2 feet longer than the desired length of the bench.
You’ll need four boards for the seat and two boards for each leg.
3. Assemble the frame. Attach the seat boards to the legs with screws or nails, making sure that all four corners are square.
Use L-brackets at each corner for added stability if desired.
4 . Add support braces (optional).
If you want your bench to be extra sturdy, add support braces running from each leg to underneath the seat board in the middle. This will help prevent sagging over time when weight is applied to the bench seat . To do this , simply screw or nail these braces into place .
Once complete , your frame should look something like this : 5 . Attach hardware ( optional ). If you ‘ re adding armrests or backrests to your bench , now is the time to attach any required hardware . These may include brackets , hinges , or other specialized pieces depending on your design . Follow instructions included with any hardware you purchase . 6 . Finish it off ! Now it ‘ s time for finishing touches like sanding down rough edges , staining or painting your new bench according to your preference , and adding cushions if desired . All that ‘ s left now is enjoying your handiwork – kick back on your new outdoor bench and enjoy !
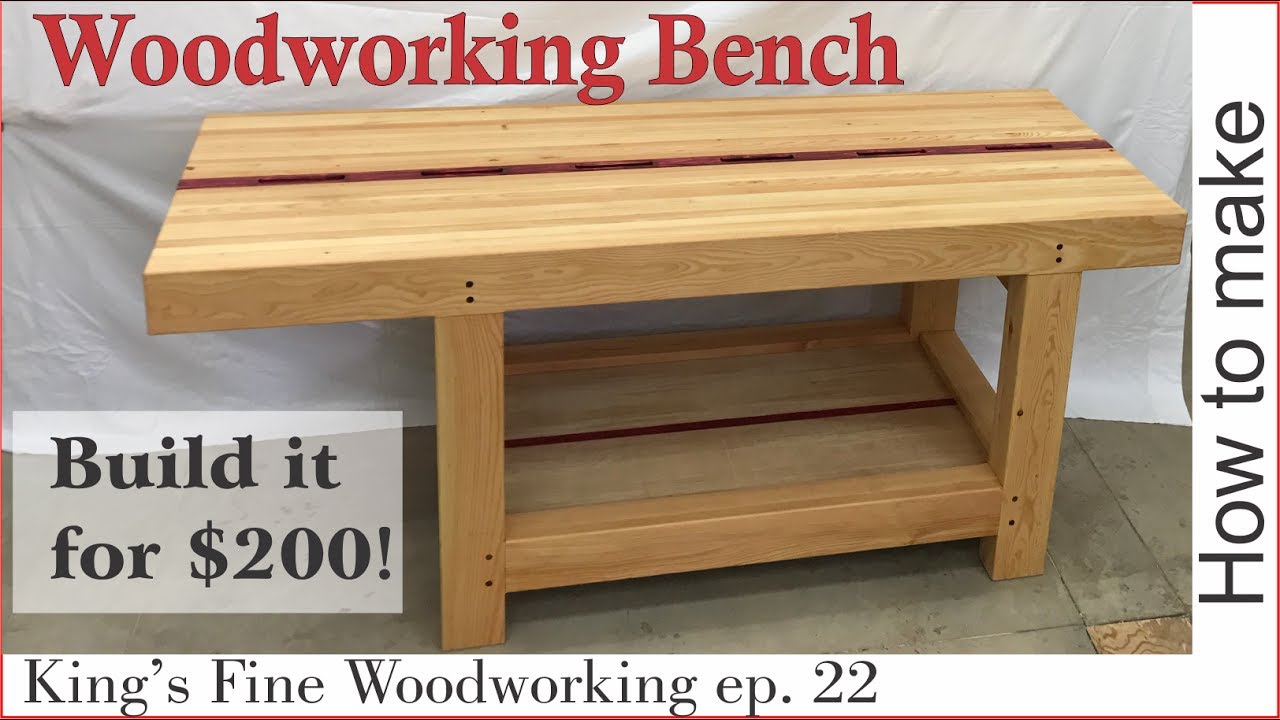
Credit: www.youtube.com
How to Make a Wooden Bench With Back
Making a wooden bench with back is not as difficult as it might seem at first. You can easily do it yourself, using some simple tools and materials. Here’s what you need to do:
1. Cut the lumber for the bench seat and the backrest. Make sure the cuts are straight and accurate.
2. Assemble the frame of the bench by attaching the seat and backrest boards with screws or nails.
3. Fill in any gaps between the boards with wood filler, then sand smooth once dry.
4. Finish as desired – paint, stain, or sealer will all work fine. Be sure to protect your finish by applying a topcoat of polyurethane or varnish if needed (this step is especially important if you’ll be placing your bench outdoors).
Free Wood Bench Plans
If you’re looking for a simple, yet stylish piece of furniture for your home, look no further than a wood bench. A wood bench is the perfect way to add extra seating to any room, while still keeping things clean and uncluttered. And best of all, you can build one yourself with just a few tools and some basic carpentry skills.
Building a wood bench is a relatively easy project that can be completed in just a few hours. But before you get started, it’s important to choose the right plans for your needs and skill level. There are plenty of free woodworking plans available online, but not all of them are created equal.
When choosing free plans, be sure to find ones that include detailed instructions and illustrations. This will make the building process much easier and help you avoid making mistakes that could ruin your project. Also, be sure to select plans that use readily available materials so that you don’t have to make special trips to the store just for your project.
Once you’ve found the perfect set of plans, take some time to gather all of the necessary supplies before getting started. This will save you time and frustration later on. With everything in place, building your own wood bench is really quite simple.
Just follow the step-by-step instructions included in your chosen plans and soon you’ll have a beautiful new piece of furniture for your home!
How to Build a Simple Bench
Whether you’re looking to add extra seating to your home or simply want a spot to tie your shoes before heading out the door, a bench is a versatile piece of furniture that can easily be customized to fit your needs. With just a few supplies and some basic carpentry skills, you can build a simple bench in no time!
To get started, you’ll need:
-4 wooden boards (measure based on desired bench size)
-Nails or screws
-Hammer or screwdriver
-Saw (if necessary to cut boards to size)
-Paint or stain (optional)
-Cushion or pillows (optional)
First, decide where you would like your bench to go and measure the space. Then, head to your local hardware store and purchase boards that will fit snugly into that space. If you need help cutting the boards to size, ask an employee at the hardware store – they should be happy to assist you.
Once you have your boards, it’s time to assemble! Place two of the boards side by side and use either nails or screws (based on what you’re using for materials)to attach them together. Repeat this step with the remaining two boards.
Then, take your newly formed frame and place it upside down. Nail or screw the remaining two boards onto the frame – these will act as legs for your bench. That’s it!
Your bench is now complete. At this point, you can paint or stain it if desired. Add a cushion or some pillows and enjoy your new seating area!
Conclusion
This blog post provides a step-by-step guide on how to make a wood bench. The author starts by showing the supplies needed for the project, which includes wood boards, screws, drill, saw, and sandpaper. He then walks readers through each step of creating the bench, from measuring and cutting the boards to attaching them together.
Along the way, he offers helpful tips on working with wood and using power tools. By following this tutorial, anyone can build a sturdy and stylish bench that will add character to their home.