How to Make a Wooden Knife Easy
Making your own wooden knife is easier than you might think. With just a few simple tools and some basic woodworking skills, you can create a beautiful and functional knife that will last for years. Here’s how to do it:
First, choose the type of wood you want to use. There are many different types of wood that can be used for knives, so take some time to research which one would be best for your needs. Once you’ve selected your wood, find a piece that is large enough to cut out the shape of your knife.
Then, use a saw to cut out the basic shape of the blade.
Next, use a sharpening stone to hone the edge of your blade. Be sure to follow the manufacturer’s instructions carefully so that you don’t damage the stone or the blade.
Once your blade is sharp, it’s time to start shaping the handle. Use a chisel and hammer to carve out a comfortable grip that fits your hand nicely. If you want, you can also add some decorative details to the handle before sanding it smooth.
Finally, apply a coating of oil or varnish to protect your new knife from moisture and dirt. Now it’s ready to use! Enjoy puttering around in the kitchen with your very own wooden knife – it’ll make all of your food preparation tasks feel just that much more special.
- Choose the right wood for your knife
- Cut the wood to size and shape it into a blade
- Carve out a handle from the remaining wood
- Drill a hole through the blade and handle for the tang
- Attach the tang to the blade and handle with screws or rivets
- Finish your knife by sanding it smooth and applying a protective coating of oil or varnish, if desired
how to make a wood knife
How to Make a Wooden Knife Without Power Tools
In this day and age, it seems like everyone has access to at least some sort of power tool. Whether it’s a cordless drill or an electric saw, there’s no denying that power tools make many tasks a lot easier. However, there are still plenty of people out there who don’t have access to power tools, or who simply prefer to do things the old-fashioned way.
If you fall into either of those categories, then this blog post is for you! Today we’re going to show you how to make a wooden knife without using any power tools whatsoever.
The first step is to find a piece of wood that is long enough and wide enough to serve as the blade of your knife.
You can use just about any type of wood for this project, but we recommend something like maple or oak because they’re both strong and durable. Once you have your piece of wood, use a sharp knife (preferably one with a serrated edge) to carve out the shape of the blade. It doesn’t have to be perfect – remember, this is a handmade knife!
– but try to get it as close to the desired shape as possible.
Next, use a smaller knife (or even a sharp rock) to whittle down the edges of the blade until they’re nice and sharp. This step will take some time and patience, but it’s worth it in order to create a functional knife.
Once you’re happy with the sharpness of your blade, it’s time to attach the handle. For this part, all you need is some strong cord or twine and glue (we recommend epoxy for extra strength). Simply glue one end of your cord/twine onto the back side of the blade near where the handle will go, wrap it around tightly several times, and then glue down the other end once you reach the desired length for your handle.
Allow everything to dry overnight before using your new knife!
How to Make a Wooden Pocket Knife
A pocket knife is a handy tool to have around, and it’s even more convenient when it’s made of wood. Here’s how to make your own wooden pocket knife:
1. Start by finding a piece of wood that you like the look and feel of.
You’ll want to use a hardwood for this project so that your knife will be durable.
2. Trace the outline of a knife onto your piece of wood using a pencil or marker. Then, use a saw to cut along the lines you traced.
3. Once your blade is cut out, use sandpaper to smooth down the edges.
4. Now it’s time to add a handle! Cut two pieces of wood that will fit comfortably in your hand, and glue them onto either side of the blade.
Let the glue dry completely before continuing.
5 . To finish up, use sandpaper to smooth down the entire surface of your knife, paying extra attention to the edges of the blade.
Now you’re ready to put your new wooden pocket knife to good use!
How to Make a Wooden Knife Out of a Stick
A stick is not the first thing that comes to mind when you think of making a knife. However, it is possible to make a functional wooden knife out of a stick with some basic tools and know-how. This simple project is perfect for anyone who loves spending time outdoors or enjoys working with their hands.
To make your own wooden knife, start by finding a straight, sturdy branch that is about the thickness of your thumb. If the branch has any knots or irregularities, cut them off so that you are left with a smooth piece of wood. Once you have your piece of wood, use a sharp knife to whittle it down into the shape of a blade.
Start by making an angled cut at one end of the branch and then work your way down the length of the wood, angling the blade as you go. Keep in mind that the sharper the angle on your blade, the sharper your finished knife will be.
Once you have shaped your blade, use sandpaper to smooth out any rough edges.
Then, use a drill to create two holes near the base of the blade – these will be used to attach your handle later on. Now it’s time to make your handle! Cut another piece of wood – this one should be thinner than your blade – and shape it into an ergonomic grip.
Drill two holes through this grip that line up with the ones on your blade and then secure everything together using screws or nails.
Your DIY wooden knife is now complete!
How to Make a Wooden Dagger
Assuming you would like a tutorial on how to make a wooden dagger:
You will need:
-1×2 lumber (actual dimensions don’t matter, just that it’s 1 inch thick and 2 inches wide)
-A hand saw or miter box and saw
-Sandpaper
-Tape measure
-Pencil
-Ruler or a straight edge
-An Exacto knife or wood carving tools (optional)
First, cut your lumber down to size. You will want two pieces that are 10 inches long for the blade, and two pieces that are 5 inches long for the crossguard. If you don’t have a miter box, you can use a regular hand saw, but it will be more difficult to get clean, 90 degree cuts.
Next, use sandpaper to smooth out any rough edges on your wood. Then, measure 4 inches from the end of one of the 10 inch boards and mark it with a pencil. This is where you will start tapering the blade of your dagger.
Use your ruler or straight edge to draw a line from the 4 inch mark to the opposite end of the board. Cut along this line with your saw. Repeat this step on the other 10 inch board.
Now you should have two tapered boards that look like mini daggers. It’s time to add the crossguard! Measure 2 inches from each end of both crossguard pieces and make a pencil mark at those points. Draw lines connecting these marks and then cut along them with your saw so that you have two V shaped pieces of wood.

Credit: www.instructables.com
Can a Wooden Knife Be Sharp?
Yes, a wooden knife can be sharp. However, it will not stay sharp for as long as a steel knife. You will need to sharpen your wooden knife more often than you would a steel one.
Can You Make a Knife Out of Wood?
Yes, you can make a knife out of wood. Wood is a good material for knives because it is strong and durable. However, it is important to choose the right type of wood for your knife.
Some woods are too soft and will not hold up well to use. Others are too hard and will be difficult to sharpen. The best woods for knives are those that are medium hardness, such as maple or birch.
When making a wooden knife, it is important to start with a piece of wood that is straight grained. This will help ensure that your knife is strong and will not easily break or chip. You will also want to avoid any knots in the wood, as these can weaken the structure of your knife.
Once you have chosen your piece of wood, you will need to cut it into the shape of a blade. You can do this with a saw or an axe. If you are using an axe, be sure to wear gloves and eye protection, as chopping into wood can be dangerous.
Once you have your blade shape cut out, you will need to sand it down until it is smooth.
Now that you have your blade, you need to create a handle for it. This can be done by drilling two holes into the end of the blade and then inserting dowels or screws into these holes.
You may also want to glue on some grip material such as leather or cordage. Once your handle is complete, all that remains is to sharpen your new wooden knife and put it to use!
How Do You Make a Knife Easy?
Assuming you would like tips on how to make a knife more manageable:
One of the most important things for making any tool, including a knife, easy to use is having it properly sharpened. A dull blade will not only make the task at hand more difficult, but can also be dangerous.
Once you have ensured your knife is razor-sharp, get familiar with the way it feels in your hand and how it balances. This will help you feel more confident and comfortable using it.
If you are still having trouble or want to avoid potential accidents, there are some other options available.
For example, many people find that cutting with the dominant hand and holding the food steady with the non-dominant hand is easier than trying to do both tasks with one hand. Alternatively, some knives come with a finger guard which can help prevent cuts. Whichever method you choose, take care and be safe!
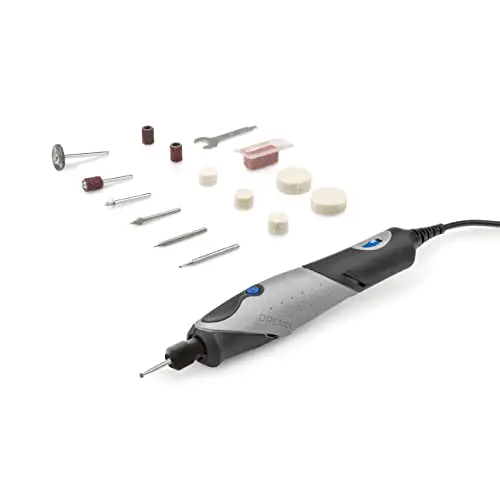
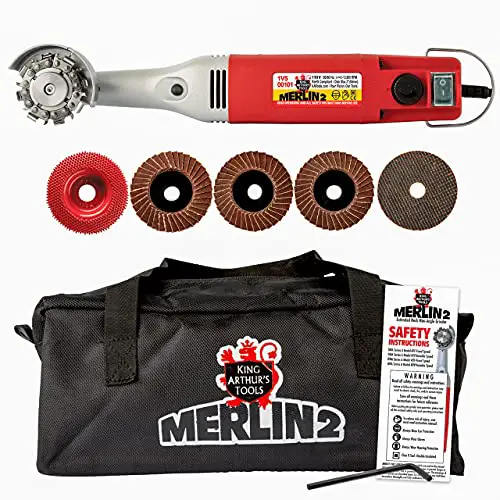
How Do You Make a Knife Step by Step?
Assuming you would like a tutorial on how to make a knife:
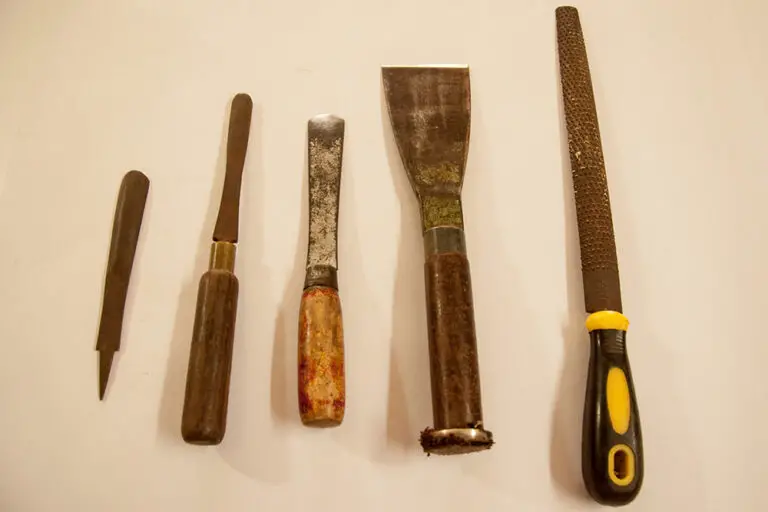
Tools
-hammer
-chisel
-anvil
-grinder
-sandpaper
-drill and bits (optional)Materials
-high carbon steel (at least 1084 or 1095, 5160 is often used for forging blades as well) -mild steel, stainless steel, tool steels can also be used but require different methods than what will be described here.
If you use one of these materials you will need to consult other sources for information on how to work with them. Forging high carbon steels is the focus of this article. -coal or charcoal forge -forge tongs -quench oil -leather gloves -safety glasses -masks if needed due to fumes from grinding, etc Step 1: Choose your design Decide what kind of knife you want to make.
There are many options available and a lot will depend on what tools and materials you have available as well as your level of experience. Once you have decided on a design, find some pictures or diagrams to use as reference material while you work. This step is important because it will save time later and help prevent mistakes.
It is much easier to correct errors at this stage than it is later when the blade has been shaped and heat treated.Step 2: Cut out the basic shape of the blade Begin by cutting out the basic shape of the blade from the steel stock you have chosen. If possible, try to avoid using scrap metal that has been welded or otherwise damaged as this can introduce impurities into the final product which can weaken it or cause other problems later down the line. A hacksaw works well for this but depending on what size stock you are working with an angle grinder with a cutoff wheel may be faster.
Use whatever method is best for you and safe given the size stock being cut and type of saw being used.. Once the general shape has been cut out, use a hammer and chisel or similar tool to remove any sharp corners or edges left behind by the saw.. If necessary, finish cleaning up any remaining burrs with a file until they are smoothStep 3: Draw your lines Now that the basic shape has been cut out, it’s time to start refining it into something that actually looks like a knife blade. The first step in doing this is called “drawing” your lines which simply means transferring them onto the metal surface so they can be followed more easily while working.. To do this accurately it helps to use some sort of straight edge such as a ruler or T square along with permanent marker or scribe.. First decide where exactly each line should go then hold the straight edge in place along that line while making marks at regular intervals along its length.. Once all lines have been drawn its time move on to actually shaping them into something recognizable.. Step 4:Shape Blade Now that all lines have been drawn its time move on toeactually shaping them into something recognizable.. This step requires patience more than anything else since rushing could result in mistakes that cannot be undone without starting over from scratch.. Begin by using either a belt sander ,angle grinder ,or fileto remove any large sectionsof material quickly then switchto smaller hand files for finishing touches around curvesand hardto reach places ..
Conclusion
Assuming you would like a summary of the blog post titled “How to Make a Wooden Knife Easy”:
This blog post outlines a simple way to make a wooden knife. The author starts by finding a suitable piece of wood – one that is hard, yet not too brittle.
They then use a saw to cut the wood into the desired shape, before using sandpaper to smooth it down. Next, they use a drill to create a hole for the blade, before attaching it with strong glue. Finally, they finish up by adding a handle (which can be anything from another piece of wood to antler).