How to Make a Wood Mantel
If you have a wood mantel, you can make it look great with some simple tips. First, sand the mantel down with medium-grit sandpaper until it’s smooth. Then, apply a stain of your choice and let it dry.
Once the stain is dry, you can either leave the mantel as-is or seal it with a clear coat to protect it from future damage.
- Decide on the dimensions of your mantel
- Cut the lumber to size using a miter saw or circular saw
- Assemble the frame of the mantel using wood glue and finishing nails
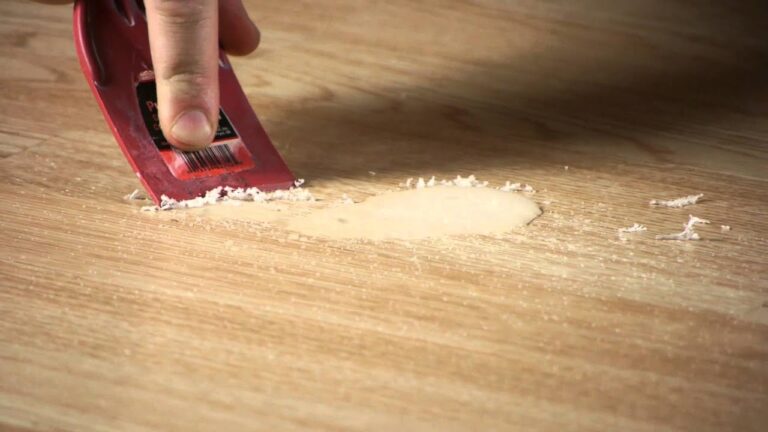
- Sand down the Mantel until it is smooth to the touch
- Stain or paint your Mantel according to your preference
- Hang your Mantel on the wall using screws and wall anchors
How to Build a Floating Mantel
If you’re looking to add a bit of rustic charm to your home, consider building a floating mantel! This project is relatively easy and can be completed in a weekend. Here’s what you’ll need:
-4x4s (length will depend on the size of your fireplace)
-2x4s (for the cross supports)
-1/2″ plywood (cut to size for the mantel top)
-Wood glue
-Nails or screws
-Paint or stain (optional)
Start by cutting your lumber to size. You’ll need two 4x4s for the sides, two 2x4s for the cross supports, and one piece of 1/2″ plywood cut to size for the mantel top. If you’re using paint or stain, now is the time to apply it.
Next, assemble the frame by attaching the 4x4s to the 2x4s with wood glue and nails or screws. Make sure everything is level before moving on.
Now it’s time to attach the mantel top.
Apply a generous amount of wood glue to one side of each 4×4, then place the plywood on top and press into place. Nail or screw through the plywood into each 4×4 to secure.
Allow everything to dry overnight, then decorate your new floating mantel with candles, plants, vases, or anything else that strikes your fancy!
How to Build a Mantel Over Existing Mantel
A mantel is a great way to add character to your fireplace. If you don’t have one, or if yours is in need of an update, consider building a mantel yourself! It’s not as difficult as you might think, and it can be done in a weekend with some basic tools and materials.
Here’s what you’ll need:
-1×4 lumber (enough to span the width of your fireplace)
-1×2 lumber (enough to trim out the front and sides of your mantel)
-MDF or plywood (for the shelf)
-Crown molding (optional, for decorative trim)
-Construction adhesive
-Nail gun and nails
-Paint or stain
-High quality wood filler
-(2) 90 degree corner braces
first cut your 1x4s to length. You’ll want them to be about 2″ longer than the width of your fireplace opening.
Then cut your 1x2s to length. These will be used for the front and side trim pieces.
Now it’s time to assemble the frame for your mantel.
Using construction adhesive, glue the 1x4s together at the corners so they form a rectangle. Then nail them into place with your nail gun. Once that’s dry, you can glue on the trim pieces using construction adhesive and nail those into place as well.
Now comes the fun part – decorating! If you’re painting your mantel, now is the time to do that. Otherwise, you can stain it or leave it natural depending on what look you’re going for. Once it’s painted or stained, add any decorative touches you like such as crown molding or other trim work.
How to Build a Simple Fireplace Mantel
If you’re looking to add a touch of elegance to your home, consider building a fireplace mantel. This project is relatively simple and can be completed in a weekend. Here’s how:
1.Measure the area where your mantel will be installed. Cut lumber to size accordingly.
2.Assemble the frame of your mantel using wood glue and nails or screws.
3.Cut plywood to size and attach it to the frame using wood glue and finishing nails.
4.Sand the entire piece smooth, then paint or stain as desired.
5.Install your mantel by screwing into the studs in your wall (or use wall anchors if no studs are available).
Be sure to level it before attaching so that it hangs evenly on both sides.
Diy Fireplace Mantel Surround
A fireplace mantel surround is a great way to add charm and character to your home. They can be simple or elaborate, depending on your taste and style. If you’re looking for a do-it-yourself project, then creating a fireplace mantel surround is a great option.
Here are some tips on how to get started:
1. Choose the right material: The material you choose for your fireplace mantel surround will depend on the overall look you’re going for. If you want a rustic feel, then using wood is a good option.
For something more modern, consider using marble or granite.
2. Measure twice, cut once: Once you’ve decided on the material you want to use, it’s time to start measuring and cutting the pieces that will make up your fireplace mantel surround. Make sure to measure twice before cutting anything – this will help ensure that everything fits together perfectly when it comes time to assemble your project.
3. Assemble your materials: Once all of your pieces are cut, it’s time to start assembling them into your final product. This is where having a plan comes in handy – make sure you know exactly how each piece should fit together before starting the assembly process.
4 .
Add finishing touches : Once your fireplace mantel surround is assembled , it ‘s time t o add any finishing touches yo u desire . This could include painting , staining , or adding decorative molding . Get creative and make sure your finished product reflects your personal style !
Diy Fireplace Mantel Kit
A fireplace mantel is a beautiful addition to any home, and a DIY fireplace mantel kit makes it easy to add one to your own home. There are many different styles of mantels available, so you can find one that fits your personal taste and decorating style. Most kits come with everything you need to install the mantel, including the instructions.
If you’re looking for a more traditional look, there are many kits available that include classic molding and trim. You can also find kits with more modern designs, such as ones made of glass or stainless steel. No matter what your style preference is, there’s sure to be a fireplace mantel kit that’s perfect for you.
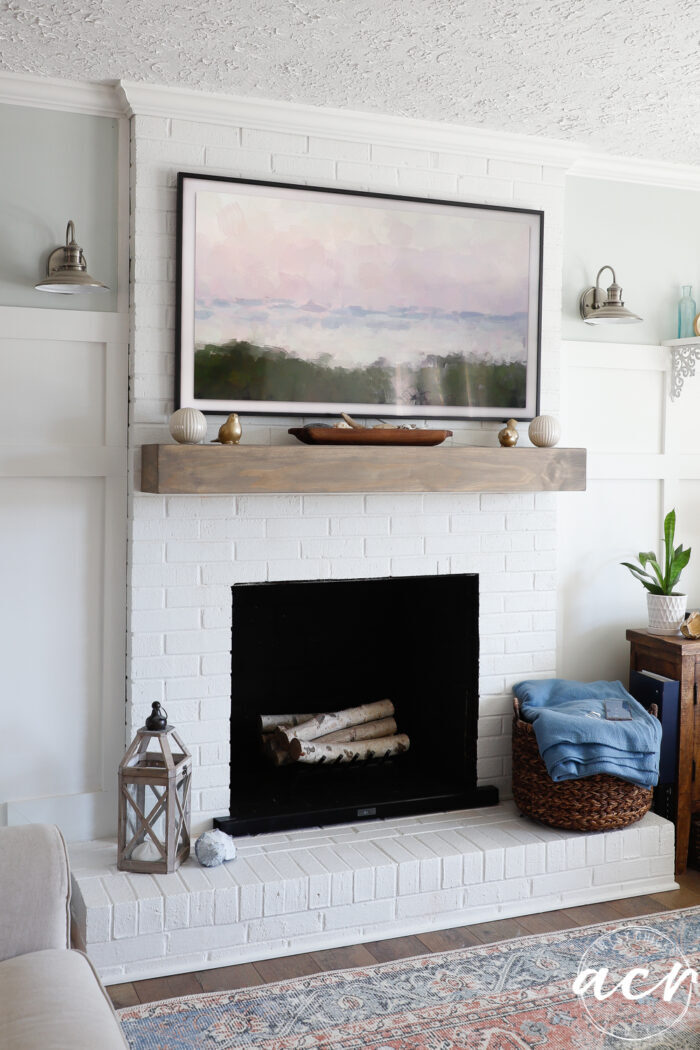
Credit: www.artsychicksrule.com
How Do You Make a Simple Fireplace Mantel?
If you’re looking to add a touch of coziness to your home this winter, consider adding a fireplace mantel. While fireplace mantels can be quite elaborate, it’s easy to create a simple one that will still give your room that extra bit of warmth. Here’s how:
Start by measuring the width and height of your fireplace opening. You’ll want to make sure your mantel is proportionate to the size of the opening. Next, determine how deep you want your mantel to be.
A good rule of thumb is that it should be about one-third the depth of the fireplace opening.
Once you have these measurements, you can begin cutting lumber to size for the main body of the mantel piece. If you’re not comfortable working with wood, there are many prefabricated options available at most home improvement stores.
Now it’s time to add some detail to your mantelpiece. If you’re going for a rustic look, consider leaving the lumber unfinished or lightly sanding it for a distressed appearance. For a more polished look, paint or stain the wood as desired.
To really dress up your mantelpiece, try adding some trim work around the edge or even some carved details.
Finally, install your new mantelpiece on top of the fireplace using screws or nails driven into studs in the wall behind it. Make sure it is level before attaching it permanently.
Once installed, decorate as desired and enjoy your new cozy space!
What Type of Wood Should I Use for a Mantel?
There are a few things to consider when selecting wood for a mantel. Hardness, durability, and stability are important factors to keep in mind. The most common woods used for mantels are oak, cherry, and maple.
Other popular choices include poplar, mahogany, and walnut. If you are looking for a specific wood species not listed here, consult with a local lumberyard or millwork company to see if it is suitable for your project.
How Thick Should a Wood Mantel Be?
A wood mantel should be at least 6 inches thick in order to be structurally sound. However, 8-10 inches is even better, especially if you plan on decorating the mantel with heavy objects. The thicker the mantel, the more weight it can support.
How to Make a Fireplace Mantel Beam?
When most people think of a fireplace mantel, they envision a large wooden beam that spans the width of the fireplace. While this is certainly one option for a mantel, it is not the only option. In fact, there are many different ways to make a fireplace mantel beam.
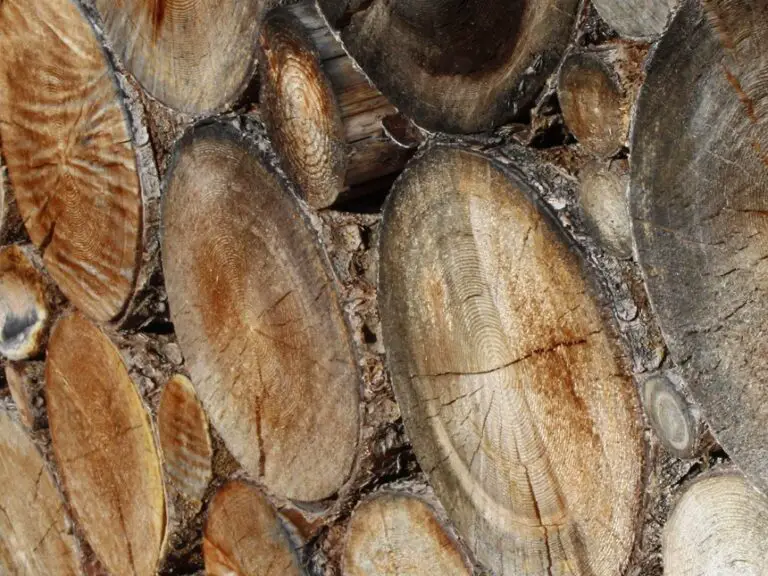
One popular option is to use two smaller beams instead of one large beam. This can add visual interest to the mantel and can also be more cost effective if you are working with limited budget. Another option is to use reclaimed wood for your mantel beam.
This gives the mantel an organic and rustic look that is perfect for country-style homes.
If you want something a little more modern, consider using metal or glass for your mantel beam. Both materials can give the space a sleek and contemporary feel.
And finally, if you really want to make a statement, consider using an unusual material such as stone or marble. Whatever material you choose, just be sure to work with a professional who can help you create a safe and beautiful fireplace mantelbeam.
DIY Rustic Barn Wood Beams – distress wood fast – Mantel Build
Conclusion
If you have a wood mantel, you may be wondering how to make it look its best. Here are some tips for making a wood mantel look great:
1. Choose the right stain or paint color.
You want something that will complement the wood and make it pop.
2. Make sure the surface is smooth before applying any finish. This will help the finish last longer and look better.
3. Use a sealer before applying a topcoat of paint or stain. This will protect the wood and help the color stay true over time.
4. When painting or staining, use long strokes in the same direction to avoid streaks.