How to Make a Wood Advent Calendar
To make a wood Advent calendar, you will need:
-One piece of plywood, cut into a 24″x24″ square
-A jigsaw
-Sandpaper
-Paint or stain
-24 small hooks
-24 small clothespins
-Twine or ribbon
1. Use the jigsaw to cut out 24 equal sized squares from the plywood.
These will be your individual “drawers.” 2. Sand the edges of each drawer smooth. 3. Paint or stain each drawer, if desired.
4. Attach a small hook to the back of each drawer near the top edge. 5. String twine or ribbon across the top of all the hooks, making sure it is taut and level. 6. Hang your Advent calendar on a wall or door using screws or nails (not included).
7. To open each day’s drawer, simply clip off the clothespin holding it shut!
- Decide on the size and shape of your advent calendar
- Cut out 24 identical pieces of wood, or use a pre-made wooden box
- Paint or stain the pieces of wood, if desired
- Allow to dry completely
- Using a hot glue gun, attach each piece of wood to the next in a row, forming a long rectangle or square
- Make sure the edges are flush with each other
- Once all the pieces are glued together, turn the calendar over so that the back is facing up
- Measure and mark where you will need to make holes for each day’s Advent activity
- Drill pilot holes using a small drill bit, then enlarge the holes with a slightly larger drill bit just big enough for your child’s hand to fit through comfortably
- 5 Hang your Advent calendar on a wall or door using Command strips or small nails
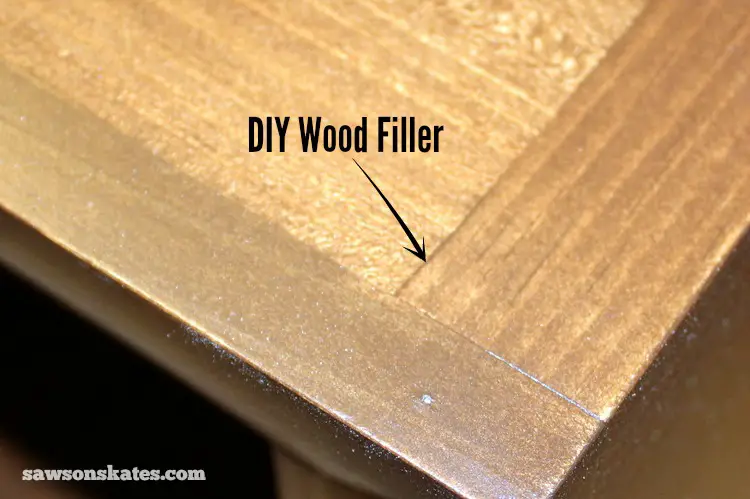
Diy Wooden Advent Calendar With Drawers
If you are looking for a unique and special Advent calendar this year, consider making your own! This DIY wooden Advent calendar features drawers for each day of December, leading up to Christmas. Fill the drawers with small presents, treats, or notes – whatever you like!
– and enjoy watching your loved ones open them in anticipation of the holiday.
Diy Advent Calendar
If you’re looking for a unique and thoughtful gift this holiday season, why not make your own advent calendar? A homemade advent calendar is a great way to show your loved ones how much you care. Plus, it’s a fun project to work on together!
Here’s everything you need to know about making your own DIY advent calendar.
To start, you’ll need to gather some supplies. You’ll need 24 small boxes or bags (one for each day of Advent), wrapping paper, scissors, tape, and markers or other decorations.
Once you have your supplies, decide how you want to decorate your calendar. Will you go for a traditional red and green color scheme? Or get creative with different colors and patterns?
The sky’s the limit!
Once you’ve decided on a design, it’s time to start filling those boxes! Fill each box with something special for your loved one.
It could be a small toy, a piece of candy, or even just a handwritten note expressing your love and appreciation. Whatever you choose, make sure it’s something that will bring a smile to their face each day they open a new box.
When all the boxes are filled, it’s time to put them all together.
Wrap each box individually in the wrapping paper of your choice. Then use the scissors and tape to attach them all together in an orderly fashion. Make sure the numbered sides are facing out so that people know which order to open the boxes in!
Finally, add any final touches like ribbon or bows, and voila – your very own DIY advent calendar is complete!
Dollar Tree Advent Calendar
Dollar Tree’s Advent Calendar is a great way to countdown the days until Christmas. Each day, you’ll receive a new surprise, including holiday-themed activities, games, and more. Plus, there’s no need to worry about losing track of the days – the calendar comes with a handy little guide that tells you what day it is.
Best of all, it only costs $1!
Dollar Tree Advent Calendar Fillers
If you’re looking for some fun and affordable advent calendar fillers for your family, look no further than Dollar Tree! They have a great selection of items that will make each day of December leading up to Christmas even more special. Here are just a few ideas:
-Miniature Ornaments: These are perfect for hanging on the tree each day as part of the countdown.
-Christmas Candies: From chocolate coins to candy canes, there’s something for everyone at Dollar Tree. Just be sure to check the expiration date on the packaging before purchasing.
-Stickers: For the little ones, stickers are always a hit! You can find packs with holiday themes like Santa, reindeer, and gingerbread men.
-Activity Sheets: Again, these are great for keeping kids entertained.
Look for coloring pages, mazes, word searches, and more.
So what are you waiting for? Head to your local Dollar Tree and start stocking up on advent calendar fillers today!

Credit: www.youtube.com
How Do You Make a Wooden Advent Calendar?
If you’re looking for a fun and unique way to count down the days until Christmas, why not make your own advent calendar? A homemade advent calendar is a great way to add a personal touch to the holiday season, and it’s easy to make one using simple materials like wood. Here’s how you can create your own wooden advent calendar:
1. Start by finding a piece of wood that you can use for your calendar. You’ll need enough wood to cut out 24 small squares, plus an additional square for the base of the calendar. If you don’t have any wood at home, you can easily find some at your local hardware store.
2. Once you have your piece of wood, use a ruler or measuring tape to mark out where you’ll be cutting your squares. Then, use a saw (a hand saw or power saw will both work) to cut along the lines that you’ve marked. If you’re not comfortable using a saw, ask someone else to help you with this step.
3. Once all of your squares are cut out, it’s time to sand them down so that they’re smooth. You can use sandpaper or an electric sander for this step. Just be sure to go slowly and evenly so that all of the squares are evenly sanded.
4. Now it’s time to paint or stain your Advent calendar squares however you like! Get creative with this step – there are no rules when it comes to decorating your calendar. Once everything is dry, start assembling your calendar by gluing or nailing each square onto the base square in numerical order (1-24).
5. To finish things off, add some decorations around the edge of the base square – things like ribbons, sequins, buttons, etc., are all perfect choices here!
What Do You Fill Wooden Advent Calendar With?
While you can purchase Advent calendars already filled with small treats or toys, many people prefer to fill their own calendar with items that are more personalised or meaningful. If you’re not sure what to put in your Advent calendar, here are a few ideas to get you started:
– Small candies or chocolate pieces
– Tiny toys or trinkets
– Notes with positive affirmations or encouraging messages
– Fun activities for each day leading up to Christmas (e.g. make gingerbread cookies, go for a festive walk, watch a Christmas movie)
No matter what you choose to fill your Advent calendar with, the most important thing is to have fun and enjoy the lead-up to Christmas!
How Do You Make an Advent Calendar from Scratch?
If you want to make your own advent calendar from scratch, you’ll need some supplies. Firstly, you’ll need a large sheet of cardboard or poster board. You’ll also need 24 small boxes – these can be made from cardboard, paper cups, or anything else that’s similar in size.
Once you have your materials, follow these steps:
1. Cut the large sheet of cardboard or poster board into 24 equal-sized squares. These will be the bases for your advent calendar boxes.
2. Decorate each square however you like – you could use wrapping paper, stickers, paint, or whatever else you fancy.
3. To make the actual boxes, take your small boxes and fold them along the creases so that they’re box-shaped. Then glue or tape them together so that they’re sturdy.
4. Attach each box to a square on the larger sheet – again, using glue or tape. Make sure that the boxes are securely attached so that they don’t fall off when filled with goodies!
5. Fill each box with treats, toys, or other small gifts appropriate for each day of Advent.
You could also include little notes with festive messages inside each box.
And there you have it – your very own homemade advent calendar!
What Do You Fill an Advent Calendar With Diy?
Advent calendars are a fun way to count down the days until Christmas. You can DIY your own Advent calendar by filling it with small presents, candies, or even activities. Here are some ideas to get you started:
-Fill each day with a different activity, like making gingerbread houses or watching holiday movies.
-Give out a small treat each day, like chocolates or cookies.
-Make an advent calendar filled with 24 different things related to the holidays, like ornaments or festive socks.
-Get creative and fill your calendar with anything that brings you joy!
LOOK at how I MAKE a RUSTIC 25 DAY ADVENT CALENDAR using these Dollar Tree WOOD DRAWERS | MUST SEE
Conclusion
This blog post shows readers how to make a wood advent calendar. It provides a list of materials needed and step-by-step instructions on how to assemble the calendar. The finished product is a beautiful and festive way to countdown to Christmas.