How to Finish Cherry Wood
Cherry wood is a beautiful and durable material that can be used for a variety of projects. When working with cherry wood, it is important to take the time to finish it properly so that it will last for many years. There are a few different methods that can be used to finish cherry wood, and the best method will depend on the project you are working on.
In general, however, the following tips will help you get the best results when finishing cherry wood.
- Begin by sanding the cherry wood with a medium-grit sandpaper
- Continue sanding with progressively finer grits of sandpaper until the wood is smooth to the touch
- Wipe away any dust from sanding with a clean, dry cloth
- Apply a stain of your choice to the cherry wood, if desired
- Allow the stain to dry completely before proceeding to the next step
- Finish by applying a coat of polyurethane or other clear finish to protect the wood and give it a shine
- Allow the finish to dry completely before using or handling the cherry wood piece
Finishing Cherry, Methods and Tips with Tom McLaughlin
Finishing Cherry Wood Danish Oil
When it comes to finishing cherry wood, Danish oil is one of the best options out there. This type of oil penetrates deep into the wood, bringing out its natural beauty and luster. It also protects the wood from moisture and UV damage, making it a great choice for both indoor and outdoor furniture.
Applying Danish oil to cherry wood is a fairly simple process. First, sand the wood with medium-grit sandpaper to remove any surface imperfections. Next, apply a generous amount of oil to a clean cloth and rub it into the wood in long, even strokes.
Allow the oil to penetrate for at least 30 minutes before wiping away any excess with a clean cloth.
If you’re looking for a beautiful way to finish your cherry wood furniture, Danish oil is definitely worth considering!
Finishing Cherry Wood Youtube
When it comes to finishing cherry wood, there are a few things you need to keep in mind. First of all, cherry is a softwood, so it’s important to be careful not to sand too aggressively. You’ll also want to stain the wood before you apply a finish – this will help bring out the natural beauty of the grain.
And finally, when it comes time to choose a finish, we recommend using something oil-based for best results.
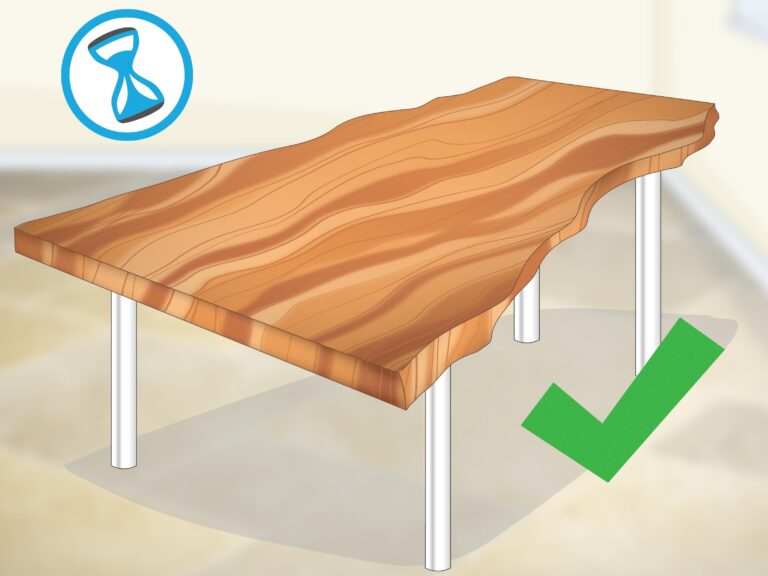
Best Finish for Cherry Table Tops
When it comes to choosing the best finish for cherry table tops, there are a few things to consider. First, the type of wood will dictate the type of finish that is best suited for it. Second, the intended use of the table top will also play a role in choosing the right finish.
Lastly, personal preference will come into play when making your decision.
Cherry is a hardwood that is known for its beautiful grain pattern and rich color. When it comes to finishes, cherry can be finished in a number of ways that will highlight its natural beauty.
For example, a clear coat finish will allow the grain and color of the wood to shine through, while still providing protection from everyday wear and tear. A stain or tinted varnish can also be used to give cherry table tops a unique look.
When deciding on the best finish for your cherry table top, it is important to consider how you intend to use it.
If you plan on using it as an everyday dining surface, then a durable finish that can withstand daily use is essential. Conversely, if you plan on using your table top as more of a show piece or decoration, then you may want to choose a less durable but more visually appealing finish. Ultimately, the best finish for your cherry table top depends on your personal preferences and how you plan on using it.
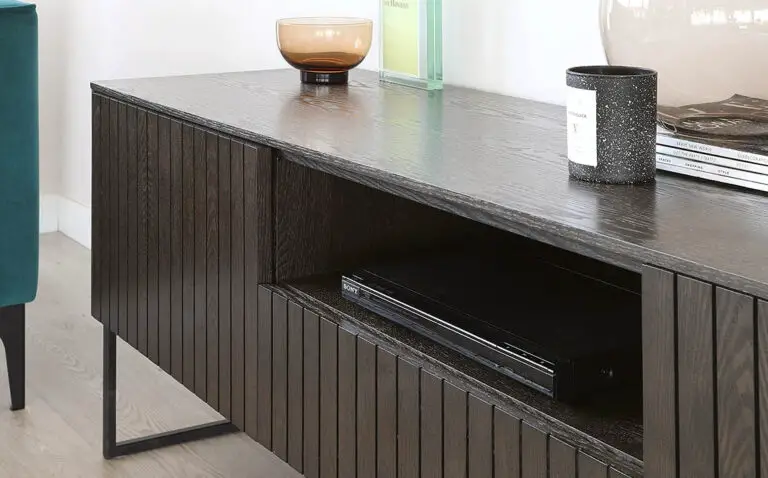
How to Stain Cherry Wood Dark
When it comes to staining cherry wood dark, there are a few things you need to keep in mind. First of all, cherry is a very porous wood, which means that it will absorb stain more readily than other woods. This also means that you need to be careful not to over-stain the wood, as it can become too dark and murky looking.
The best way to avoid this is to test the stain on a small area of the wood first before applying it to the entire piece. Once you have your desired color, apply the stain evenly across the surface of the wood using a brush or rag. Allow the stain to sit for several minutes before wiping away any excess with a clean cloth.
And that’s all there is to it! With just a little bit of care and attention, you can easily give your cherry furniture or cabinets a beautiful dark finish that will bring out all its natural grain and beauty.
Credit: www.woodworkerssource.com
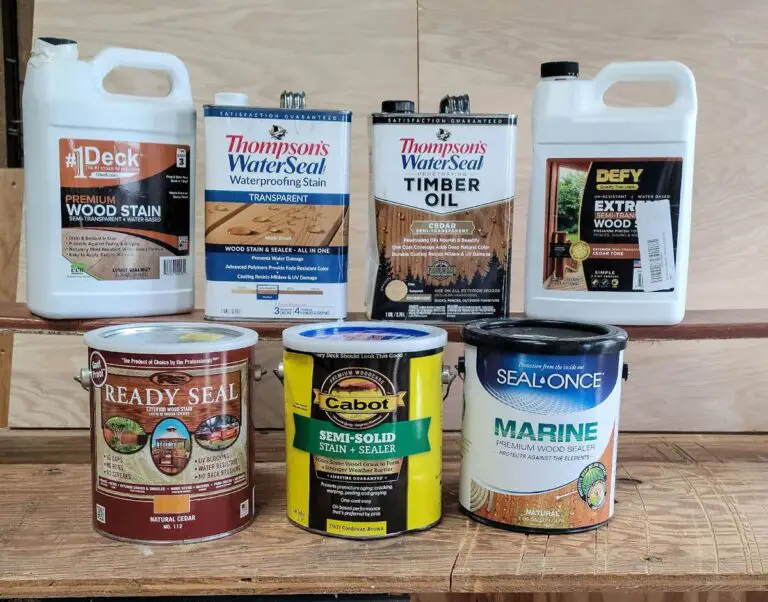
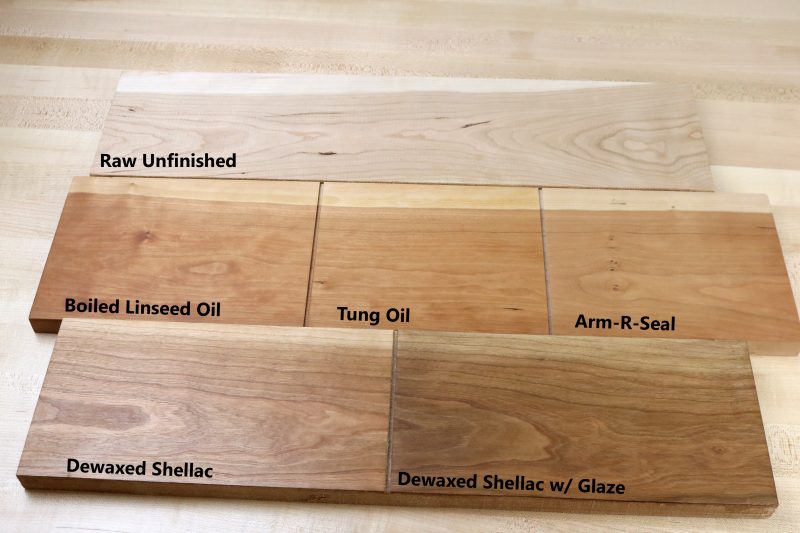
What is Best Finish for Cherry Wood?
There are a few different ways to finish cherry wood, and each one has its own advantages and disadvantages. One of the most popular finishes for cherry is a simple clear coat of lacquer or varnish. This will allow the natural beauty of the wood grain to show through while still providing some protection from moisture and wear.
However, it will not protect against UV damage from sunlight, socherry furniture that is going to be placed in a sunny room should be finished with a UV-resistant topcoat. Another option for finishing cherry is staining it a dark color such as espresso or black. This can give your furniture a more sophisticated look, but it will also make it more difficult to repair any scratches or dings that occur over time.
Should Cherry Wood Be Stained?
There are a few things to consider when deciding whether or not to stain cherry wood. The first is the natural color of the wood. Cherry wood has a reddish hue that can be enhanced with a stain, or it can be left its natural color.
The second thing to consider is the grain pattern of the wood. Cherry wood has a distinctive grain pattern that can be accentuated with a stain. The third thing to consider is the type of finish you want on your cherry wood furniture.
A stained piece of furniture will have a different finish than one that is not stained.
The decision of whether or not to stain cherry wood furniture is ultimately up to the individual owner. There are pros and cons to both options, and it really comes down to personal preference.
If you do decide to stain your cherry wood furniture, make sure to use a good quality stains and follow the manufacturer’s instructions carefully for best results.
Should I Condition Cherry Wood before Staining?
Cherry wood is a beautiful type of wood that can be used for a variety of different projects. If you are planning on staining cherry wood, it is important to condition the wood first. This will help to ensure that the stain adheres evenly and doesn’t create any blotches or uneven areas.
To condition cherry wood before staining, start by sanding the surface of the wood with fine-grit sandpaper. Once the surface is smooth, wipe away any dust with a clean cloth. Next, apply a pre-stain conditioner to the wood using a brush or rag.
Be sure to work the conditioner into all nooks and crannies and let it sit for about 15 minutes before wiping away any excess. Finally, apply your stain of choice according to the manufacturer’s instructions and enjoy your newly stained cherrywood project!
Can You Sand Cherrywood?
Yes, you can sand cherry wood. However, it is important to be aware that cherry wood is a relatively soft wood, so it will require more care and attention than some other types of wood. In addition, cherry wood has a tendency to “bleed” when sanded, so it is important to use a light touch when sanding and to avoid sanding too deeply into the grain of the wood.
Conclusion
Assuming you would like a summary of the blog post titled “How to Finish Cherry Wood”:
Cherry wood is a beautiful, natural material that can add a touch of luxury to any home. However, it can be difficult to know how to finish cherry wood properly.
In this blog post, we’ll give you some tips on how to finish cherry wood so that it looks its best.
First, you’ll need to sand the cherry wood until it’s smooth. Then, you’ll need to apply a primer and let it dry completely.
Once the primer is dry, you can start painting or staining the cherry wood. Make sure to use thin coats so that the color doesn’t become too dark. Finally, seal the wood with a clear coat so that it will be protected from scratches and stains.