How to Draw Wood Table
Wood tables are one of the most popular pieces of furniture. They are classic and add a touch of elegance to any room. But how do you draw a wood table?
Here are some tips:
First, choose the type of wood table you want to draw. There are many different styles, so take some time to browse through pictures online or in magazines to get an idea of what you like.
Once you have an idea, sketch out the general shape of the table on paper. This doesn’t have to be perfect, just get the basic outline down.
Next, start adding details like the tabletop, legs, and any other features your table might have.
Again, don’t worry about being perfect – that can come later. Just focus on getting all the elements down on paper.
Now it’s time for shading and color.
For a wood table, you’ll want to use light and dark colors to create a realistic effect. Start with a light base color and then add darker shades in some areas to create depth and dimensionality. Use your imagination – there’s no wrong way to do this!
Finally, once you’re happy with your drawing, go over it with a fine-tipped pen or marker to make all your lines nice and crisp. And that’s it – you’ve now drawn a wood table!
- Begin by drawing a rectangle that will serve as the tabletop
- This can be done freehand or by using a ruler to draw straight lines
- For the legs of the table, draw four rectangles of equal size, positioned at each corner of the tabletop
- To give the table some texture, use a pencil to draw vertical lines on the tabletop and legs
- Start with light pressure and build up to darker lines for more depth
- Erase any unwanted pencil marks and your wood table is complete!
How to draw a Table Step by Step | Easy drawings
How to Draw Table
Assuming you would like a blog post on how to draw a table:
A table is a piece of furniture with a flat surface supported by four legs, typically used for dining, working or playing games. It can be made from various materials including wood, metal and glass.
Tables come in all shapes and sizes, so it’s important to choose one that is appropriate for the room or space you have available. In this tutorial we will show you how to draw a simple rectangular table.
Start by drawing two parallel lines to represent the top and bottom of the table.
Then add four vertical lines at each corner to create the legs. Finally, connect the lines at the top and bottom using horizontal lines to complete the rectangle. Now you have drawn a basic table!
You can add extra details such as Tablecloth, place settings or flowers etc.
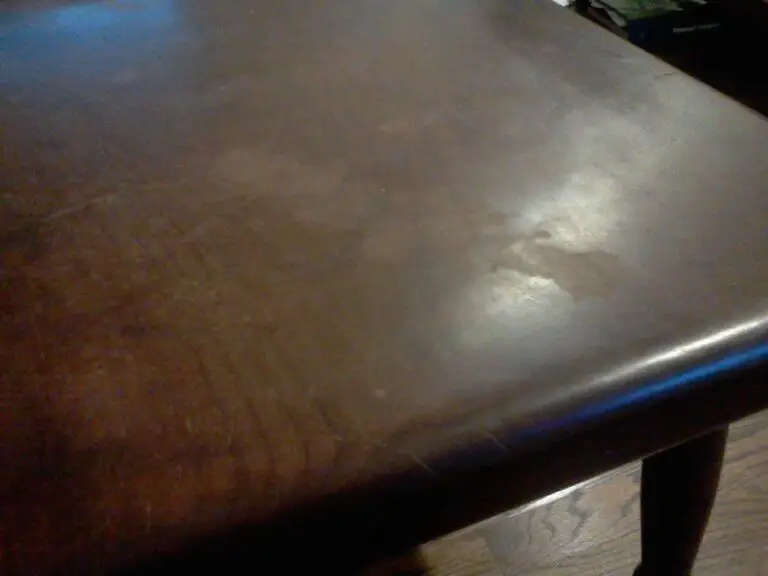
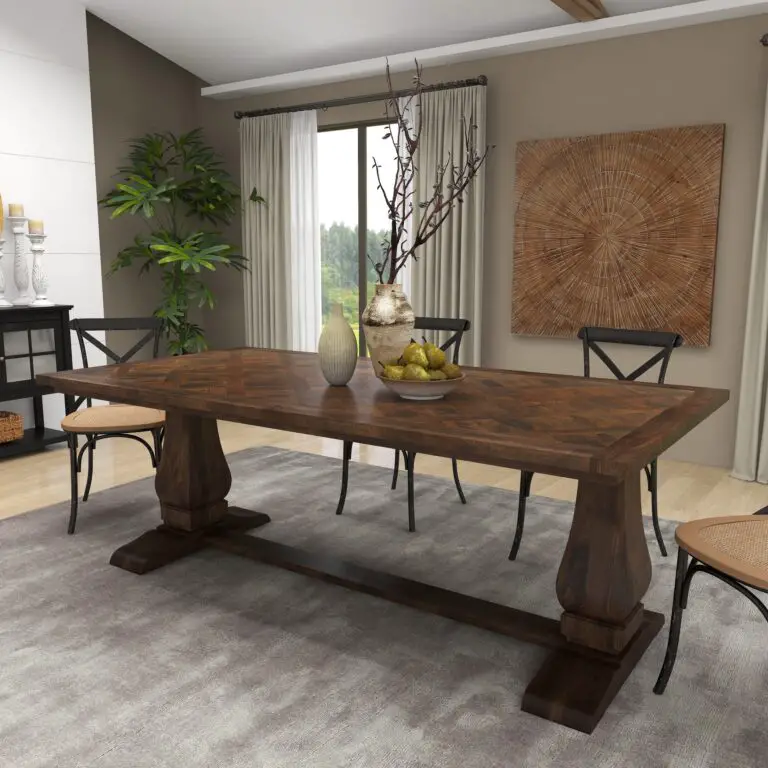
Wood Table Texture Drawing
If you’re looking for a wood table texture drawing, you’ve come to the right place. Here we’ll provide detailed information about how to create a realistic wood table texture drawing using only a few simple supplies.
First, gather your supplies.
You’ll need some paper, a pencil, and a black pen or marker. Then find a photo or illustration of a wood table that you like the look of. Study the photo closely, paying attention to the direction of the grain and the different shades of wood.
Next, start by sketching out the overall shape of the table on your piece of paper. Once you have the basic outline down, begin adding in details like legs and any other features that stand out to you.
Now it’s time to add in the wood grain.
Using your pencil, lightly draw lines that follow the direction of the grain in your reference photo. Start with broader strokes and then add smaller ones as needed until you’re happy with the results. Finally, go over your pencil lines with your black pen or marker to give them more definition.
There you have it! Your very own wood table texture drawing!

Credit: www.youtube.com
How Do You Draw a Wood Table?
Assuming you would like a step by step guide on how to draw a wood table:
First, start with a pencil and paper. Sketch out the basic shape of the table.
Next, use a ruler to draw straight lines for the sides and top of the table. Once you have the basic outline of the table, begin adding in details like legs, chairs, and any other features. To make the table look more realistic, add shading and texture to simulate wood grain.
Finally, erase any unwanted pencil marks and your wood table is complete!
Read: How to Protect Wood Coffee Table
How Do You Draw Wood Furniture?
Assuming you would like tips on drawing wood furniture:
When drawing wood furniture, it is important to start with the basic shapes. Begin by sketching out the outline of the piece of furniture.
Next, add in any details such as the legs, arms, and back. Once the basic shape is complete, it is time to add in the wood grain. To do this, start by adding horizontal lines across the piece of furniture.
Then, add in vertical lines to create a cross hatch pattern. Finally, fill in the spaces between the lines with small circles or dots. This will give your drawing a realistic wood grain effect.
Read also: Can You Use Clorox Wipes on Painted Wood
How Do You Draw a Simple Table?
Assuming you would like a tutorial on how to draw a simple table:
Step 1: Draw a rectangle that will be the base of your table. This can be done by drawing two parallel lines and then connecting them with two perpendicular lines at the end.
The result should look something like this:
Step 2: Next, add in 4 legs for your table. These can be drawn as small rectangles coming off of each corner of the base rectangle.
Step 3: Finally, add a tabletop to your table! This can be done by simply drawing another rectangle on top of the base, making sure to leave enough space in between for the legs. And there you have it – a simple table that you can now use in any design!
How Do You Draw Something With Wood?
Assuming you would like to know how to carve wood:
The most important part of carving wood is the tools. A good set of chisels is a must, as well as a mallet or hammer.
A sharp knife will also come in handy for cleaning up rough edges. You will also need a workbench or some sort of support to keep your workpiece steady while you work on it.
Once you have your tools gathered, you need to decide what you want to carve.
If this is your first time carving, it might be best to start with something simple, like a small animal or flower. Once you have your design picked out, use a pencil to transfer it onto the wood. It’s important to use a light touch when doing this, as you don’t want to accidentally carve into the wrong spot.
Now that your design is transferred onto the wood, it’s time to start carving! Begin by using one of your chisels to remove any large chunks of wood from your piece. As you get closer and closer to your final product, switch to smaller and smaller chisels (or even just use your knife) until all that’s left are the delicate details.
Finally, use sandpaper to smooth out any rough edges and give your carving a nice finished look.
Read to know; How to Get Crayon off Painted Wood
Conclusion
Assuming you would like a summary of the blog post titled “How to Draw Wood Table”:
In this post, the author provides step-by-step instructions for drawing a wood table. They begin by sketching out the basic shape of the table, including the legs and tabletop.
Next, they add in details like the grain of the wood and any surface imperfections. Finally, they shade and color their drawing to give it a realistic appearance.