How to Cover a Beam With Wood
If you would like to cover a beam with wood, you will first need to determine the size of the beam. Once you have determined the size of the beam, you will need to select the type of wood that you would like to use. There are many different types of wood that can be used for this project, so be sure to select the type of wood that best suits your needs.
After you have selected the type of wood, you will need to cut it to fit the size of the beam. Once the wood is cut, you will need to sand it down and then stain or paint it. Finally, you will need to seal the wood so that it does not warp or crack over time.
- Measure the beam and cut the wood to size
- Apply a layer of adhesive to the beam
- Place the wood over the adhesive and press it into place
- Nail or screw the wood into place
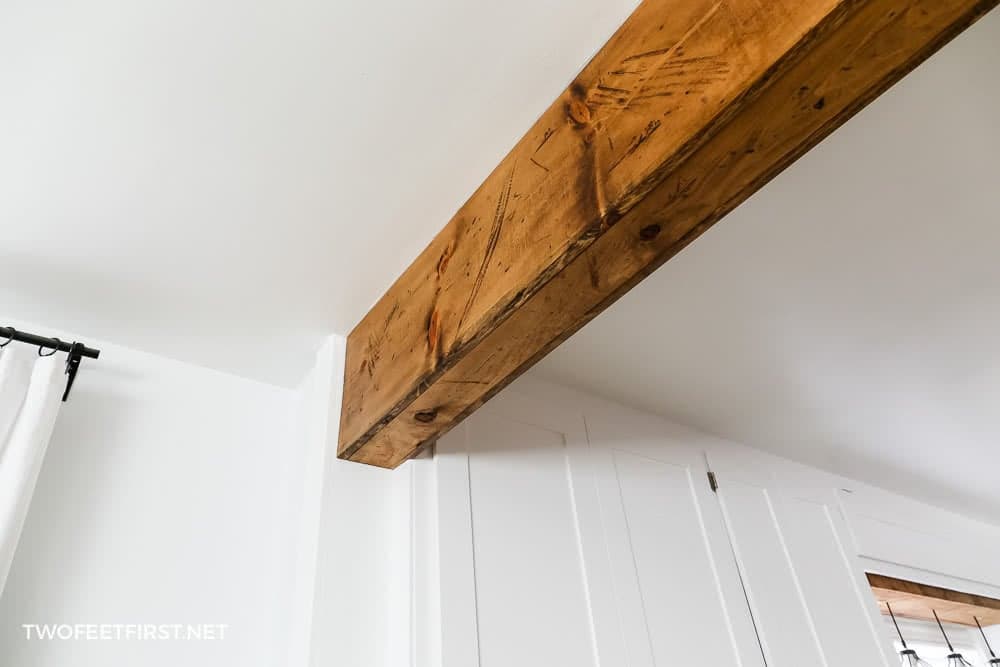
Credit: www.twofeetfirst.net
How Do You Hide an Exposed Beam?
One way to hide an exposed beam is to install drywall around it. Another way is to use a false beam, which is a decorative piece of wood that covers the exposed beam.
How Do You Make Beams Look Like Wood?
When it comes to making beams look like wood, there are a few different methods that can be used. One popular method is to use a wood veneer. This involves attaching a thin layer of real wood to the surface of the beam.
This gives the beam an authentic wood look and feel.
Another option is to use a faux wood finish. This involves painting the beam with a special paint that makes it look like real wood.
This is a great option if you want to achieve a specific color or grain pattern that isn’t possible with real wood.
Finally, another option for making beams look like wood is to use real wood cladding. This involves attaching thin strips of real wood to the surface of the beam.
This gives the beam an authentic wood appearance and can also help protect it from weathering and wear over time.
How Do You Cover Painted Beams to Look Like Wood?
There are a few ways to cover up painted beams to make them look like wood. One way is to use a faux wood beam wrap. This type of wrap is made out of a flexible material that looks and feels like real wood.
It can be cut to fit any size beam and glued or screwed into place. Another option is to use real wood veneer sheets. These thin sheets of wood can be applied over the existing paint using contact cement or another type of adhesive.
Once the veneer is in place, it can be stained or sealed to achieve the desired look.
How Do You Dress Up a Beam?
If you’re looking to dress up a beam, there are a few different ways you can go about it. One option is to add some sort of trim around the edges of the beam. This could be something like molding or even just a simple piece of wood that’s been sanded down and stained to match the rest of the beam.
Another option is to add paneling to the face of the beam. This can give it a more finished look and also help to hide any imperfections in the wood. Finally, you could simply paint the beam itself.
This is an easy way to change up the look of a room without having to do too much work. Just make sure that you use a high-quality paint so that it will last for years to come.
How To Cover A Beam With Barn Wood (Reclaimed Wood) : E066 / BC Renovation Magazine
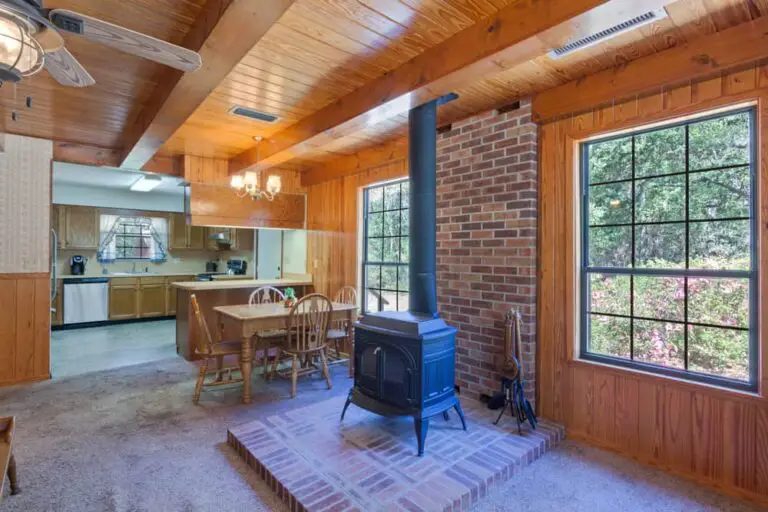
Covering Exposed Ceiling Beams
Whether you’re an industrial chic type or just want to add a bit of character to your home, covering exposed ceiling beams is a great way to do it! Not only do they add architectural interest, but they can also help reduce noise in your home. Here are a few things to keep in mind when covering exposed ceiling beams:
1. Choose the right material. If you’re looking for something that will help reduce noise, consider using a sound-absorbing material like acoustic panels or fiberglass insulation. If you’re more concerned with aesthetics, then there are plenty of stylish options out there like wood paneling or even fabric wrapped around the beams.
2. Make sure the material is properly secured. Especially if you’re using acoustic panels or insulation, you’ll want to make sure they are securely attached to the beam so they don’t fall and create even more noise!
3. Consider acoustics when choosing your location.
Beams that run along walls will reflect sound more than those in the middle of the room, so if reducing noise is your goal then placement is key.
4. Don’t forget about lighting! When covering exposed ceiling beams, be sure to take into account how it will affect your lighting plan.
You may need to add additional light fixtures or adjust existing ones so that the beams don’t create too much shadowing in the room.
Wrapping Exposed Beams
Wrapping exposed beams is a great way to add character and interest to any room. Beams can be wrapped in a variety of materials, including fabric, paper, or even metal. The possibilities are endless!
Here are a few tips to get you started:
1. Choose the right material. The material you choose will depend on the look you’re going for and the amount of coverage you need.
Fabric is a great option if you want to add color or pattern to your beams. Paper is a good choice if you want a more subtle look. Metal can give your beams a modern edge.
2. Measure twice, wrap once. Before you start wrapping, be sure to measure your beams so that you have enough material to cover them completely. It’s better to err on the side of too much than too little!
3. Start at the bottom and work your way up. This will help ensure that your wrap is even and smooth.
4 .
Use adhesive tape or staples to secure the wrap in place . Be sure to use something that won’t damage your beams (or anything else in the room!). Adhesive tape is usually sufficient, but staples can provide extra security if needed .
How to Cover a Beam With Reclaimed Wood
If you have a beam in your home that you would like to cover with reclaimed wood, there are a few things that you will need to do. First, you will need to find some reclaimed wood. This can be done by visiting local salvage yards or online retailers.
Once you have found the wood that you want to use, it is important to measure the beam so that you know how much material you will need.
Once you have all of your materials, the next step is to prepare the surface of the beam for installation. This means sanding down any rough edges and making sure that the surface is clean and free of debris.
Once the surface is prepped, it’s time to start installing the reclaimed wood. To do this, simply adhere the boards to the beam using construction adhesive or nails/screws.
That’s it!
Once the adhesive or nails/screws are dry, your reclaimed wood beam cover is complete. Enjoy your new look!
Veneer Beam Wrap
When it comes to veneer beam wraps, there are a few things you need to know. First, these wraps are not just for looks – they can actually help to strengthen your beams and prevent them from bowing or breaking. Additionally, installing a veneer beam wrap is relatively easy and can be done in just a few steps.
Here’s what you need to know about veneer beam wraps:
What are Veneer Beam Wraps?
Veneer beam wraps are strips of material that are wrapped around the outside of wooden beams.
These wrapping serve two purposes – they add an extra layer of protection to the beams, and they also give the beams a more finished look. Veneer beam wraps are typically made from PVC or other durable materials, and they can be found in a variety of colors and styles to match your home’s décor.
Why Use Veneer Beam Wraps?
There are several reasons why you might want to use veneer beam wraps on your wooden beams. First, as mentioned above, these wraps can help to prevent your beams from bowing or breaking under pressure. Additionally, veneer beam wraps can also make your beams look more finished and polished – perfect for if you’re looking to add some extra curb appeal to your home.
And finally, installing veneer beam wrapping is relatively easy and can be done in just a few simple steps (which we’ll get into below).
Conclusion
If you want to cover a beam with wood, here are some tips. First, use a saw to cut the wood into pieces that will fit around the beam. Next, use a drill to make holes in the wood so you can screw it into place.
Finally, use a hammer to nail the wood into place.