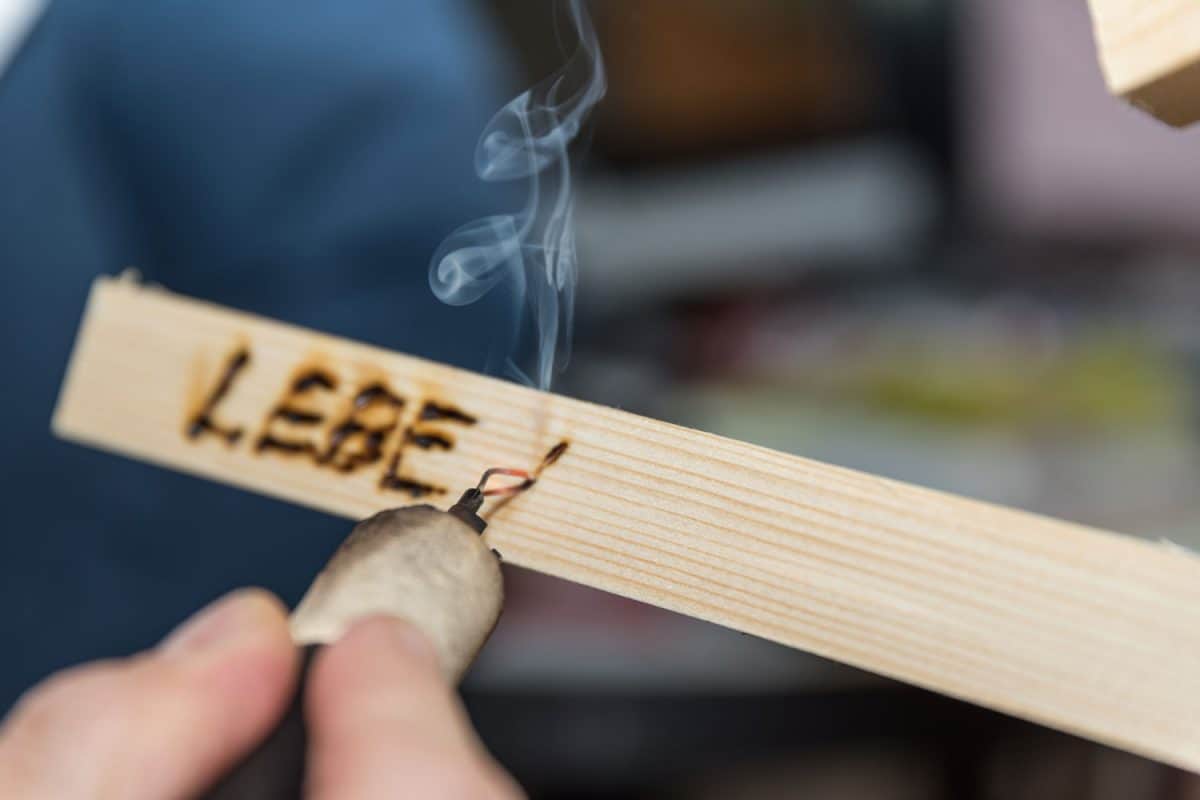
How to Burn Names into Wood
To burn names into wood, you will need a pyrography pen and wood burning tool. First, you will need to find a piece of wood that is large enough to fit the name you want to burn into it. Once you have found the perfect piece of wood, use the pyrography pen to outline the name onto the wood.
Next, use the wood burning tool to carefully burn the name into the wood. Be sure to go slowly and evenly so that the letters are burned evenly into the wood.
- Gather the supplies you will need to burn names into wood
- This includes a piece of wood, a pencil, a lighter or match, and a design template (optional)
- Place the piece of wood on a stable surface
- If using a design template, tape it to the wood
- Use the pencil to trace over the lines of the design template, or freehand your own design onto the wood
- Carefully go over the pencil lines with the lighter or match, burning them into the wood
- Be sure not to hold the flame in one spot for too long, as this can cause scorching or charring
- Allow the burned design to cool completely before handling further
How to Burn Letters into Wood Without Tools
There’s something so satisfying about being able to create something beautiful without having to spend a lot of money on tools or materials. That’s why we love this DIY project that shows you how to burn letters into wood without any fancy tools!
All you need for this project is some wood, a pencil, and a lighter.
You can use any type of wood you like, but we prefer using softer woods like pine because they’re easier to carve. If you’re using a harder wood, you may want to consider using a Dremel or other power tool to make the carving process easier.
Once you have your materials gathered, use the pencil to trace out the letters or design you want to burn into the wood.
Then, carefully go over your tracing with the lighter until the entire letter is evenly burned. Be sure not to hold the flame in one spot for too long, as this could cause the wood to catch fire.
Now all that’s left is to admire your handiwork!
This simple technique can be used to create all sorts of personalized decor items, from signs and wall art to jewelry and more. So go ahead and give it a try – we guarantee you’ll be hooked once you see how easy and fun it is!
How to Burn a Name into Wood With a Torch
If you’re looking for a creative way to add a personal touch to your woodworking projects, why not try burning a name into the wood? It’s a relatively simple process that can be done with just a few tools.
Here’s what you’ll need:
-A torch (a small handheld propane torch is ideal)
-Wooden board or piece of lumber
-Pencil or pen
-Stencil (optional)
-Sandpaper
first, decide where you want your design to go.
Once you have an idea of the placement, use a pencil or pen to lightly trace the outline of your design onto the wood. If you’re using a stencil, place it over the area and hold it in place while you trace around it.
Once your design is traced onto the wood, it’s time to start burning!
Begin at one end of your outline and slowly move the torch back and forth along the line. As you burn, the wood will darken in color. Keep moving until you’ve gone all the way around your design.
Once you’re finished burning, let the wood cool completely before handling it.
How to Wood Burn Small Letters
Wood burning is a fun and easy way to add personalization to your wood projects! Small letters are a great way to add a special touch to any project. Here are some tips on how to wood burn small letters:
1. Choose the right wood burning tool. For small letters, you’ll want to use a fine-tipped wood burning pen or pencil.
2. Practice, practice, practice!
Before you start burning your project, it’s important to practice on some scrap wood first. This will help you get a feel for the tool and how much pressure you need to apply.
3. When you’re ready to start burnsishing your project, use light pressure and slow movements for best results.
Slowly trace over your template or freehand your design onto the wood surface.
4. Once you’re finished burning, let the piece cool before handling it further. And that’s it!
With these tips, you can easily add small burned letters to any of your woodworking projects!
How to Burn Letters into Wood With a Soldering Iron
If you’re looking for a fun and unique way to personalize your woodworking projects, why not try burning letters into the wood with a soldering iron? It’s a simple process that anyone can do, and it adds a beautiful and unique touch to your work. Here’s how to do it:
1. First, gather your materials. You’ll need a soldering iron, some letter stencils, and some thin wooden boards. Make sure the boards are clean and free of any debris or dirt.
2. Place the stencils on the board where you want them. Use masking tape or something similar to keep them in place if needed.
3. Turn on your soldering iron and let it heat up until it’s nice and hot.
Hold the tip of the iron against the edge of one of the letters for a few seconds to start burning it into the wood. Move slowly and carefully so you don’t overburn or warp the wood.
4. Once all of the letters are burned in, remove the stencils and admire your handiwork!
You now have beautiful, personalized woodwork that is sure to impress anyone who sees it.
How to Burn Large Letters into Wood
Wood burning is a fun and easy way to add a personal touch to your wood projects. Whether you’re adding a name, date, or design, burning letters into wood is a great way to make your mark. Here’s how to do it!
Start by sketching out your design on paper. Once you have your design, use a pencil to trace it onto the wood. If you’re not comfortable freehanding, you can also print out your letters and use carbon paper to transfer them onto the wood.
Once your design is transferred onto the wood, it’s time to start burning! Use a woodburning tool to carefully trace over the lines of your design. Go slowly and be careful not to burn too deeply – you want the letters to be visible, but not sunken into the wood.
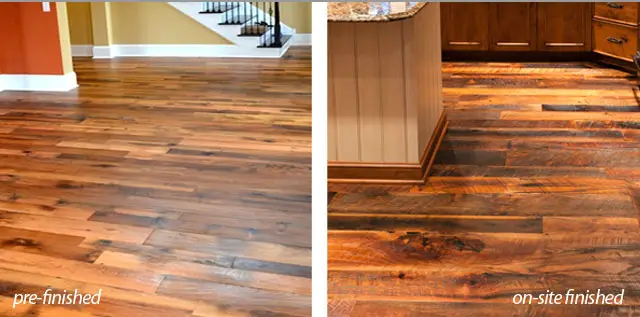
Once you’re done burning, take a look at your handiwork! If you’re happy with the results, seal the wood with a clear finish to protect it from moisture and wear.
Credit: craftsbliss.com
How Do You Burn Wood Names into Wood?
There are a few ways that you can burn wood names into wood. One way is to use a stencil and tracing paper. Another way is to freehand the letters.
And lastly, you can use a wood burning tool.
The most important thing when burning any design into wood is to have a light hand and go slowly. If you press too hard or move too fast, you will end up with a dark, charred spot that ruins the look of your project.
So take your time and be patient!
If using a stencil, first secure it to the wood with painter’s tape. Then trace around the edge of each letter with a pencil so that you have a guide for where to burn.
Next, carefully start burning along the pencil lines with your wood burning tool, moving slowly and evenly until all of the lines are filled in. You may need to go over some areas multiple times to get a dark enough color.
When freehanding letters, it’s helpful to sketch them out lightly with a pencil first so that you have an idea of where to start burning.
Start by gently dragging the tip of your wood burner across the surface of the wood in long, even strokes until all of the letter is filled in. As with using a stencil, go slowly and be careful not to press too hard or move too fast so that you don’t create any accidental burns outside of your intended design area.
What Tool Burns Letters into Wood?
A wood burning tool is a handheld device that uses a small, pointed tip to heat up and burn letters or designs into wood. The most common type of wood burning tool is a pen-style burner, which consists of a metal or plastic body with a heating element inside. The tip of the pen-style burner is usually made of brass or another type of metal that can withstand high temperatures.
Wood burning tools are used for a variety of purposes, such as creating decorative designs on furniture or wooden crafts, adding embellishments to picture frames, and even making personalized gifts. If you’re new to wood burning, start by practicing your technique on scrap pieces of wood before moving on to your project piece. When you’re ready to startburn letters into your project piece of wood, use a light touch and slow speed so you don’t overburn the area around the lettering.
How Do You Burn Letters in Wood Without Tools?
Assuming you would like tips on how to burn letters into wood without using any tools, below are some methods that can be used.
One way is to use a stencil and spray paint. First, find or create a stencil with the letters you want to burn into the wood.
Next, place the stencil on the wood and secure it so it doesn’t move. Once the stencil is in place, spray paint over top of it. The paint will act as a barrier and prevent the wood from burning when exposed to heat.
Finally, use a lighter or match to carefully go over each letter. The heat from the flame will cause the paint to burn away and reveal the letters underneath.
Another method is to use a soldering iron.
This tool can be found at most hardware stores and is relatively inexpensive. To use this method, first turn on the soldering iron and let it heat up for a few minutes until it’s hot enough to use. Then, holding the tip of the iron against the wood, slowly trace out each letter.
As you do this, the wood will start to smoke and darken in color. Keep tracing until all of the letters are burned into place. Let cool before handling.
If you don’t have any tools handy, another option is to use a candle or matches alone. First light your candle or strike a match and hold it close to the side ofthe wax candle so that it starts melting slightly .
How Do You Engrave a Wood Burn?
Assuming you would like a step-by-step guide on how to engrave a wood burning:
Things You’ll Need:
-Pencil
-Ruler or a straight edge of some sort
-Wood burning tool
-Fine grit sandpaper
-Stencil (optional)
Step 1: Sketch Your Design
Start by sketching your design onto the wood using a pencil.
If you’re not confident in freehanding, you can use a stencil to help trace your design. Just keep in mind that you’ll need to flip the stencil over if you want your design to be mirrored. Once your sketch is complete, go over it with a ruler or straight edge to make any final adjustments and clean up the lines.
Remember, this is just a preliminary sketch so don’t worry about making it perfect. The goal is simply to have a nice starting outline for your carving. Step 2: Prep the Wood Surface
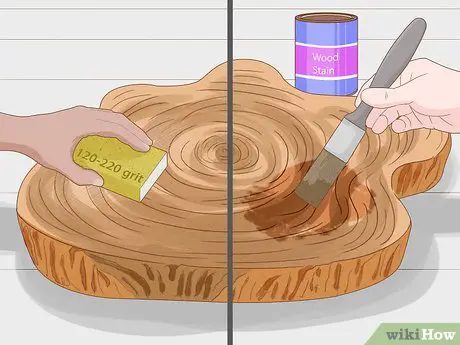
Next, use fine grit sandpaper to lightly sand down the area where you’ll be carving. This will help create a smooth surface for carving and also remove any residual pencil marks from your initial sketch. Be sure to work evenly across the entire surface until it feels smooth when running your hand over it.
Step 3: Start Carving!
Now comes the fun part – actually carving out your design! Begin by slowly tracing along your pencil lines with your wood burning tool, applying gentle pressure as you go. As you get more comfortable, you can start increasing the pressure and speed at which you’re working. Just be careful not to apply too much pressure, as this can cause accidental burns or markings outside of your intended design area. Also be mindful of how hot your tool is getting – if it’s too hot, it will scorch the wood instead of engraving it smoothly. If this happens, simply let the tip cool down for a few seconds before continuing. Step 4: Finish Up & Add Details
As you near completion of your carving, take things slow and steady to avoid any mistakes near the end! When finished, go back over any areas that may need touching up or deepening before moving on to any final details like shading or highlights.
How to Wood Burn Letters by Pyrocrafters
Conclusion
This blog post details how to burn names into wood using a wood burning tool. First, the author outlines the supplies needed including the wood burning tool, wood piece, and stencil. Next, the author provides step-by-step instructions for creating the burned name design including positioning the stencil on the wood and tracing around it with the wood burning tool.
Lastly, the author offers tips for finishing the project such as sanding down rough edges and sealing the wood.