Wood Burning Tips for Beginners
Whether you’re wanting to add a rustic touch to your home or simply enjoy the smell of wood burning, there are a few things you should know before getting started. Here are some tips for beginners that will help make your experience more enjoyable.
If you’re looking to get into wood burning, or even if you’re just curious about it, here are a few tips to help you get started.
1. Choose the right wood. Not all woods are created equal when it comes to burning.
Softwoods like pine and cedar tend to burn quickly and evenly, while hardwoods like oak and maple can be more difficult to work with. Experiment with a few different types of wood to see what works best for you.
2. Prep your workspace.
Before you start burning, make sure your workspace is clean and clear of any flammable materials. It’s also important to have a good ventilation system in place, as burning wood can produce harmful fumes.
3. Start slow.
When you first start out, it’s important to go slowly and carefully. Don’t try to rush the process – take your time and focus on creating quality burns rather than quantity.
4. Be safe .
This should go without saying, but always use caution when working with fire . Make sure you have a fire extinguisher on hand in case of an emergency , and never leave your burning project unattended .
5 .
Have fun ! Wood burning can be a relaxing and enjoyable hobby , so don’t forget to enjoy yourself while doing it .
Wood Burning Tips And Their Uses
Wood burning is an ancient practice that has been used for centuries to provide heat and light. Today, wood burning is still a popular way to heat homes and cook food. If you are new to wood burning, here are some tips to help you get started:
1. Choose the right wood: The type of wood you burn will affect the quality of the fire and the amount of heat it produces. Hardwoods, such as oak and maple, burn longer and hotter than softwoods, such as pine or poplar.
2. Season your wood: Wood that has been properly seasoned (left to dry for at least six months) will burn better than fresh-cut wood.
Seasoned wood also produces less smoke.
3. Build a hot fire: A hot fire burns more efficiently and produces less smoke than a slow-burning fire. To build a hot fire, start with small pieces of kindling and add larger pieces of wood as the fire grows.
4. Use a stove: If possible, use a stove instead of an open fireplace. Stoves are more efficient at heating rooms and produce less smoke.
Wood Burning for Beginners Pdf
Wood burning is an activity that has been around for centuries. It is a great way to relax and enjoy the outdoors. Many people choose to wood burn because it is a cheaper alternative to buying a gas or electric fireplace.
There are many different ways to get started with wood burning, but this article will provide some tips for beginners.
The first thing you need to do is gather your supplies. You will need a wood-burning stove, some wood, and some kindling.
You can find all of these items at your local hardware store or online. Once you have your supplies, you are ready to get started!
The first step in wood burning is choosing the right piece of wood.
You want to make sure that the piece of wood is dry and free of any knots or blemishes. If there are any knots in the wood, they can cause the fire to spread unevenly and create hot spots. Once you have found a good piece of wood, you are ready to start building your fire!
Building a fire in a stove can be tricky, so it is important to follow directions carefully. Start by placing some kindling in the bottom of the stove and then adding larger pieces of wood on top.
Wood Burning Tip for Writing
If you’re looking for a unique way to add a personal touch to your writing, consider using wood burning! This centuries-old technique is easy to learn and can be used to create beautiful and one-of-a-kind pieces. Here are some tips to get you started:
1. Choose the right wood. The type of wood you use will affect both the appearance and durability of your finished product. Soft woods like cedar and pine are good choices for beginners, while harder woods like oak and maple will give your writing a more refined look.
2. Prep your workspace. Before you start working with any kind of fire, it’s important to clear away any flammable materials from your area. Make sure you have a safe, designated space to work in before getting started.
3. Gather your supplies. In addition to wood, you’ll need a few other supplies before you can start burning: an awl or other sharp tool for tracing your design onto the wood, sandpaper (optional), paint or varnish (optional), and a candle or lighter.
4 …
Wood Burning Tips Letters
Wood burning tips letters are a great way to add a personal touch to your wood burning projects. Here are some tips to help you get the most out of your wood burning letters:
1. Use a pencil or pen to sketch out your design on the wood before you start burning.
This will help you plan the placement of your letters and ensure that they are evenly spaced.
2. If you’re using pre-cut letters, be sure to sand them down before you start burning. This will help the fire evenly distribute the heat and prevent the letter from charring too quickly.
3. When it comes time to actually burn the letters into the wood, use a slow and steady motion. Don’t apply too much pressure, as this can cause the letter to distort.
4. After you’ve burned all of your letters, take a look at them from different angles to make sure they look even and symmetrical.
If not, you can always go back and adjust them accordingly!
Wood Burning Shading Tip
If you’re like most people, you probably enjoy the warm, cozy feeling of a wood-burning fire. But did you know that there’s a right way and a wrong way to stack your wood in the fireplace?
The wrong way is to simply pile the logs on top of each other.
This doesn’t allow for proper airflow, and as a result, the fire will smoke and be less efficient.
The right way to stack your wood is in what’s known as a “log cabin” style. This means that you alternate layers of logs with layers of kindling.
This allows for good airflow and results in a cleaner, more efficient fire.
Here’s a tip for getting even better results: before you light your fire, place two or three large pieces of bark on top of the log cabin. The bark will help to reflect heat downward, resulting in even better combustion and less smoke.
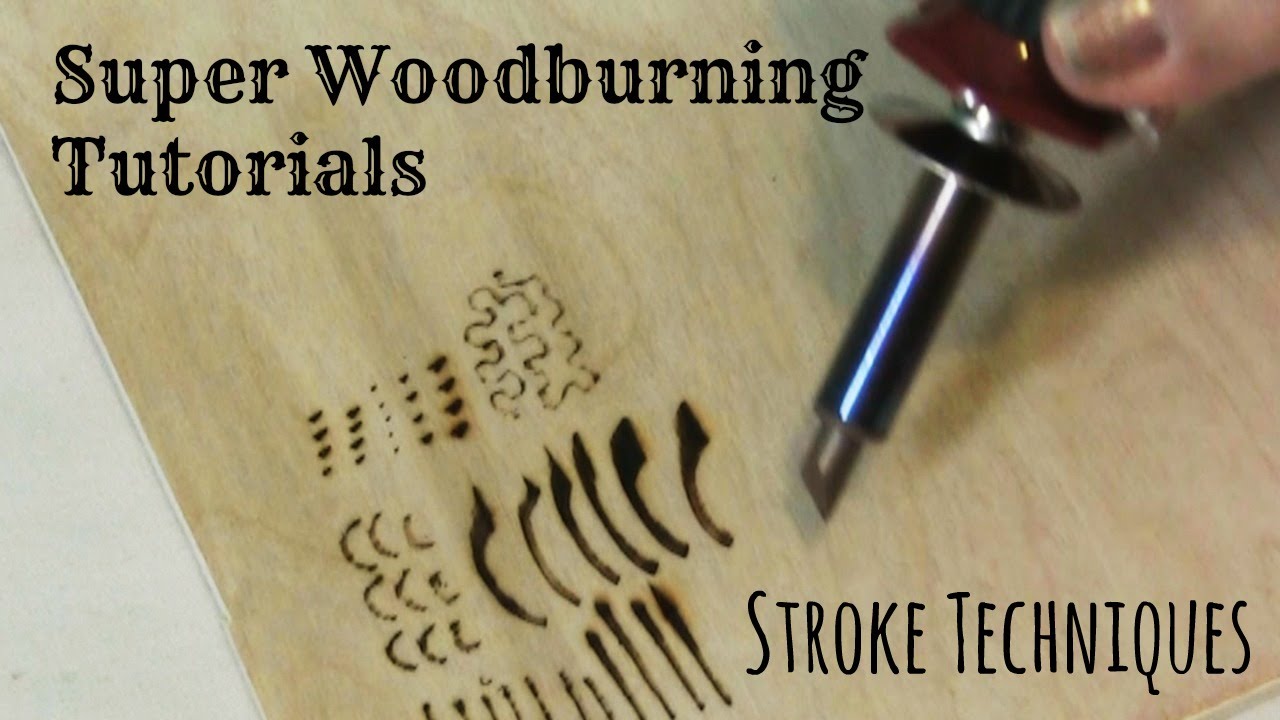
Credit: www.youtube.com
How Do You Burn Wood for Beginners?
Wood burning is an art form that has been around for centuries. If you’re new to wood burning, the thought of starting a fire may be daunting. But with a little know-how and practice, you’ll be able to start your own wood fire in no time.
Here are a few tips for beginners:
1. Choose the right wood. Not all woods are created equal when it comes to burning.
Hardwoods like oak, maple, and cherry will burn hot and slow, while softer woods like pine and poplar will burn quickly and produce more smoke. If you’re just starting out, it’s best to stick with hardwoods since they’re easier to control.
2. Start small.
A big fire is not necessary (or even advisable) when you’re first learning how to burn wood. A small fire will give you more control and help you avoid any accidents.
3. Use dry wood only.
Wet or green wood will not only produce more smoke but can also be harder to light and keep lit. Make sure your wood is completely dried out before trying to burn it.
4 .
Create a teepee-shaped pile of logs . This classic campfire method is still the best way to stack your logs for maximum airflow and efficient burning . Simply place larger logs at the bottom of the teepee , followed by smaller ones as you build up towards the top .
5 .Light it up ! Once your teepee is built , it’s time to get things started . Use some kindling (smaller pieces of dry wood) to create a small fire in the center of your teepee . Once the flames start licking up at the logs , slowly add more fuel until your desired level of heat is reached .
What Tips Do You Use for Wood Burning?
Wood burning is a great way to add a personal touch to your home décor. Whether you’re looking to create a rustic feel or simply want to add some extra warmth, wood burning can be a great option. However, it’s important to take the proper precautions when working with fire.
Here are some tips for wood burning:
1. Choose the right wood. Softwoods like pine and cedar are easier to ignite and produce more smoke, while hardwoods like oak and maple burn slower and produce less smoke.
2. Prep your workspace. Make sure you have plenty of ventilation so that fumes don’t build up in your workspace. It’s also important to have a fire extinguisher on hand in case of accidents.
3. Light the fire properly. Use kindling (small pieces of wood) to help get the fire started, then add larger pieces of wood once the flames are going strong.
4. Don’t overload the fireplace or stove.
Overloading can cause hot embers to shoot out and start a fire elsewhere in your home, so be sure not to put too much wood on at once.
5.) Extinguish the fire properly before leaving your workspace area..
Is Wood Burning Easy to Learn?
Wood burning is a technique that has been used for centuries to create beautiful artwork. While it may look like a difficult skill to master, wood burning is actually quite easy to learn. With a little practice, you can quickly become proficient in this fun and rewarding hobby.
The first step in learning how to wood burn is to choose the right tools. A good quality wood burning pen is essential. You will also need some sandpaper, a pencil and a piece of wood to practice on.
Once you have all of your supplies, you are ready to get started.
The next step is to sketch out your design on the piece of wood with the pencil. It is important to keep your lines light so they can be easily erased if necessary.
When you are happy with your design, it’s time to start burning!
To begin, heat up your wood burning pen by holding it close to the flame of a candle or lighter. Once it is heated, apply pressure and start drawing your lines onto the wood.
As you draw, the tip of the pen will darken and produce smoke – this is normal! Just keep going until you have completed your design.
Once you’re finished, allow the piece of wood to cool completely before touching it again.
Your newly created work of art is now ready for display!
Do You Have to Sand Wood before Wood Burning?
No, you don’t have to sand wood before wood burning, but it’s definitely a good idea! Sanding the wood will help to create a smooth surface for your design and it will also help to prevent any splinters from occurring.
Learn How to Wood Burn in 5 Minutes
Conclusion
If you’re thinking about taking up wood burning as a hobby, there are a few things you should know before getting started. Here are some wood burning tips for beginners to help you get started on the right foot.
One of the most important things to consider when wood burning is the type of wood you use.
Different woods burn differently, so it’s important to choose one that will give you the results you want. Softwoods like cedar and pine are good for beginners because they’re easy to work with and produce nice results. Hardwoods like oak and maple can be more challenging to work with but offer a more intense finished product.
Another thing to keep in mind is the thickness of your wood. Thicker pieces will take longer to burn, so if you’re looking for a quick project, go for thinner pieces. You can always sand down your finished product if it’s too rough for your liking.
Finally, don’t forget about safety! Always use gloves and eye protection when working with hot tools like wood burners. If you follow these tips, you’ll be well on your way to becoming a master at wood burning!