What is a Stressed Joint Wood
A stressed joint is a point in the wood where the grain changes direction. The change in direction puts stress on the wood fibers and can cause them to break. This type of damage is common in furniture that has been moved or damaged in some way.
It can also happen when the wood dries out too much or when it is exposed to extreme heat or cold.
When it comes to your home, one of the most important things is the condition of your wood. Over time, exposure to the elements can take its toll, causing wood to warp, crack and become overall weaker. When this happens, it’s known as a stressed joint.
There are a few different ways that stressed joints can form in wood. The first is due to changes in temperature and humidity. As the seasons change, so does the moisture content in the air.
This can cause wood to expand and contract, leading to cracks and other damage.
Another way that stressed joints can form is from poor construction techniques. If a house isn’t built properly, weight bearing walls can start to lean, putting stress on the joints where they meet.
This type of damage is often seen in older homes that weren’t built using today’s standards.
If you suspect that you have a stressed joint in your home, it’s important to have it inspected by a professional as soon as possible. These issues can lead to bigger problems down the road if left unchecked.
Credit: www.youtube.com
What Does It Mean to Stress a Joint?
Joints are areas where two bones come together, and they are held together by ligaments. When you put stress on a joint, it can cause the ligaments to stretch or tear. This can lead to pain, swelling, and instability in the joint.
Joints can be stressed by overuse, injury, or arthritis.
When a Properly Glued Joint is Stressed What Will Break First the Glue Or the Wood?
When a properly glued joint is stressed, the wood will break before the glue. This is because wood is a stronger material than glue.
What is the Most Difficult Wood Joint to Make?
There is no definitive answer to this question as it depends on the woodworker’s skill level and the tools available. However, some of the most difficult wood joints to make are dovetail joints, miter joints and spline joints. These joints require precise measurements and cuts, and often need to be fit together perfectly in order for them to work properly.
Dovetail and miter joints are also very difficult to fix if they are not made correctly, so it is important to take your time and make sure everything is lined up correctly before glueing or nailing them into place.
What are the Weakest Wood Joints?
There are a few different ways to answer this question, as there are multiple types of wood joints and each has its own set of strengths and weaknesses. In general, however, the weakest wood joints are those that rely on mechanical fasteners, such as nails or screws, to hold them together. These fasteners can eventually work their way loose, allowing the joint to come apart.
Glue-based joints can also be weak if the glue itself fails.
One particularly weak type of joint is known as a butt joint. This is simply two pieces of wood that are butted up against each other and held together with nails or screws.
There is no overlap between the two pieces of wood, which means that there is nothing really holding them together except for the fasteners. This type of joint is often used for simple projects, such as attaching a piece of trim to a wall, but it is not very strong and should not be used for heavier applications.
Another relatively weak type of joint is called a lap joint.
This is similar to a butt joint in that two pieces of wood are placed next to each other, but with a lap joint there is an overlap between the two pieces. The overlapping portion helps to reinforce the connection and make it stronger than a butt joint; however,lap joints are still not particularly strong compared to other types of wood joints.
A third weak type of wood joint is called an end grain butt joint.
As you might guess from the name, this involves joining two pieces of wood at their ends rather than along their sides (as in a traditional butt or lap joint). Because end grain is much harder to glue than surface grain, these types of joints tend to be weaker overall and more susceptible to failure.
So what are some stronger alternatives?
One option would be using dowels to join your pieces of wood together instead of nails or screws; dowels create a very strong connection thanks to their interlocking nature (imagine trying to pull apart two blocks that have been threaded onto dowels). Another option would be using mortise-and-tenon or dovetail joints; both require some extra time and effort investment upfront but result in extremely sturdy connections that will last for years (or even centuries!).
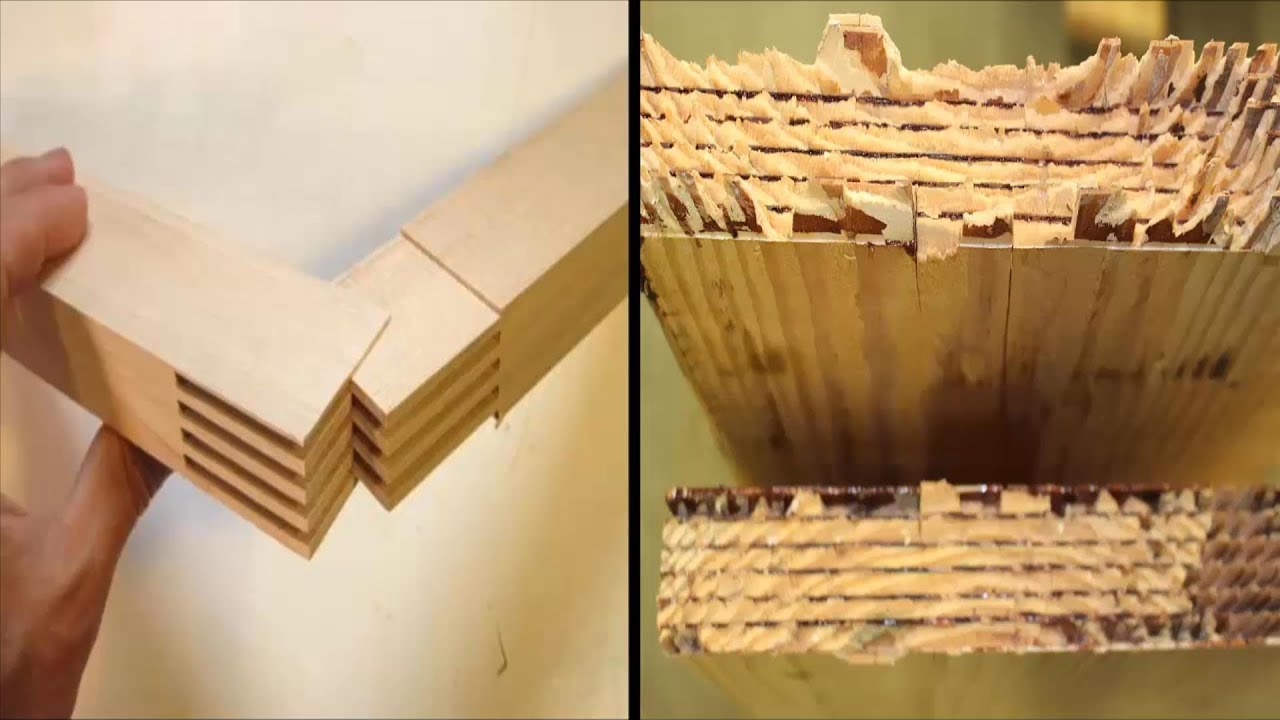
Wood Joint Strength Tests on End Joints.
Butt Joint
A butt joint is a simple woodworking joinery technique where two pieces of wood are joined together by their flat ends, or “butts”. The most common way to create a butt joint is by using nails or screws, but you can also use dowels, biscuits, or even just glue.
When choosing which method to use for your project, keep in mind that the strength of the joint will be determined by the amount of surface area that is being glued together.
For example, if you’re joining two 2x4s together lengthwise, you’ll want to use nails or screws placed along the entire length of the boards in order to create a strong joint. However, if you’re only joining two boards at their ends (creating an L-shape), then you won’t need as many fasteners since there’s less surface area to worry about.
No matter which method you choose, always make sure that your joints are lined up accurately before attaching them.
This will ensure that your project looks clean and professional when it’s finished.
What is the Most Effective Type of Joint Used in Splicing Structural Members
In order to provide a comprehensive answer to this question, it is first necessary to understand what is meant by the term “joint.” A joint is simply a point at which two or more structural members are connected. The purpose of using a joint is to allow for relative movement between the members while still providing support and strength.
There are many different types of joints that can be used for splicing structural members, but not all of them are equally effective. Some of the most common types of joints include butt joints, lap joints, miter joints, and scarf joints.
Butt joints are perhaps the simplest type of joint to create, and they are also one of the most commonly used.
A butt joint simply involves connecting two members end-to-end so that their long sides are flush with each other. This type of joint is typically only used when the members being connected are relatively small in size; otherwise, it would not be strong enough to support any significant amount of weight.
Lap joints are similar to butt joints in that they involve connecting two members end-to-end; however, instead of having their long sides flush with each other, the ends of the Lap Splice Jointsstructural members overlap.
This overlap creates a much stronger connection than a butt joint because it increases the surface area that is glued or welded together. For this reason, lap joints are often used when joining large structural members together.
Miter joints are slightly more complicated than either butt or lap Joints Miter Splicebecause they involve cutting both pieces at an angle so that they fit snugly together when joined (hence the name “miter”).
These types of cuts can be made by hand using a saw or miter box; however, most woodworkers prefer to use a power mitre saw for greater accuracy and efficiency. Miter Splicesare often used for decorative purposes because they create clean lines and 90° angles where two pieces intersect. They can also be quite strong if glued or welded properly; however, screws or nails should never be used to hold miters together as they will eventually work loose over time.
Scarf Joints ScarfweldingTwoscarfjointsTogetherA scarf joint is created by overlapping two pieces so that their ends form an offset “V” shape (hence the name “scarf”).
How Long to Clamp Table Top
If you’re building a table top, one of the last steps is to clamp it so the glue can dry. But how long should you leave it clamped?
The general rule of thumb is to clamp for at least 30 minutes per inch of thickness.
So if your table top is 1 inch thick, you’ll need to clamp it for at least 30 minutes. If it’s 2 inches thick, you’ll need to clamp it for at least 1 hour.
Of course, this is just a general guideline.
The actual time will depend on the type of glue you’re using and the temperature and humidity conditions in your shop. If possible, check with the manufacturer of your glue for more specific information.
In most cases, though, following the 30 minute per inch guideline should give you plenty of time to let your glue set up properly so your table top will be nice and sturdy when you unclamp it.
Bond Failure is Normally Due to
. .
Bond failure is normally due to one of three things: adhesive failure, cohesive failure, or a combination of the two. Adhesive failure occurs when the bond between the adhesive and either the substrate or another material fails.
This can be due to poor adhesion, incompatible materials, or environmental factors such as temperature or humidity. Cohesive failure occurs when the bonds within the adhesive itself fail. This can be due to poor formulation, incorrect curing, or exposure to extreme conditions.
When both adhesive and cohesive failures occur simultaneously, it is known as a debonding failure.
Conclusion
Stressed Joint Wood is a type of wood that has been specifically designed to be used in areas where high levels of stress are placed on the wood. This type of wood is often used in construction projects, as it is able to withstand a great deal of weight and force.