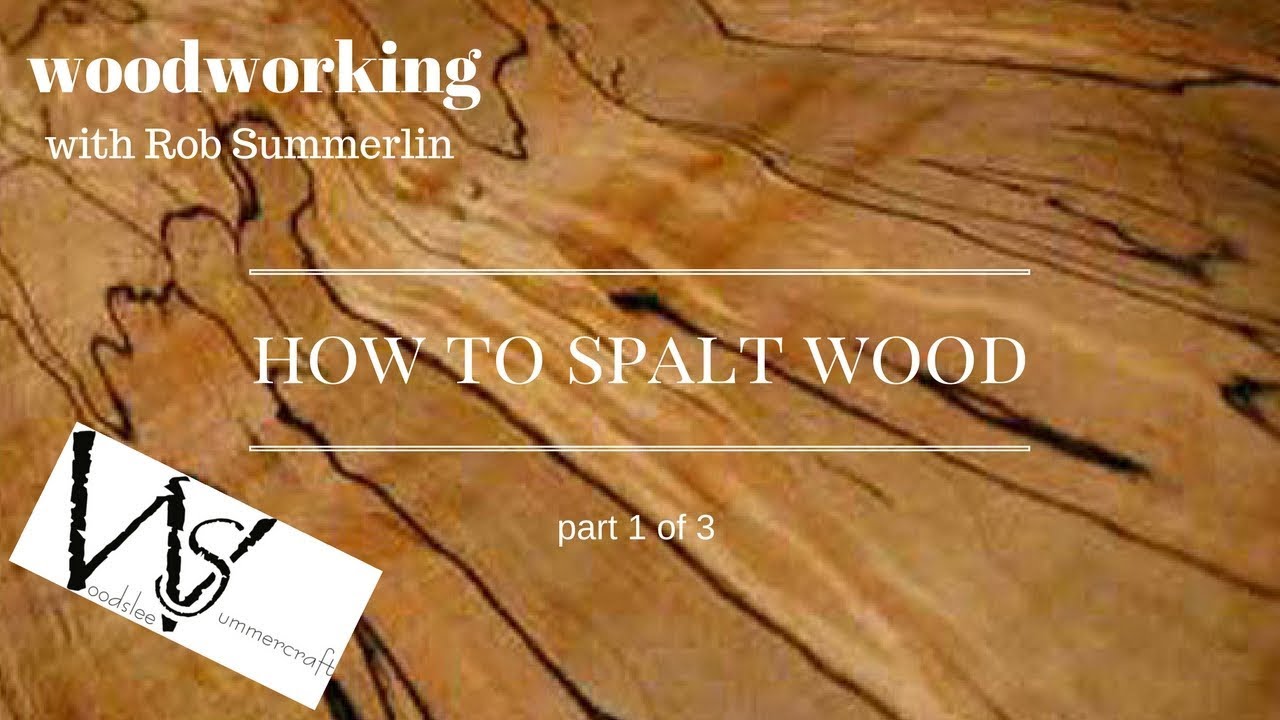
How to Spalt Wood
Wood spalting is a process that can give wood an interesting and unique appearance. It’s caused by fungi, and while it may sound like something that would damage the wood, it actually can make it more beautiful and valuable. The spores of the fungi penetrate the wood and cause it to change color and develop patterns that are different from the surrounding wood.
- Cut the log into manageable pieces
- You’ll want to cut the log into sections that are small enough to work with, but large enough to provide a decent amount of wood
- Drill holes into the center of each piece of wood
- These holes should be big enough to fit your spalt tool into, but not so big that they weaken the structure of the wood too much
- Place the pieces of wood onto a level surface and begin spalting them by driving your spalt tool into the drilled holes
- Apply even pressure as you rotate the tool around in each hole
- Continue spalting all of the pieces of wood until you’re satisfied with the results
- Keep in mind that it can take some time for the full effects of spalting to show up, so don’t be discouraged if it doesn’t look perfect right away
- Allow the spalted wood to dry completely before using it for any projects or purposes
Credit: www.youtube.com
Can Any Wood Spalt?
Yes, any wood can spalt. Spalting is a natural process that happens when wood is left to decompose. The spores of fungi enter the wood and start to break down the cellulose and lignin, which gives the wood its strength.
This makes the wood weaker and more brittle, and causes it to change color.
How Do You Finish Spalted Wood?
Spalted wood is a type of wood that has been damaged by fungi. The damage can cause the wood to crack, discolor, and change texture. While some people may see this as a flaw, others find it to be a unique and beautiful feature of the wood.
If you’re looking to finish spalted wood, there are a few things you need to keep in mind. First, because the wood is already damaged, you’ll need to be careful not to further damage it during the finishing process. Second, you’ll need to choose a finish that will protect the wood from further damage while still allowing its unique beauty to shine through.
Here are a few tips for finishing spalted wood:
1. Start with a sealer: Because spalted wood is more porous than other types of wood, it’s important to start with a sealer. This will help protect the wood from further damage and also prevent any finishes you apply from being absorbed too deeply into the wood.
2. Choose your finish carefully: As mentioned above, you’ll want to choose a finish that will protect the spalted wood without obscuring its natural beauty. A good option is an oil-based polyurethane or varnish. These finishes will provide protection without changing the color or appearance of the spaltedwood too much.
3 . Apply thin coats: When applying any kind of finish to spaltedwood (or any other type of Wood), it’s always bestto apply thin coats rather than thick ones. This helps prevent runs and drips and also allows each coat time to properly dry before adding another one on top.
.
Does Spalted Wood Need to Be Kiln Dried?
When it comes to spalted wood, the jury is still out on whether or not it needs to be kiln dried. Some people swear by kiln drying, while others say that it’s not necessary. If you’re undecided, here is some information that might help you make a decision.
Spalted wood is created when fungi starts to grow on the surface of the wood. This can happen in two ways – either the fungi spores are already present on the wood when it’s cut down, or they find their way onto the wood after it’s been cut. Once the fungi start growing, they create unique patterns and markings on the wood surface.
The main reason why some people believe that spalted wood needs to be kiln dried is because of the risk of decay. The fungi that cause decay can potentially grow inside the wood, leading to rot and other problems. However, there is no guarantee that this will happen – it all depends on the conditions where the spalted wood is stored (for example, if it’s kept too moist then decay is more likely).
Kiln drying removes moisture from the wood and creates a hostile environment for fungi growth, so this is one way to reduce the risk of decay.
Another reason why some people recommend kiln drying spalted wood is because of its aesthetics. The patterns created by the fungi can be very beautiful, but they can also be quite delicate.
If you want to preserve these patterns then kiln drying is definitely a good idea – otherwise they may fade or disappear over time as the Wood dries out naturally without protection from a kiln..
How Do You Spalt a Log?
When you spalt a log, you are essentially encouraging fungi to grow on the surface of the wood. This can be done by simply leaving the log out in an open area for a period of time, or by inoculating the log with spores from another piece of spalted wood. The fungi will cause the wood to change color and develop unique patterns as it grows, and over time these patterns can become quite beautiful.
In some cases, the fungi will also cause the wood to soften, making it easier to carve or shape.
Making Spalted Wood in The Workshop EASY!
How to Spalt Logs
Welcome to our guide on spalting logs! This is a process of deliberately encouraging the growth of fungi on wood in order to create unique patterns and colors. Spalting can be used for both decorative and functional purposes, such as making bowls or other turned objects.
It’s a fun way to add interest to woodworking projects, and in this guide we’ll show you how to do it!
The first step is finding a suitable log. Hardwoods are best, but any type of wood can be used.
The log should be freshly cut and free of bark. If you’re using green wood (wood that has been recently cut), it will need to be kiln dried first in order to prevent the growth of mold during the spalting process.
Once you have your log, drill some holes into it with a power drill – about ½ inch deep or so.
Space the holes out evenly over the surface of the log. These holes will act as inoculation sites for the fungi spores.
Next, soak some cotton balls in water and insert them into the drilled holes.
You can also use paper towel if cotton balls aren’t available. The goal here is to keep the log moist so that the fungi can grow properly.
Now it’s time to introduce the fungi spores!
There are several ways you can do this, but one method is to take a clean screwdriver and rub it against an old piece of bread that has been growing mold (or another source of mold spores). Then simply touch the screwdriver tip to each wet cotton ball inside the drilled holes. Another method is purchase pure cultures of certain species of fungi from online retailers (we recommend Phlebiopsis gigantea or Ampelomyces quisqualis).
Simply follow instructions provided by supplier for adding these cultures into your inoculation sites.
It usually takes 2-4 weeks for visible signs of spalting activityto appear on your logs after inoculation, although results may vary depending on temperature and humidity levels during this time period . Keep an eye out for white mycelium beginning to form around each inoculation site – this is a good indication that spalting has begun! Once visible signs appear, allow fungus growth continue until desired levelof coloration/patterning is achieved (usually 1-2 months).
After sufficient time has passed, remove any remaining wet cotton balls/paper towels from inoculation sitesand brush off any excess loose mycelium from surfaceof log with dry paintbrush . Your spalted log is now readyto use however you like !
Conclusion
Many people enjoy the woodworking process, but don’t know how to spalt wood. Spalting is a type of wood decay that can produce interesting patterns in the wood, and it’s not difficult to do.
First, find a piece of wood that has been infected with a fungus.
The best place to look is on fallen trees or branches. Once you’ve found a piece of spalted wood, use a sharp knife to remove any bark or debris.
Next, cut the piece of spalted wood into thin strips.
The thinner the strips, the more intricate the patterns will be.
Once you have your strips of spalted wood, it’s time to start working with them. You can use them as-is for projects like coasters or cutting boards.
Or, if you want to get really creative, you can try your hand at pyrography and burn designs into the wood using a Woodburning tool.
Spalting Wood is an excellent way to add interest and character to your next project!