How to Make Wood Bowls
1. Start with a clean, dry piece of wood. You can use any type of wood you like, but some woods are better suited for bowls than others. Woods that are too hard will be difficult to carve, while softer woods may not hold their shape as well.
2. Using a sharp knife, carve out the general shape of your bowl. It doesn’t have to be perfect at this stage – you can always refine it later.
3. Once you’re happy with the overall shape, start working on the details.
Carve out any handles or other features you want to add. Again, don’t worry about making them perfect – you can always adjust them later if necessary.
4. When you’re satisfied with the way your bowl looks, smooth out any rough edges with sandpaper or a file.
5. Finally, give your bowl a final polish and admire your handiwork!
- Start with a block of wood that is at least 12″ x 12″ x 6″
- Cut the block of wood into four equal pieces using a saw
- Use a lathe to shape each piece of wood into a bowl form
- Once the bowls are shaped, use sandpaper to smooth out any rough edges
- Finally, apply a finish of your choice (e
- , stain, paint, etc
- ) and let dry completely before using
DIY Rustic Bowl [No Lathe]
What Kind of Wood is Used to Make Bowls?
There are many different types of wood that can be used to make bowls. Some of the most common include maple, cherry, and oak. Each type of wood has its own unique grain pattern and color, which can give your bowl a one-of-a-kind look.
When choosing a type of wood for your bowl, it’s important to consider how it will be used. For example, if you plan on using it for serving food, you’ll want to make sure the finish is food-safe. If you’re just looking for a decorative piece, any type of wood will do.
Once you’ve selected the perfect wood for your bowl, the next step is to prep it for turning. This involves cutting it into thin strips or shaving it down into a more manageable size. Once your wood is prepped, you’re ready to start turning it on a lathe.
With some practice, you’ll be able to create beautiful wooden bowls that will last a lifetime!
How Do You Make a Wooden Bowl at Home?
Assuming you would like a step by step guide on how to make a wooden bowl at home:
1. Choose your wood – the type of wood you use will affect the look, feel and durability of your bowl. Some good options for bowls include cherry, maple or walnut.
Avoid using pine or cedar as they are soft woods that are more likely to crack or chip.
2. Cut your wood into pieces – using a saw, cut your wood into thin strips that are all the same width. The number of strips you need will depend on the size of bowl you want to make.
For a small bowl, you’ll need around 20 strips while for a large bowl, you’ll need closer to 40.
3. Soak your strips in water – this will help to prevent them from cracking or splitting when they’re bent into shape later on. Leave them soaking for at least an hour (longer is fine too).
4. Create the base of your bowl – take 4-6 of your soaked strips and form them into a circle, overlapping the ends slightly and securing them together with glue or nails. This will be the base/bottom of your bowl. Repeat this process until you have enough bases to stack on top of each other (depending on how tall you want your bowl to be).
5 5 . Build up the sides of your bowl – take 2-3 soaked strips and start wrapping them around the edge of one of your bases, workingyour way up and around until you’ve gone all the way aroundthe circumferenceofthe baseandthe stripsoverlapatleast an inchor two(thiswill help keep everythingsecure). Securethe stripstoethe baseby hammeringin somefinishnailsor gluingthem downwithwoodglue(justmakesuretouseagoodamount so it doesn’tdry out tooquicklyand leavegaps).
Can You Make a Wooden Bowl Without a Lathe?
Yes, you can make a wooden bowl without a lathe. You will need to use a technique called hand-carving. This involves using a sharp knife to carve the wood into the desired shape.
It is important to take your time with this and be very careful not to cut yourself. Once you have carved the bowl, you can then sand it down to make it smooth.
What Do You Seal Wooden Bowls With?
When it comes to sealing wooden bowls, there are a few different options that you can choose from. You can either use a food-safe sealer, beeswax, or mineral oil.
Food-safe sealers are ideal for sealing bowls that will be used for food storage or preparation.
They create an invisible barrier between the wood and whatever is stored inside the bowl, preventing bacteria and other contaminants from coming into contact with the food. Beeswax is another great option for sealing wooden bowls. It’s naturally antibacterial and waterproof, making it perfect for protecting your bowl from moisture damage.
Plus, it gives the wood a beautiful sheen! Mineral oil is also a good choice for sealing wooden bowls. It’s non-toxic and helps to keep the bowl from drying out and cracking over time.
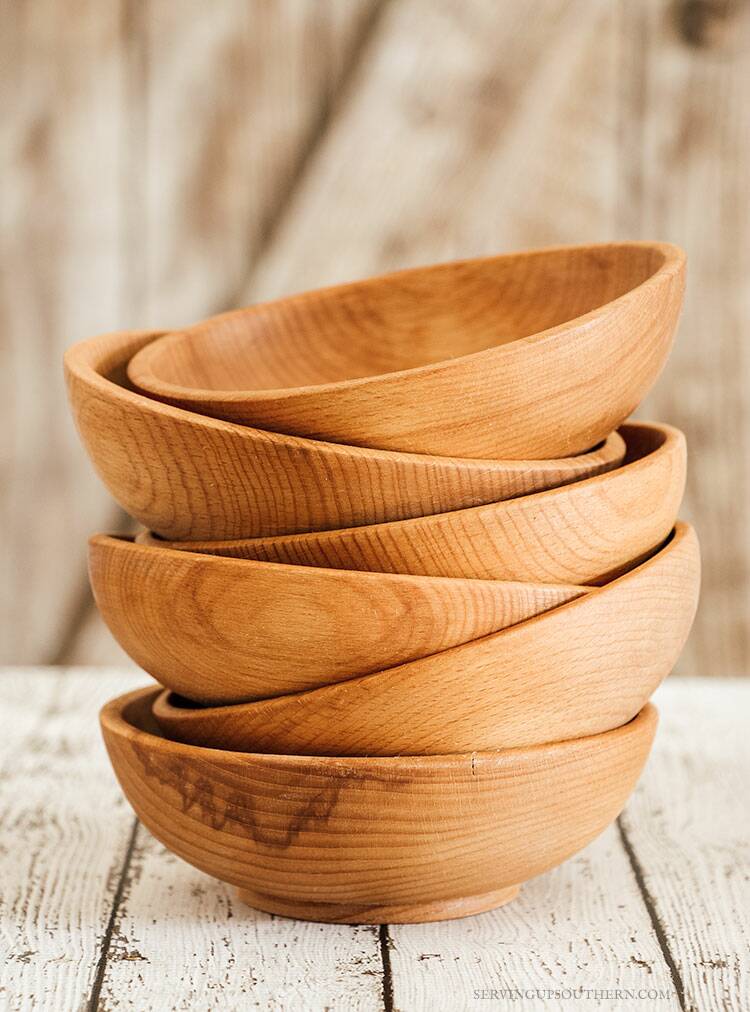
Credit: servingupsouthern.com
How to Make a Wood Bowl by Hand
Making a wood bowl by hand is a fun and rewarding project. You can make bowls of all different sizes, shapes, and colors. The most important part of making a wooden bowl is to find the right piece of wood.
You’ll want to find a piece that is the right size and shape for your project, and that has a smooth surface. Once you’ve found the perfect piece of wood, you’ll need to sand it down so that it’s nice and smooth. Then, you can start shaping your bowl.
Start by carving out the inside of the bowl using a chisel or gouge. Be sure to work slowly and carefully so that you don’t damage the wood. Once the inside of the bowl is carved out, you can start shaping the outside of the bowl however you like.
Use whatever tools you feel comfortable with to carve and shape the wood into your desired shape. When you’re finished shaping your bowl, sand it down one last time so that it’s super smooth. Now it’s time to finish your bowl!
You can either stain or paint your bowl however you like, or you can leave it natural for a rustic look. If you decide to paint or stain your wooden bowl, be sure to seal it with a clear coat so that it will be protected from moisture damage. Your wooden bowl is now complete!
Enjoy showing off your beautiful handiwork to all your friends and family!
How to Make a Wooden Bowl on a Lathe
If you’re looking for a fun woodworking project that you can do on a lathe, why not try making a wooden bowl? It’s a relatively simple process and the end result is a beautiful and unique piece that you can use as decoration or functional piece in your home. Here’s how to do it:
1. Start by finding a suitable piece of wood. You’ll need something that is at least 8″ in diameter and 12″ long. If you don’t have anything that size laying around, you can always head to your local hardware store or lumberyard to purchase something.
Just make sure that the piece of wood is straight and free of any knots or blemishes.
2. Once you have your piece of wood, it’s time to start shaping it. First, use a saw to cut off one end so that it’s nice and flat.
Then, using your lathe, start shaping the wood into a cylinder. You want the sides to be nice and straight, so take your time with this step.
3. Now comes the fun part – creating the bowl itself!
To do this, first mark out where you want the bowl to start and end on the cylinder of wood using pencil or chalk. Then, using your gouge (a tool specifically designed for carving bowls), start hollowing out the area between those two marks. Go slowly and carefully at first until you get a feel for how deep you want the bowl to be.
4. Once you’re happy with the depth of your bowl, it’s time to smooth out the inside and outside surfaces using sandpaper . Start with coarse sandpaper (60 grit) and work up to finer sandpaper (120 grit) until everything feels nice and smooth.
How to Make a Wooden Bowl With Power Tools
There are few things as gratifying as making something useful with your own two hands. And when that something is a beautiful wooden bowl, made with just a few simple power tools, the satisfaction is even greater! Here’s how to do it:
Start by finding a piece of wood that you like. It doesn’t have to be perfect – in fact, knots and other imperfections can add character to your finished bowl. Cut the wood to size using a saw – a circular saw or hand saw will both work fine.
Next, use a drill to create two holes near one end of the wood piece. These holes will act as handles for later on.
Now it’s time to start shaping the wood into a bowl shape.
First, use a router to round off the edges all around the piece of wood. Then, use a sander to smooth everything down until it’s nice and even.
Finally, finish off your bowl by sanding it down one last time and then applying a coat of beeswax or another type of sealant/finish of your choice.
Let it dry completely and then fill it with fruit, nuts, or whatever else you’d like!
Conclusion
Making your own wooden bowls is a great way to add a personal touch to your home decor. Plus, it’s a fun and easy project that anyone can do! Here’s how to make wood bowls in four simple steps:
1. Start by finding a piece of wood that you like. You can use any type of wood, but softer woods like pine or cedar are easier to work with.
2. Cut the wood into thin strips using a saw or power drill.
If you’re using a saw, be sure to wear protective gloves and eye goggles.
3. Use sandpaper to smooth out the edges of your strips. This will help prevent splinters when you’re working with the wood later on.
4. To create the bowl shape, glue two strips of wood together at one end and then bend them into a circle.