How to Make Rustic Wood Beams
Rustic wood beams are a beautiful addition to any home. They add character and charm and can be used in both interior and exterior applications. Making your own rustic wood beams is a relatively easy process that can be done in a weekend.
DIY Rustic Barn Wood Beams – distress wood fast – Mantel Build
- Gather your supplies
- You will need a saw, wood beams, and a rustic finish
- Cut the wood beams to the desired length
- Apply the rustic finish to the wood beams using a brush or rag
- Allow the finish to dry completely before moving on to the next step
- Install the wood beams by nailing them into place or screwing them into place depending on your preference
How to Make Wood Look Hand Hewn
If you’re looking for a way to add character and charm to your home, consider making your wood look hand hewn. This DIY project is relatively easy to do and can be done in a weekend. Here’s how:
1. Start by sanding your wood with medium-grit sandpaper. This will help create a smooth surface for the paint to adhere to.
2. Next, apply a base coat of paint.
We recommend using an off-white or light gray color.
3. Once the base coat is dry, start painting on the main color. For this step, we suggest using a dark brown or black shade.
4.. To give the wood an aged appearance, use a dry brush technique when applying the paint.” Simply dip your brush in the paint and then lightly brush it across the wood grain.”
You don’t need to be too heavy handed with this step; just make sure you cover all of the exposed areas of wood.”
5..
Allow the paint to dry completely before moving on to the next step..”
6..
Now it’s time to add some texture!” To do this, mix together joint compound and water until it has a consistency similar “to peanut butter.” Then, using a putty knife or other flat edge tool,”Apply the mixture randomly onto your piece of wood.”
7.. Let the joint compound dry completely (this could take up 24 hours) and then sand down any rough edges.”
8.. Finally,” sealed everything with a clear topcoat sealer.”

Credit: www.theweatheredfox.com
How Do You Make a Beam Look Rustic?
There are a few different ways that you can make a beam look rustic. One way is to use a hand saw to cut the beam into an irregular shape. Another way is to use a chisel and hammer to create divots and imperfections in the wood.
You can also use a torch or other heat source to scorch the wood, which will give it a darker, more aged appearance. Finally, you can apply a stain or paint that is designed to give wood a weathered look.
How Do You Make Wood Rustic?
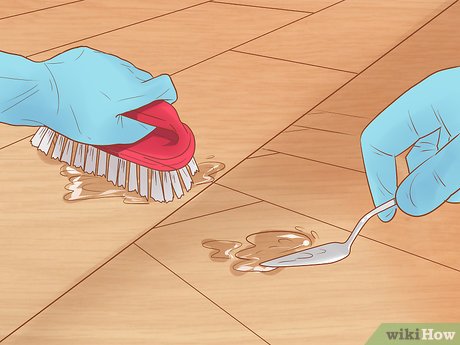
There are a few ways that you can make wood rustic. One way is to simply let it age naturally over time. This will give the wood a weathered look and some of the natural oils will start to break down, giving it a more rustic appearance.
Another way is to use chemicals or other agents to speed up the process. You can do this by using vinegar or lemon juice and applying it liberally to the wood surface. Once it dries, you will notice that the wood has taken on a darker, more antique look.
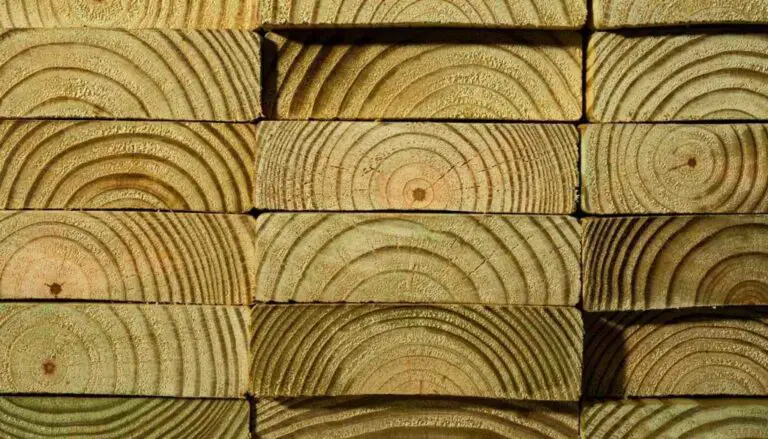
What Type of Wood was Used for Barn Beams?
There are a number of different types of wood that can be used for barn beams, depending on the specific look and feel that you are hoping to achieve. Some popular choices include pine, fir, and cedar. Each of these options has its own unique properties that can contribute to the overall aesthetic of your barn.
For example, pine is often praised for its rustic charm, while fir is known for its durability. Ultimately, the best type of wood for your barn beams will depend on your personal preferences and what will complement the rest of your barn’s design.
How Do You Make a Rustic Beam Mantel?
A rustic beam mantel can add character and charm to any room in your home. They are easy to make, and you can find the materials for one at your local hardware or lumber store. Here is how to make a rustic beam mantel:
1. Start by measuring the length and width of the area where you want to install your mantel. Then, cut two pieces of wood that are the same length as your measurement. These will be the sides of your mantel.
2. Next, cut a piece of wood that is the same width as your measurement plus 1 inch. This will be the front piece of your mantel.
3. Drill four holes into each side piece of wood, about 2 inches from each end.
These holes will be for attaching the front piece later on.
4. Cut a groove into the back side of each side piece, about 1/2 inch deep and 3/4 inch wide. This groove will allow the front piece to fit snugly against the sides when it is attached later on.
. To create this groove, use a router or a chisel and hammer (or both). If using a router, set it up so that its bit is only protruding out about 1/8th of an inch past the edge of each side board.
. With either method you choose, rout or chisel evenly along entire length making sure not go too deep – just enough so that when you test fitthe boards together later there’s no gap between them but they’re not overly tight either..
You want there to still be some wiggle room for expansion and contraction with changes in humidity etc..
5 . Now it’s time to attach the front board onto the two side boards using either screws or nails driven through those pre-drilled holes from earlier… again depending on which method you used earlier – screws would work better if routing was done since pilot holes were already drilled; nails could work in either case but may require some predrilling themselves first depending on hardness off woods being used).. Center front board between sides then lightly clamp (or have someone hold) everything in place while you drive in fasteners until flush with surface.. Be sure all corners are nice and square before tightening everything down completely so nothing is crooked once installed..now would also be good time check for levelness across top too making any necessary adjustments now rather than after installation)…If happy with results then continue reading below otherwise go back and make whatever adjustments needed now till satisfied… 6 . Now we need figure out what size beam we need order get determine its placement on wall where mantel will ultimately reside….For this example let’s say our fireplace opening is 60 inches wide so we’ll add 6 inches to each side for overhang which means our total Mantel Width = 72 inches (60+6+6)….Now measure distance from floor up till where you envision Mantel Beam sitting taking note this measurement (in our example let’s say it was 84 inches) …This number represents “Mantel Height”….With these two numbers Mantel Width & Mantil Height we can now order custom cut timber Beam that those dimensions OR find something similar at local big box store like Home Depot etc…)… 7 . Once Beam arrives unpack it being careful not injure yourself while doing so – remember it heavy!
Conclusion
If you’re looking for a rustic touch to your home, consider adding wood beams. You can find these beams at most lumber yards or online. To add the beams, first mark where you want them to go on the ceiling.
Then, use a drill to make pilot holes in the ceiling joists. Next, use lag screws to attach the beams to the joists. Finally, caulk any gaps and paint or stain the beams as desired.