How to Make an Infinity Cube Out of Wood
There are a lot of different ways that you can make an infinity cube out of wood. You can either use a saw or a router to cut the pieces, or you can even just use a piece of plywood. The most important thing is to make sure that the cuts are clean and precise.
In this article, I will show you how to make an infinity cube out of wood using a saw and a router.
How To Make A WOOD INFINITY CUBE
- Choose the wood you will use for your infinity cube
- You will need six pieces of wood that are all the same size
- Cut each piece of wood into four equal pieces
- Take two of the pieces and glue them together at a right angle, so that they form a corner
- Repeat this step with the remaining pieces of wood until you have four corners glued together
- Glue two of the corners together, so that they form a square
- Repeat this step with the remaining two corners, so that you have two squares glued together
- Glue one square on top of the other square, so that they form a cube shape
- Make sure that the edges of the squares line up perfectly before gluing them together
- Once your cube is assembled, sand down any rough edges and apply a finish to it if desired
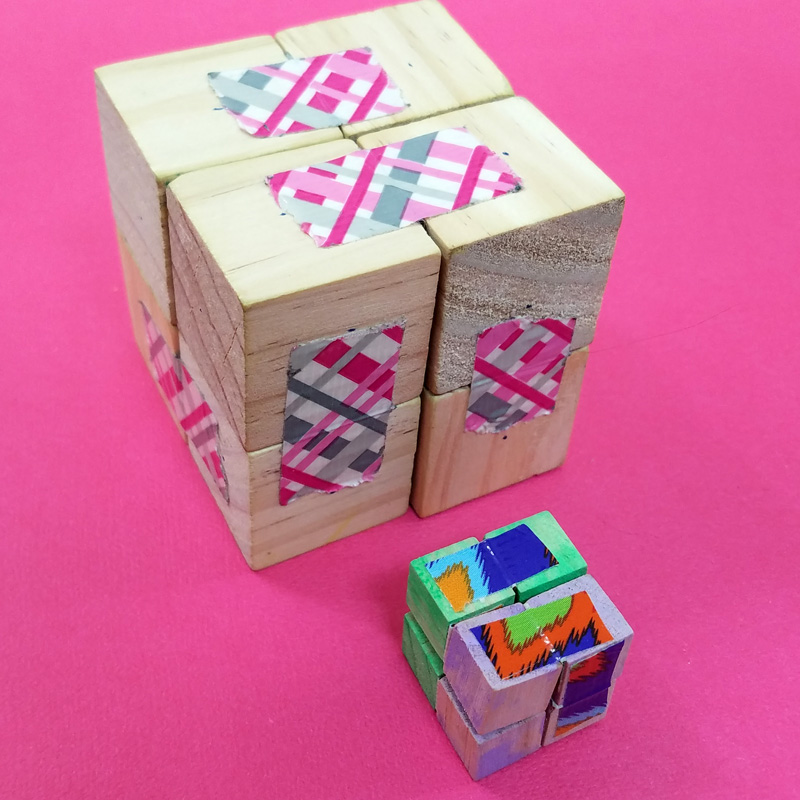
Assemble Infinity Cube
An Infinity Cube is a 3D puzzle that can be used to create an infinite number of shapes and designs. It is made up of 8 small cubes that are connected together with hinges. Each cube has 4 faces, and each face has 4 different colors.
The object of the puzzle is to create as many different shapes and designs as possible using the 8 cubes.
To assemble an Infinity Cube, start by connecting two cubes together at their hinges. Then, connect the remaining six cubes to the first two in the same way.
Once all eight cubes are connected, you can start folding and unfolding them to create different shapes and designs.
The Infinity Cube is a great toy for kids and adults alike. It helps develop spatial awareness and problem-solving skills while providing endless hours of fun.
If you’re looking for a unique gift or challenging puzzle, the Infinity Cube is sure to please.
Credit: www.momsandcrafters.com
How Do You Make a Homemade Infinity Cube?
Assuming you would like a step-by-step guide on how to make a homemade Infinity Cube:
You will need:
-A4 paper
-Scissors
-Tape (masking, washi or clear tape all work well)
-Ruler/measuring device -Pencil/marker -Optional: decorations such as stickers.
1) Firstly, take your A4 sheet of paper and fold it in half lengthways. Then fold it in half again. You should now have a rectangle that is one fourth the size of the original A4 sheet.
Unfold this rectangle so that it lies flat.
2) Next, use your scissors to cut along the two folded creases, stopping about 1cm from the end of each crease. Make sure not to cut through any of the unfolded sides!
Once you have made your cuts, refold the rectangle along its original creases so that the two slits you just made line up with each other. If they don’t quite line up, trim off any excess paper until they do. 3) Now we are going to start making our cube!
Take one end of the rectangle and bring it up so that it meets the top edge of the opposite side, creating a triangle shape. Tape this triangle down securely using masking tape, washi tape or clear tape – whatever you have available. Try to avoid using Sellotape if possible as it can be difficult to remove later on.
Repeat this step with the other end of the rectangle so that you have two taped down triangles at either end (these will be the top and bottom faces of your cube). 4) The next step is to take one side face of your cube (i.e., one of the remaining unfolded sides of paper), and fold it in towards the centre so that its longest edge lines up with the central crease running down your cube. Tape this side face down securely using another piece of tape – again, avoid using Sellotape if possible for easy removal later on. 5) Repeat Step 4 with another side face until all four sides are folded in and taped down securely! Your infinity cube is now complete! Optional Step 6: Decorate your infinity cube however you like!
Read: How Do I Remove Paint Primer from Furniture?
How Do You Make a Perfect Cube With Wood?
When it comes to creating a perfect cube out of wood, there are a few key things to keep in mind. First, you’ll want to make sure that the piece of wood you’re working with is perfectly square. If it’s not, you can use a hand saw or power tool to square it up.
Once your piece of wood is squared up, you’ll need to mark out where you’ll be making your cuts. To do this, measure out 1/3 of the way down from each side and make a pencil mark. Then, connect the marks with straight lines so that you have a total of six lines marked out on your cube.
Next, it’s time to start making your cuts. Using a saw (either hand or power), start at one line and make a cut all the way down until you reach the opposite line. Repeat this process for each of the remaining five sides and then sand down any rough edges before putting your perfect cube together!
Read to know: How Do You Roll Wood?
How Many Cubes Do You Need to Make an Infinity Cube?
In order to make an infinity cube, you will need at least 8 cubes. However, if you want to make a larger infinity cube, you will need more cubes. The number of cubes needed will depend on the size of the infinity cube you want to create.
What are Infinity Cubes Made Out Of?
An infinity cube is a fidget toy that you can use to relieve stress or keep your hands busy. It’s made up of eight small cubes that are connected together with hinges. You can fold it into a variety of shapes, and it’ll never fall apart.
The original infinity cube was made out of wood, but now you can find them in a variety of materials, including metal, plastic, and even fabric. No matter what material it’s made out of, an infinity cube will give you hours of fun.
Essential: How Do You Hit a 5 Wood Fairway?
Conclusion
In order to make an infinity cube out of wood, you will need the following materials:
-1/4″ x 6″ x 6″ piece of hardwood (for the bottom)
-1/4″ x 4″ x 4″ pieces of hardwood (for the sides)
-1/8″ x 2″ x 2″ pieces of hardwood (for the top and bottom)
-3/4″ dowel rods
-Wood glue
-Nail gun and 1 inch nails OR a hammer and small finishing nails
-Sandpaper (120 grit and 220 grit)
-Stain or paint (optional)
First, cut your pieces of hardwood to size. You can use a miter saw, hand saw, or jigsaw for this. Then, stain or paint your pieces if desired.
Allow them to dry completely. Next, assemble the cube by attaching the sides to the bottom piece using wood glue and either a nail gun or hammer and small finishing nails. Be sure to align the edges so that they are flush.
Repeat this step for the top piece. Once the top and bottom are attached, insert dowel rods into each corner connecting opposite sides. To do this, drill a hole slightly smaller than the diameter of your dowel rod into each corner on both the top and bottom piece.
Apply wood glue into each hole before inserting the dowel rod. Once all four corners have been connected with dowel rods, your infinity cube is complete!