How to Make a Ring Out of Wood
Making a ring out of wood is a fun and easy project that anyone can do. With just a few supplies and some basic woodworking skills, you can create a beautiful and unique piece of jewelry. The first step is to choose the type of wood you want to use.
You can find pre-cut blanks at most craft stores, or you can cut your own from a piece of lumber. Once you have your blank, trace the outline of the ring onto the wood using a pencil or pen. Then, use a saw to carefully cut along the line.
If you are using a power saw, be sure to wear safety glasses and follow all safety precautions.
How To Make Wooden Rings Without Power Tools (No Lathe, No Power Tools, No Problem)
- Cut a piece of wood to the desired size and shape using a saw
- Sand the edges of the wood piece to smooth them out
- Drill a hole in the center of the wood piece for the finger ring to go through
- Decorate the wood ring as desired with paint, stains, or other embellishments
- Allow the decoration to dry completely before wearing the ring
How to Make Wood Rings Stronger
Assuming you would like tips on how to make wood rings stronger:
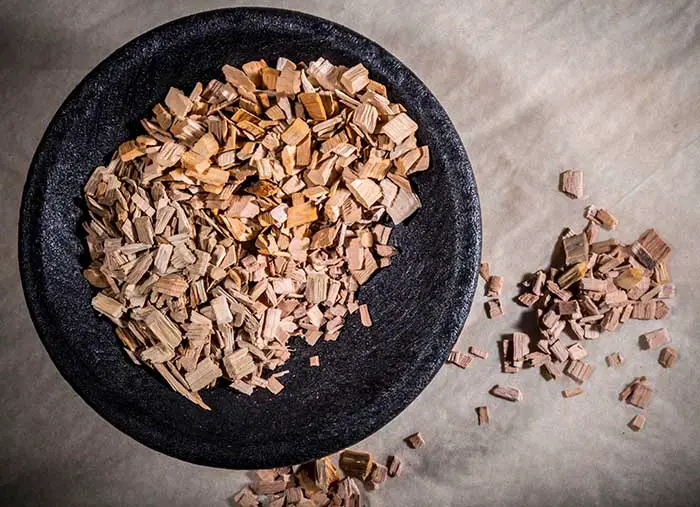
1. Use a hardwood- Hardwoods are denser than softwoods and will therefore be stronger and more durable. Woods such as oak, maple, or cherry are good choices for wooden rings.
2. Avoid using knots- While knots can add character to a ring, they also weaken the wood and make it more likely to break. Choose a piece of wood that is free of knots for a stronger ring.
3. Make the ring thicker- A thicker ring will be stronger than a thinner one.
If possible, aim for a thickness of at least 1/4 inch (6 mm).
4. Add metal reinforcements- Metal reinforcements such as steel or titanium can help make a wooden ring much stronger. These can be added in the form of bands, plates, or wires embedded in the wood itself.
5. Use strong adhesives- When gluing pieces of wood together to form a ring, be sure to use adhesives that are designed for woodwork and provide strong bonding strength. Adhesives such as epoxy or polyurethane glue work well for this purpose.

Credit: wolfandiron.com
What is the Best Wood to Make a Ring?
There are many different types of wood that can be used to make a ring. However, not all woods are created equal. Some woods are better suited for making rings than others.
Here is a look at some of the best woods to use for making a ring:
1. Oak: Oak is a very strong and durable wood, which makes it ideal for making rings. It is also very beautiful, with a rich grain pattern that looks great when polished.
2. Maple: Maple is another strong and durable wood that makes an excellent choice for making rings. Like oak, it has a beautiful grain pattern that adds visual interest to the ring.
3. Cherry: Cherry is a softer wood than oak or maple, but it is still strong enough to be used for making rings.
It has a lovely reddish color that adds warmth to the ring.
4. Walnut: Walnut is another strong and durable wood that works well for making rings. It has a dark brown color with interesting grain patterns.
5. Mahogany: Mahogany is yet another hardwood that makes an excellent choice forring making purposes due its hardness and strength..
What Tools Do You Need to Make Wood Rings?
There are a few different ways that you can make wood rings, but in general, you will need some sort of saw to cut the wood into thin slices, a drill to create holes for the ring shanks, and sandpaper to smooth out the edges. You can use any type of wood you like, although softer woods like balsa or pine are easier to work with. If you want to add some decoration to your rings, you can also use stamps, carving tools, or even inlay materials like crushed stone or mother-of-pearl.
Once you have all of your supplies gathered, just follow these simple steps:
1. Cut your wood into slices that are about 1/4 inch thick. If they are too thick, they will be difficult to bend into a ring shape; if they are too thin, they may break easily.
Use a sharp knife or saw to make clean cuts.
2. Drill a small hole near one end of each slice. The hole should be just big enough for the ring shank (the metal part that goes through your finger) to fit through snugly.
3. Sand the edges of each slice until they are smooth and free of any sharp splinters.
4. Place one slice on top of another so that the drilled holes line up and slide the shank through both holes. 5 Bend the wood around the shank until it forms a complete circle and gently squeeze the two ends together until they’re flush against each other.
If necessary, use a drop of glue or superglue to hold them in place while drying overnight.
5 Repeat steps 4 & 5 until all of your rings are made!
How Do You Make a Finger Ring Out of Wood?
If you want to make a finger ring out of wood, you will need to start by finding a piece of wood that is the right size and shape for your finger. You can either use a pre-cut ring blank or cut your own ring from a piece of lumber. Once you have your piece of wood, you will need to sand it down so that it is smooth.
Next, you will need to drill a hole in the center of the ring for the band. Finally, you will need to finish the ring by applying a clear coat of polyurethane or lacquer.
How Do You Make Solid Wood Rings?
If you’re interested in making your own solid wood rings, the process is actually quite simple. All you need is a piece of wood that’s large enough to comfortably fit around your finger, some sandpaper, and a little bit of patience. Here’s a step-by-step guide to creating your very own solid wood ring:
1. Start by cutting your piece of wood into a circular shape using a saw. If you don’t have access to a saw, you can also use a sharp knife or even an electric drill with a large bit to create the initial hole. Just make sure that the circumference of the circle is slightly smaller than the size of your finger so that the ring will be snug but not too tight.
2. Once you have your wooden disc, use sandpaper to smooth out any rough edges. You can also use this opportunity to round off the edges of the disc if desired.
3. The next step is to create a small hole in the center of the disc using either a drill or a sharp knife.
This hole should be just big enough for your finger to fit through without being too loose.
4. Now it’s time to start shaping your ring! Begin by slowly filing down the sides of the wooden disc until it resembles more of an oval shape than a perfect circle.
Remember to file evenly on both sides so that the ring remains symmetrical. Depending on how wide you want your finished ring to be, you may need to remove more material from one side than the other – just make sure not to make one side too thin or else it may break during wear.
5 .
Conclusion
This blog post shows how to make a ring out of wood. It starts by showing how to find the right piece of wood. Once you have the wood, you need to cut it into a circle using a saw.
Then, you need to sand the edges of the wood so that it is smooth. After that, you can use a drill to make a hole in the center of the ring. Finally, you can put some varnish on the ring to protect it.