How to Hide Wood Filler After Staining
There are a few different ways that you can hide wood filler after staining. One way is to use a darker stain on the area where the wood filler is. This will help to blend in the filler with the rest of the piece.
Another way is to use a glaze or top coat over the area. This will help to create a barrier between the filler and the stain.
- Wipe away any excess wood filler with a dry cloth
- Apply a thin layer of stain to the area surrounding the wood filler
- Use a clean, dry brush to blend the edges of the stain into the rest of the surface
- Allow the stain to dry completely before applying a topcoat or varnish
How to Make Wood Filler Look Like Wood
If you’re looking for a way to make your wood filler look like wood, there are a few things you can do. First, choose a wood filler that is close in color to the wood you’re working with. If you can’t find an exact match, try a dark or light colored filler.
Once you’ve chosen your filler, apply it to the area you’re trying to repair. Use a putty knife or other sharp object to spread the filler evenly into the cracks and crevices. Let the filler dry completely before sanding it down so that it’s flush with the surrounding wood.
To finish, stain or paint over the filled area so that it matches the rest of your project!
Staining Over Wood Filler Gives Blotchy Results
Staining over wood filler gives blotchy results because the wood fibers in the filler are different from the wood fibers in the surrounding wood. The stain is absorbed differently by these different types of fibers, resulting in an uneven appearance.
To avoid this problem, it’s best to either remove all of the wood filler before staining, or to fill any holes with a product that is specifically designed to be stained.
These products are typically made from epoxy or latex, and they will accept stain evenly for a much better finish.
How to Stain Over Wood Filler
If you’re looking to add a bit of color to your woodworking project, staining over wood filler is a great way to do it! Here’s how:
1. Begin by sanding the area you wish to stain.
This will help the stain adhere better and give you a more even finish.
2. Next, apply a thin layer of wood filler to the area. Be sure to smooth it out as best as you can so that it’s level with the surrounding wood.
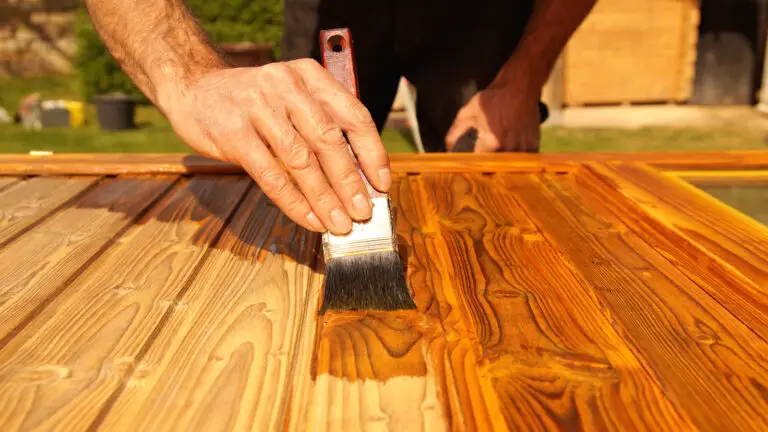
3. Once the filler is dry, it’s time to apply the stain. Use a brush or rag and work in small sections until the entire area is covered.
4. Allow the stain to dry completely before moving on to the next step.
5 .Now, you’ll need to seal the stained area in order to protect it from wear and tear.
Read : How to Stain Over Wood Filler
Wood Filler Too Light
One of the most common issues when it comes to wood filler is that it can often be too light in color. This can be a big problem if you’re trying to match the filler to the rest of your woodwork, as it can end up looking very out of place.
There are a few things that you can do in order to try and fix this issue.
The first is to simply sand down the area where you applied the filler until it’s flush with the rest of the surface. This will help to blend it in and make it less noticeable.
Another option is to add a bit of pigment to the filler before you apply it.
This can be done by mixing in some wood stain or paint until you get the desired color. Be sure to test it on a scrap piece of wood first so that you don’t ruin your project!
If all else fails, you can always try painting over the area with a dark colored paint or stain.
This will give you a completely different look, but it may be just what you need to get rid of that pesky light patch.
Read to know: How to Make Wood Filler Look Like Wood
Wood Filler Not Taking Stain
Wood filler is a great way to fix small holes and cracks in wood surfaces. However, sometimes wood filler can be difficult to take stain, especially if the area is large or the hole is deep. There are a few things you can do to make sure your wood filler takes stain evenly:
-Use a putty knife or other sharp tool to smooth out the surface of the wood filler before applying Stain. This will help the Stain adhere evenly to the surface.
-Apply a thin layer of Stain directly to the wood filler before spreading it on the rest of the surface.
This will help ensure that the color is even and that there are no dark spots.
-Be patient! Sometimes it can take a few minutes for the Stain to fully absorb into the wood filler.
Give it time and don’t be tempted to add more Stain until it’s had a chance to soak in completely.

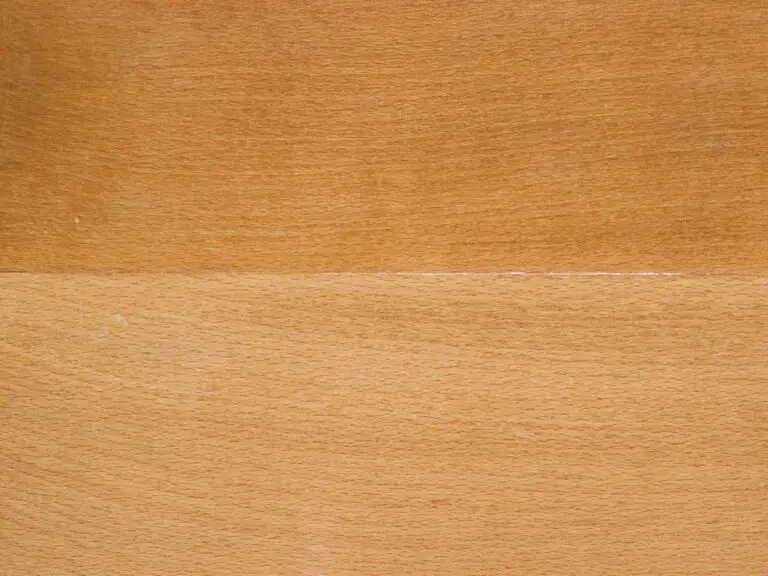
Credit: abutterflyhouse.com
Can See Wood Filler After Staining?
When staining wood, it is not uncommon to see wood filler that does not take the stain. This can be frustrating, but there are a few things you can do to try and fix the problem.
First, make sure that you are using a high quality wood filler.
If you are using a cheaper brand, it is more likely that the filler will not take the stain evenly. Second, apply a thin layer of wood filler to the area and then sand it down until it is flush with the rest of the surface. Finally, apply your stain and hope for the best!
Important: How to Hide Wood Filler After Staining
Will Solid Stain Cover Wood Filler?
One of the most common questions we get here at Penofin is whether or not solid stain will cover wood filler. The answer is…maybe. It all depends on the type and brand of wood filler you’re using, as well as the type of solid stain.
If you’re using a water-based wood filler, it’s likely that your solid stain will be able to adhere to it and provide coverage. However, if you’re using an oil-based wood filler, it may be more difficult for the solid stain to achieve good coverage. In general, we recommend testing a small area before proceeding with full coverage.
Once you have your test area set up, apply your chosen solid stain according to the manufacturer’s instructions. Allow it to dry completely, then take a close look at the results. If you’re happy with the way it looks, you can proceed with staining the rest of your project.
If not, you may want to consider trying a different product or technique.
Essential: How to Dispose of Stain Brushes
How Do You Stain Wood Filler to Look Like Wood?
To stain wood filler to look like wood, you will need to purchase a wood-staining product from your local hardware store. Once you have the stain, apply it to the wood filler using a clean cloth or brush. Allow the stain to dry completely before applying a clear coat of varnish or polyurethane.
How Do You Color Over Wood Filler?
If you want to color over wood filler, the best way to do it is with a stainable wood filler. These fillers are specifically made to be stained and will take on the color of the stain that you use. To apply the filler, simply follow the directions on the package.
Once it is dry, you can then stain it to match the surrounding wood.
Is Wood Filler Actually Stainable? An Experiment
Conclusion
When you’re staining projects made of wood, it’s inevitable that you’ll end up with some filler. Whether it’s from nicks and scratches or cracks and holes, wood filler is a fact of life when working with wood. The good news is that there are ways to hide wood filler so that it doesn’t stand out like a sore thumb.
One way to disguise wood filler is to stain it before applying it to the project. This way, the color of the filler will match the color of the wood, making it much less noticeable. Another trick is to add a bit of colorant to the filler before applying it.
This can be done by mixing in a bit of pigment or even using a Sharpie marker to add color directly to the filler.
Once the filler is applied, it can be challenging to get an even finish. One way to combat this is to use sandpaper after the filler has dried completely.
This will help smooth out any rough edges and give the area a more finished look.
With these tips, you can easily hide wood filler so that your projects look their best.