How to Hide Nails in Wood
Nails are an essential part of any woodworking project. They provide the strength and stability needed to keep your project together. However, nails can also be unsightly, especially if they’re not hidden properly.
There are a few different ways that you can hide nails in wood, depending on the type of project you’re working on.
One way to hide nails is by using dowels. Dowels are small cylinders of wood that fit snugly into holes drilled in the wood.
To use dowels, simply drill a hole slightly larger than the diameter of the dowel into the wood where you want to place the nail. Then, insert the dowel into the hole and hammer the nail into it. The dowel will hold the nail in place and conceal it from view.
Another way to hide nails is by using trim pieces. Trim pieces are small strips of wood that can be used to cover up exposed nails. To use trim pieces, simply attach them over top of the nails with glue or another adhesive material.
Trim pieces come in a variety of sizes and colors, so you can find ones that match your project perfectly.
No matter what type of project you’re working on, there’s a way to hide those unsightly nails and create a professional-looking finish. By using dowels or trim pieces, you can conceal nails and create a beautiful finished product that looks great and functions well too.
Hiding Nails
- Cut small pieces of wood that are slightly larger than the nails
- Place the pieces of wood over the nails, and gently tap them into place with a hammer
- Trim off any excess wood with a saw or knife, and sand the edges smooth
- Paint or stain the wood to match the surrounding area, and allow it to dry completely
How to Cover Exposed Nails
If you have ever had the misfortune of stubbing your toe or banging your finger, you know that exposed nails can be quite painful. Not only are they sharp and pointy, but they can also easily become infected if not properly covered. Fortunately, there are a few simple ways to cover exposed nails so that you can avoid any unnecessary pain or infection.
The first and most obvious way to cover an exposed nail is with a bandage. Bandages come in all shapes and sizes, so you should be able to find one that will fit over your nail nicely. If the bandage is too small, it may not stay on very well and could fall off, exposing your nail once again.
You can also use tape to secure the bandage in place if needed.
Another option for covering an exposed nail is to use a liquid bandage. This type of bandage comes in a small bottle and is applied directly to the nail.
It dries quickly and forms a waterproof barrier that protects the nail from further injury or infection. Liquid bandages are available at most drugstores and supermarkets.
If you have an exposed nail that is particularly long or jagged, you may want to consider trimming it down before applying a bandage or liquid bandage.
Use sharp scissors or clippers to carefully trim the nail down to a manageable size. Be sure to file any rough edges smooth so that they don’t snag on anything or cause further injury.
Once your exposed nail is properly covered, keep an eye on it for signs of infection such as redness, swelling, or pus drainage.
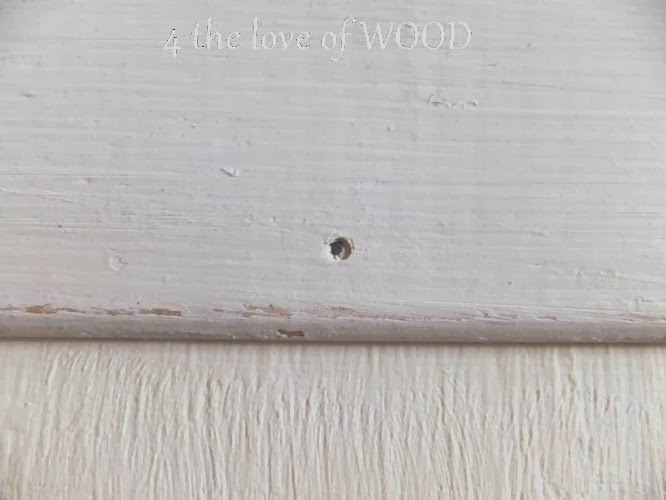
Credit: 4theloveofwood.blogspot.com
How Do You Cover Nails in Wood Projects?
Wood projects are a great way to add a personal touch to your home. But when it comes to nails, you want to be sure that they’re covered properly so that they don’t damage the wood. Here’s how to do it:
1. Choose the right type of nail. For most wood projects, you’ll want to use finishing nails. These have a small head and won’t split the wood as easily as other types of nails.
2. countersink the nail. This means that you’ll need to create a small indentation in the wood for the head of the nail. Use a drill bit that’s slightly smaller than the diameter of the nail’s shaft.
Drill slowly and carefully so that you don’t damage the surrounding wood.
3. Fill the hole with putty or filler. Once the nail is countersunk, fill in the hole with putty or filler material.
This will help keep moisture out and prevent future splitting or cracking around the nail hole.
4 Allow time for drying before proceeding with your project..
How Do You Hide Exposed Nails?
There are a few ways to hide exposed nails. One is to use caulk. Caulk is a sealant that can be used to fill in gaps and cracks.
It comes in a tube and can be applied with a caulking gun. Another way to hide exposed nails is to use putty. Putty is a pliable material that can be used to fill in holes and cracks.
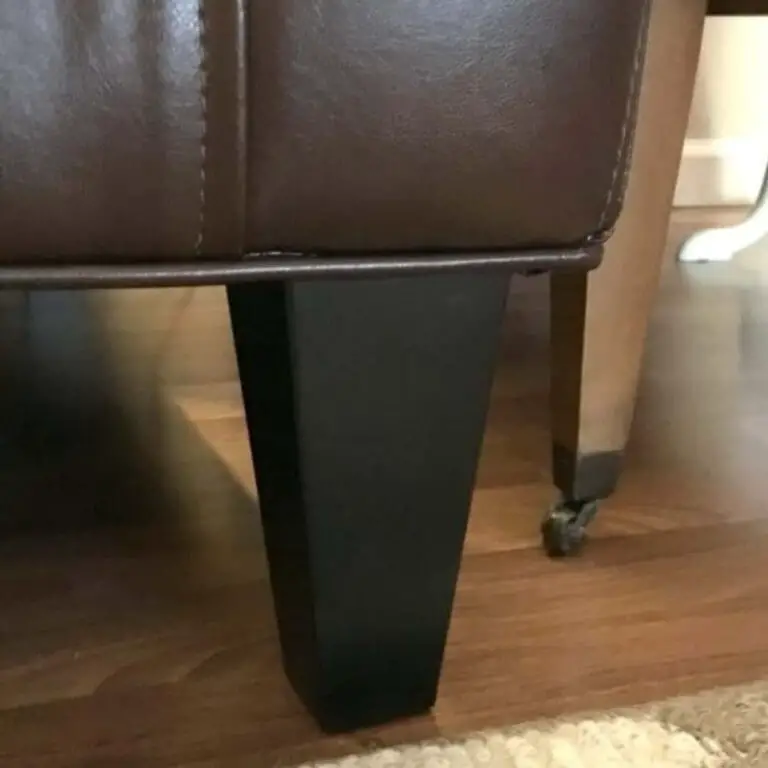
It comes in a tub or tube and can be applied with your fingers or a putty knife. yet another way to cover up those unsightly nail heads is by using crown molding or trim. Crown molding or trim can be glued or nailed over the top of the nail heads for a more finished look.
How Do You Bury Nails in Wood?
If you’re looking to bury nails in wood, there are a few things you’ll need to take into consideration. First, it’s important to select the right type of nail. For most applications, a standard steel nail will suffice.
However, if you’re working with harder woods, you may want to consider using a hardened steel or titanium nail. Second, you’ll need to determine the depth at which you want to bury the nail. This will largely be determined by the thickness of the wood and the desired effect.
Finally, it’s time to get started!
Using a hammer, gently tap the selected nail into the surface of the wood at your desired depth. Once the nail is in place, continue tapping until it is fully buried beneath the surface of the wood.
If necessary, use a small piece of scrap wood to help drive the nail into place. And that’s it – you’ve now successfully buried a nail in wood!
What Can I Use to Hide My Nails in Trim?
There are a few different ways that you can go about hiding your nails in trim. One way is to use a clear nail polish. This will help to blend in your nails with the trim and make them less noticeable.
Another option is to use a flesh-toned nail polish. This will help to camouflage your nails and make them blend in with the skin around them. Finally, you could also try using false nails.
False nails come in a variety of colors and styles, so you should be able to find some that match the trim in your home perfectly.
Conclusion
This blog post provides some tips on how to hide nails in wood. By using a nail set or countersink, you can make the head of the nail flush with the surface of the wood. You can also use a finish washer to cover up the head of the nail.