How to Build a Wood Drying Kiln
A wood drying kiln is a facility used to dry lumber. The main types of kilns used are dehumidification, solar, and vacuum.
Dehumidification kilns work by circulating air over the lumber while removing moisture from the air.
Solar kilns use the sun’s energy to dry lumber. Vacuum kilns work by drawing air out of the chamber, which decreases the humidity inside the chamber and speeds up the drying process.
Building a wood drying kiln requires some carpentry skills and knowledge of how these systems work.
The most important factor in deciding which type of kiln to build is what species of wood will be dried in it and how fast it needs to be dried.
- Find a suitable location for your wood drying kiln
- It should be close to where the wood will be used, as you’ll need to transport it there once it’s dried
- Choose the type of wood you want to dry
- Hardwoods take longer to dry than softwoods, so plan accordingly
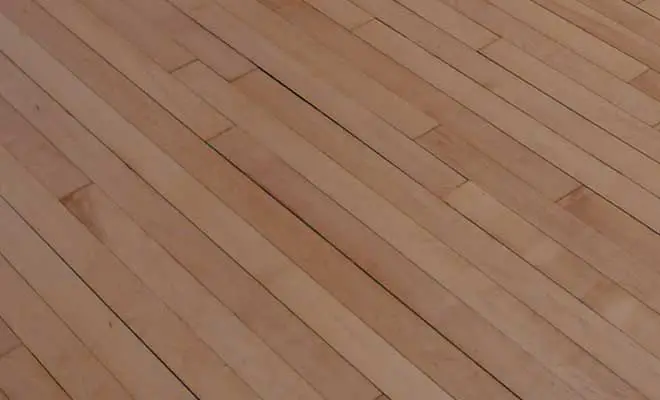
- Cut the lumber into pieces that will fit inside the kiln chamber
- Make sure they’re not too big or they won’t dry evenly
- Stack the lumber in the kiln chamber, starting with the thickest pieces first and working your way down to the thinner pieces
- Leave space between each piece for air circulation
- Seal up the kiln chamber tightly so no moisture can get in during the drying process
- This is crucial! 6
- Turn on the heat source and let it run until the desired internal temperature is reached (usually around 130-140 degrees Fahrenheit)
- Then let it run for 24 hours before checking on progress
- 7 continue running Kiln at set temperature until wood has reached equilibrium moisture content
Wood Drying Kiln for Sale
If you are in the market for a wood drying kiln, there are a few things you should know. Kilns come in a variety of sizes and types, so it is important to find one that will suit your needs. Here is some information to help you choose the right wood drying kiln for sale:
The size of the wood drying kiln is an important consideration. If you have a large quantity of wood to dry, then you will need a larger kiln. There are also smaller models available if you only need to dry a small amount of wood.
There are two main types of wood drying kilns: forced air and gravity fed. Forced air models use fans to circulate air through the chamber, while gravity fed models rely on natural convection currents. Both types of kilns are effective, but forced air models tend to be more expensive.
Kilns can be fueled by either electricity or propane. Propane models tend to be less expensive to operate, but they can produce harmful fumes if not properly ventilated. Electric models are more expensive upfront, but they are much safer and easier to operate.
How to Build a Cheap Wood Kiln
A wood kiln is a great way to dry out your wood before you use it for construction or other purposes. By drying the wood, you can avoid problems like warping and cracking. Kilns can be expensive, but you can build a cheap wood kiln with some basic materials and a little bit of knowledge.
Here’s how:
1. Build a frame out of 2x4s or other lumber. The frame should be big enough to hold all of the wood that you want to dry out.
2. Cover the frame with black plastic sheeting or another type of waterproof material. This will help trap heat inside the kiln.
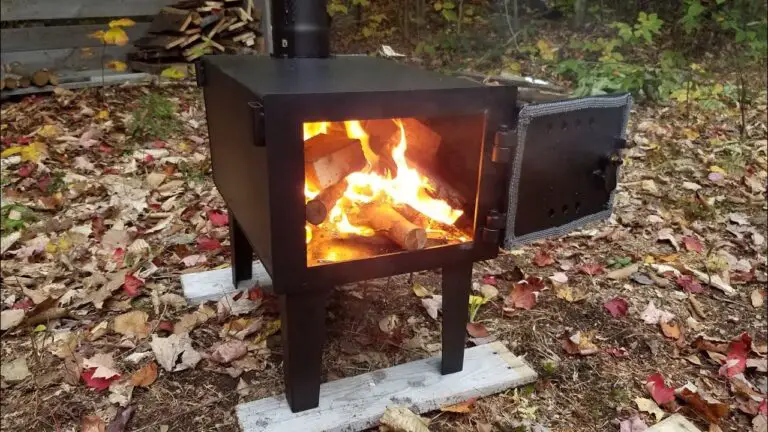
3. Place a space heater inside the kiln and turn it on to its highest setting.
The space heater will provide warmth and help circulate air inside the kiln.
4. Leave the wood in the kiln for at least 24 hours, or until it feels completely dry to the touch. Check on it periodically to make sure that the space heater is still running and that the temperature inside the kiln stays consistent.
5 . Once the wood is dry, remove it from the kiln and allow it to cool completely before using it for any purpose .
Homemade Wood Kiln Dehumidifier
A wood kiln dehumidifier is a great way to dry your wood without using any electricity. You can make one yourself with a few simple materials that you probably have around the house.
Here’s what you’ll need:
-A 5 gallon bucket
-A lid for the bucket
-A drill with a 1/2″ bit
-A length of PVC pipe (about 3 feet should do it)
Small Wood Drying Kiln
If you’re interested in drying your own lumber, a small wood drying kiln is a great option. These kilns are designed to dry lumber quickly and efficiently, and they can be used for both softwoods and hardwoods.
There are a few things to keep in mind when using a small wood drying kiln.
First, you’ll need to ensure that the lumber is properly stacked and spaced so that air can circulate evenly around it. Second, the temperature inside the kiln should be monitored carefully – too much heat can damage the lumber, while not enough heat will simply prolong the drying process. Finally, you’ll need to be patient – it can take several days or even weeks for the lumber to completely dry out.
But if you follow these guidelines, using a small wood drying kiln is an excellent way to get perfectly dried lumber without having to wait for months or even years (as you would if you were relying on air-drying).
Small Wood Drying Kiln for Sale
A small wood drying kiln is a great investment for anyone who owns a sawmill or who works with wood on a regular basis. Kilns are used to dry lumber and other wood products so that they can be used for construction, furniture making, and other purposes. There are many different types of kilns available on the market, but the most popular type is the small wood drying kiln.
These kilns are designed specifically for use in small spaces, and they are very efficient at drying lumber quickly and evenly. If you are in the market for a small wood drying kiln, there are a few things you should keep in mind before making your purchase.
The first thing you need to consider is the size of the space you have available for the kiln.
Small wood drying kilns come in a variety of sizes, so it’s important to choose one that will fit comfortably in your workspace. You also need to consider how much lumber you plan on drying at one time. If you only need to dry smaller batches of lumber, then a smaller kiln would be sufficient.
However, if you plan on regularly drying larger quantities of lumber, then you will need to invest in a larger model.
Another important factor to consider is the type of wood you plan on dried with your kiln. Some woods are more difficult to dry than others, so it’s important to choose a model that is designed for use with the type of wood you typically work with.
For example, hardwoods like oak and maple can take longer to dry than softer woods like pine or poplar. If you frequently work with these harder woods, then it would be worth investing in a larger or higher-end model that can accommodate them better.
Finally, don’t forget to factor in the cost of operating your small wood drying kiln when making your decision.
Many models require special wiring or ventilation systems that can add significantly to the overall cost of ownership.
Credit: www.popularwoodworking.com
Can You Make Your Own Kiln for Drying Wood?
A kiln is an oven-like device used for drying wood. You can purchase a kiln, or you can build your own. Building your own kiln is a challenging but rewarding project that will allow you to dry wood at your convenience.
There are many different designs for homemade kilns, but all share some basic components. The most important part of the kiln is the chamber where the wood will be dried. This chamber must be airtight and well insulated in order to maintain consistent temperatures during the drying process.
A fan is also necessary in order to circulate air within the chamber and promote even drying.
Building akiln requires careful planning and execution, but it is possible with some patience and elbow grease. With your own kiln, you’ll be able to dry wood at your own pace and create beautiful projects that will last for years to come.
How Long Does It Take to Dry Lumber in a Kiln?
Drying lumber in a kiln is a process that typically takes around three to five days. The time it takes to dry the lumber will depend on its thickness, as well as the temperature and humidity of the kiln. After the lumber has been dried, it will then need to be cooled down before it can be used.
Is It Better to Kiln Dry Or Air Dry Wood?
The debate of kiln drying vs. air drying wood has been around for years, with no clear consensus. Some woodworkers swear by one method or the other, while others argue that it depends on the type of wood and the desired end result. So, which is better?
Kiln drying accelerates the drying process by using heat and controlled humidity. This method can be used to dry both green and seasoned lumber. The main advantage of kiln drying is that it allows you to control the moisture content of the wood, ensuring that it is stable before use.
This prevents warping, cracking and other issues that can occur when working with wet or unevenly dried lumber. Kiln dried lumber is also typically less expensive than air dried lumber since the process is faster.
Air drying is a slower process that relies on natural elements like wind and sun to evaporate the water from the wood.
It can take weeks or even months for air dried lumber to reach the desired moisture content level. Air drying is best suited for green lumber since seasoning (the process of removing moisture from already dry wood) can cause problems if not done correctly. That being said, some woodworkers prefer air dried lumber because it retains more of its character than kiln dried lumber (e.g., knots and grain patterns).
Air dried lumber is also typically cheaper than kiln dried lumber since there are no energy costs associated with this method.
So, which is better – kiln drying or air drying? Ultimately, it comes down to personal preference and what you plan to use the lumber for.
If you need perfectly dry, stable wood for furniture making or other precise projects, kiln drying is probably your best bet.
What Temperature Should a Wood Kiln Be?
Wood kilns can be operated at a wide range of temperatures, depending on the type of wood being dried and the desired end result. For most woods, the ideal drying temperature is between 60 and 70 degrees Celsius. Higher temperatures will dry the wood more quickly, but can also cause damage such as warping or cracking.
Lower temperatures will take longer to dry the wood, but are less likely to cause damage.
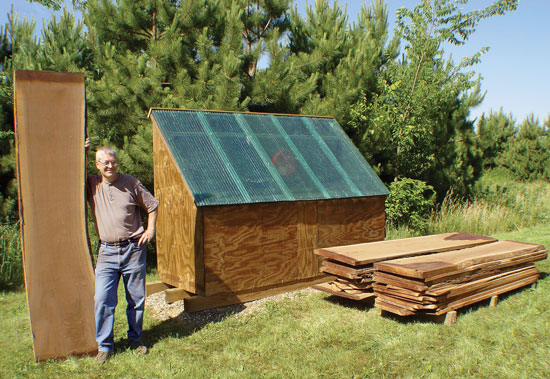
Simple DIY Wood Drying Kiln
Conclusion
If you’re interested in learning how to build a wood drying kiln, this blog post is for you! Wood drying kilns are a great way to dry lumber without using any electricity, and they can be built relatively easily with some basic woodworking skills. The first step is to build the framework for the kiln, which can be made out of 2x4s or other lumber.
Once the framework is complete, cover it with plywood or another type of sheeting material. Next, install some vents in the top and bottom of the kiln so that air can circulate freely. Finally, add some heating elements such as lamps or space heaters to get the Kiln up to temperature.
Once everything is set up, you’ll just need to load your lumber into the kiln and let it dry!