How to Build a Wood Chest
Building a wood chest is a simple yet rewarding project that can be completed in just a few hours. The first step is to cut the lumber to size. For the sides, you will need two pieces of plywood that are 24″ x 36″.
The front and back panels should be 26″ x 38″. The bottom panel should be 28″ x 40″.
Next, assemble the frame by attaching the sides to the front and back panels using wood screws.
Then, add the bottom panel to complete the frame. To do this, simply screw it into place from underneath.
Now it’s time to attach the lid.
Cut a piece of plywood that is 30″ x 42″ for this. Center it on top of the frame and screw it down along all four edges. Finally, add handles to each side of the lid so it can be easily lifted off.
- Choose the wood you will use for your chest
- You can use either treated or untreated lumber, depending on where the chest will be located
- If you are unsure, ask a sales associate at your local hardware store for guidance
- Cut the boards to size using a saw
- The dimensions will depend on how large you want your chest to be
- Assemble the frame of the chest by nailing or screwing the boards together
- Make sure that the frame is square and level before proceeding
- Cut panels for the sides, front, and back of the chest from plywood or another type of wood paneling
- Attach these panels to the frame with nails or screws, making sure that they are flush with the edges of the frame
- Install hinges on one side of the chest, along with a latch or other type of closure mechanism on the other side
Free Wood Chest Plans
Looking for a way to add some extra storage to your home? Check out these free wood chest plans! With a little time and effort, you can build yourself a beautiful wood chest that will be perfect for storing anything from blankets and linens to clothes and toys.
There are plenty of different design plans available online, so you should be able to find one that suits your needs and preferences. If you’re not sure where to start, try searching for “free wood chest plans” on your favorite search engine. Once you’ve found a few possibilities, take some time to compare them side-by-side to see which one looks the best and would be the easiest for you to build.
Once you’ve selected your plan, it’s time to gather your supplies. You’ll need some basic carpentry tools, including a saw, hammer, drill, screwdriver, measuring tape, and level. Most of the lumber can be purchased at your local hardware store; just make sure to get everything in the correct size and length.
If you’re using reclaimed or recycled wood, then you may need to do some additional prep work before beginning construction.
With everything gathered, it’s finally time to start building! Follow the instructions in your chosen plan carefully, taking care with each step along the way.
If you run into any trouble along the way, don’t hesitate to seek help from an experienced friend or family member. And once you’re finished…enjoy your brand new wood chest!
How to Build a Wooden Chest Bench
There are a few different ways that you can go about building a wooden chest bench. The most important thing is to make sure that the materials you use are of good quality so that your bench will last for years to come. Here are a few tips on how to build a wooden chest bench:
1. Start by measuring the space where you want to put your bench. This will help you determine the size of the bench and how many materials you will need.
2. Cut all of your lumber down to size using a saw.
You may want to have someone help you with this step if you are not confident in your own abilities.
3. Assemble the frame of the bench using wood screws or nails and glue. Make sure that everything is square and level before moving on.
4 . Attach the plywood or MDF board to the frame using more screws or nails and glue . Be sure that everything is nice and flush before proceeding .
If everything looks good , sand down any rough edges and then paint or stain yourbench accordingto your preference .
5 . Add any additional details such as handles, drawer pulls, etc .
And then enjoy your new piece of furniture !
How to Build a Storage Chest
A storage chest is a great way to keep your belongings organized and tidy. Here are some tips on how to build a storage chest:
1. Choose the right materials.
You’ll need sturdy wood boards for the sides and lid of the chest. The bottom can be made from plywood or particle board. Make sure all the pieces are cut to size before you start assembly.
2. Assemble the sides and bottom of the chest first. Use wood glue and nails or screws to put everything together. Make sure the corners are square and that the bottom is properly supported.
3. Attach hinges to the top of the chest so it can be opened and closed easily. You may want to add a latch as well, so that it stays shut when you’re not using it.
4 .
Finish off your storage chest by sanding down any rough edges and painting or staining it to match your home décor . Add handles or knobs if desired .
Now you have a beautiful and functional storage chest that will help keep your home organized!
How to Build a Storage Chest Bench
A storage chest bench is a great way to add extra storage to your home without taking up too much space. It can be used to store anything from blankets and pillows to books and toys. Here is how you can build your own storage chest bench:
1. Cut the plywood panels for the top, bottom, sides, and back of the bench using a circular saw. Make sure that all of the panels are cut to the same size.
2. Assemble the frame of the bench by attaching the panels together with wood screws.
Drill pilot holes first to prevent splitting the wood.
3 . Cut a piece of plywood or particle board to fit inside the frame as a shelf.
This will provide additional storage space for smaller items. Attach it to the frame with wood screws.
4 .
Cover the entire bench with batting and then fabric using a staple gun. Start at one end and work your way around until everything is covered securely. Trim off any excess fabric.
5 . Use hinges to attach a lid to the top of the bench so that it can be opened and closed easily.
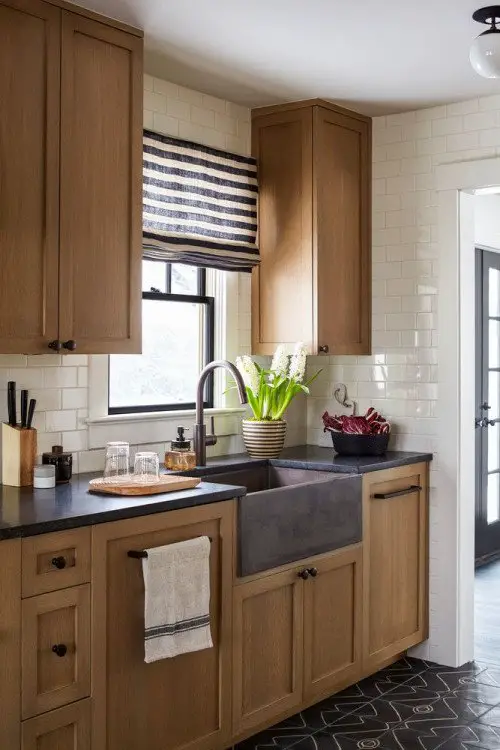
Wood Chest Trunk
There are many different types of wood chest trunks on the market. Some are simple and functional while others are ornate and decorative. No matter what your personal style is, there is sure to be a wood chest trunk that will suit your needs.
One of the most popular materials for wood chest trunks is cedar. Cedar is a very sturdy wood that has a natural resistance to rot and pests. It also has a pleasant smell that can help to keep your belongings fresh.
Another popular choice for wood chest trunks is oak. Oak is also a very strong and durable wood, but it tends to be more expensive than cedar.
If you are looking for something a little more unique, you may want to consider a trunk made from reclaimed wood.
Reclaimed wood is often taken from old buildings or barns that are being torn down. This type of wood has been used before so it has a lot of character and charm. It can be difficult to find two pieces of reclaimed wood that are exactly alike, which makes each one truly special.
When choosing a wood chest trunk, make sure to take into consideration the size that you need. You don’t want to choose something too small or too large for the space you have available. You should also think about how you will be using the trunk before making your final decision.
Credit: www.youtube.com
How to Build a Wooden Chest at Home?
Building a wooden chest at home is a relatively easy project that can be completed in a weekend with basic woodworking tools and materials. The most important thing to consider when building a wooden chest is the type of wood you will use. Pine is a popular choice for chests because it is inexpensive and easy to work with.
However, pine is not as durable as other woods like oak or maple, so it is important to take this into consideration when choosing your materials.
Once you have decided on the type of wood you will use, the next step is to cut the pieces for your chest. The most important piece is the bottom panel, which should be cut slightly larger than the other panels to allow for expansion and contraction of the wood with temperature changes.
The other panels can be cut to size using a table saw or circular saw.
After cutting all of your pieces to size, the next step is to assemble them using screws or nails and glue. Start by attaching the bottom panel to one side panel using screws or nails spaced about eight inches apart.
Then attach the remaining side panel and finally the top panel. If you are using screws, make sure they are long enough to go through all three layers of wood without protruding out the other side. Once all of your panels are attached, sand down any rough edges and finish your chest according to your preferences.
How Do You Make a Hope Chest Step by Step?
A hope chest is a special box that is traditionally given to young girls by their mothers or grandmothers. It is meant to be filled with items that the girl will need when she gets married, such as linens, dishes, and other household items. Hope chests are also sometimes called dowry chests, bride’s boxes, or bottom drawers.
Making a hope chest is a great way to give a meaningful gift that will be cherished for years to come. Here are the steps for how to make a hope chest:
1. Choose the right size box.
You’ll want to pick a size that will be able to fit all of the desired items, but not too large that it becomes cumbersome.
2. Find or purchase a nice piece of fabric to line the inside of the box with. This can be anything from simple muslin to luxurious velvet.
3. Trace and cut out template pieces for any handles or hardware you plan on adding to the outside of the box.
4) Attach handles or hardware according to your chosen design.
5) Line the inside of the box with fabric, using glue or double-sided tape to secure it in place if necessary.
.
6) Start filling your hope chest with special things! This could include family heirlooms, hand-made items, letters from loved ones, etc..
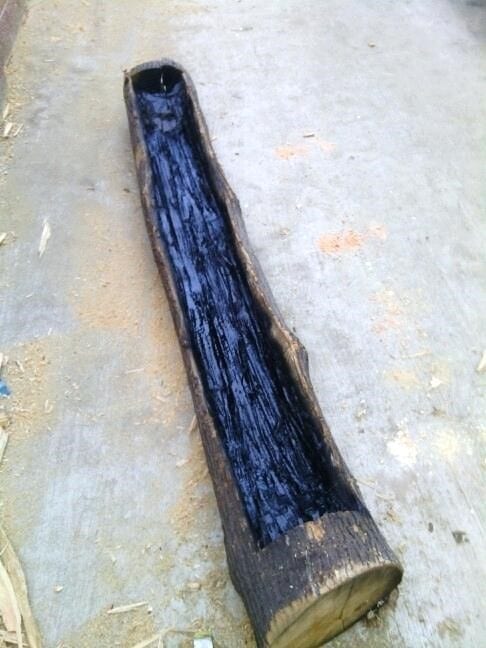
How Do You Make a Simple Cedar Chest?
Making a simple cedar chest is a relatively easy process that can be completed in a few hours. The most important thing to keep in mind when building any type of chest is to make sure the corners are square and the sides are level. Once you have your materials gathered, follow these steps:
1. Cut four pieces of Cedar lumber to size for the top, bottom and sides of the chest using a circular saw. Make sure the cuts are perfectly square.
2. Drill pilot holes in each corner of the top and bottom piece using a drill bit slightly smaller than your screws.
This will prevent splitting the wood when you screw it together later.
3. Attach the top and bottom pieces to the sides using 3” screws driven through the pilot holes. Use clamps to hold everything in place while you drive in the screws.
Be sure not to overtighten them or you may strip out the pilot hole.
4 .Cut two more pieces of Cedar lumber for use as shelves inside the chest if desired, or leave it open for storage without shelves.
. If adding shelves, drill pilot holes and attach them now before moving on to Step 5.. 5 .
Line up all four edges of the chest (top, bottom, front and back) flush with one another and clamp them together tightly.. This will ensure all your corners are nice and square when you add trim later on.
. 6 .Using 1” finishing nails driven every 6-8” along all four edges, attach quarter round molding around the entire perimeter of the chest.. You can also use baseboard molding if desired.. Again, make sure everything is lined up nicely so your trim looks crisp and clean when finished.. 7 .
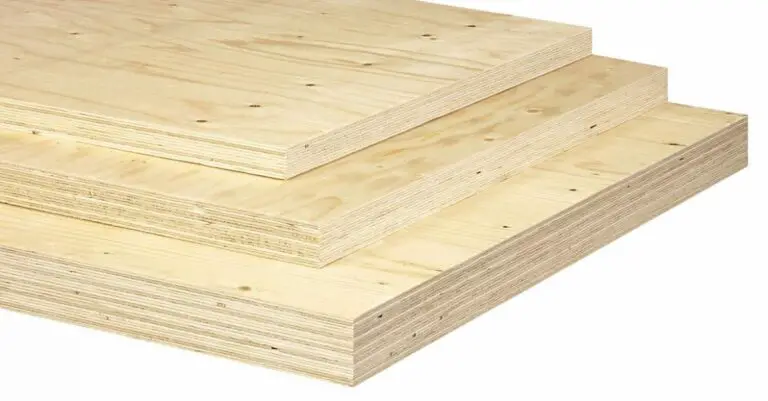
How Do You Make a Chest Out of Plywood?
Assuming you would like a tutorial on how to create a storage chest out of plywood, here are the steps:
1. Cut your plywood into six equal pieces using a saw – these will be your top, bottom and sides. If you want your chest to have a lid, cut another piece of plywood that will serve as the lid.
2. Attach the pieces together by nailing or screwing them together at the corners. Be sure to use strong screws or nails that won’t pull out easily.
3. If desired, add handles to the sides of your chest for easier carrying.
You can simply screw in two small handles or knobs, or get creative and add handles made out of rope or fabric.
4. Finally, finish off your chest by staining or painting it in a color or design of your choice!
Wooden Storage Chest DIY
Conclusion
Building a wood chest is a simple and rewarding project. You can build a basic box using just a few tools and some lumber. The key to making this project successful is to take your time and measure twice before cutting once.
With patience and attention to detail, you’ll be able to create a beautiful piece of furniture that will last for years.