How to Attach Wood Planks to Wall Without Nails
Use construction adhesive to attach the wood planks to the wall without nails. Apply the adhesive to the back of each plank and press it firmly into place. Wipe away any excess adhesive with a damp cloth.
- Decide where you want the wood planks to go and mark those spots on the wall with a pencil
- Cut your wood planks to size, if necessary
- Apply adhesive to the back of each wood plank, making sure to cover the entire surface evenly
- Press the wood plank onto the wall at your marked spot, using moderate pressure to make sure it adheres well
- Repeat steps 3 and 4 until all of your wood planks are attached to the wall!
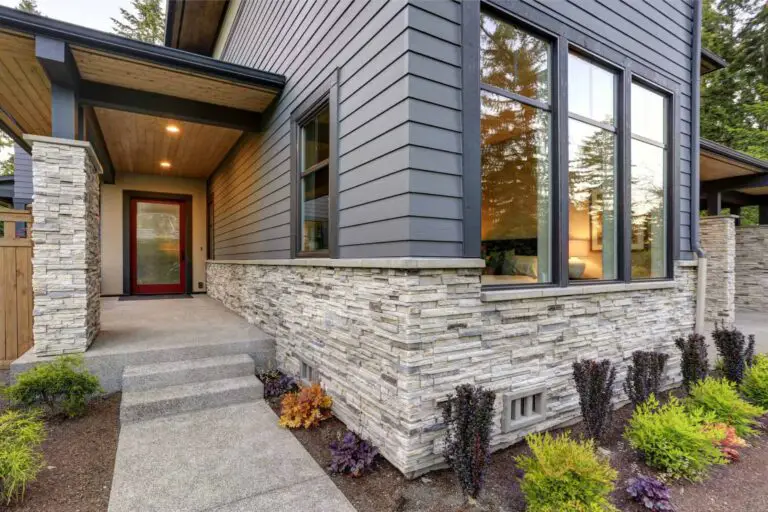
How to Attach Wood to Brick Wall Without Drilling
One way to attach wood to a brick wall without drilling is by using adhesive strips. Adhesive strips are available in various widths and lengths, so you can choose the size that best fits your needs. To attach the strip to the wall, first clean the area where you will be attaching it.
Next, peel off the backing of the strip and press it firmly against the wall. Finally, apply pressure to the strip for 30 seconds to ensure a good bond.
Strongest Glue for Wood to Wall
There are many different types of glues on the market that can be used to attach wood to a wall. However, not all of these products are created equal. Some are stronger than others and some are better suited for certain applications.
In general, the strongest glue for attaching wood to a wall is an epoxy-based adhesive. This type of glue creates a very strong bond between the two surfaces and is resistant to moisture and temperature changes. It is also relatively easy to use and can be found at most hardware stores.
Best Adhesive for Wood to Painted Drywall
It is no secret that wood and drywall do not play well together. The two materials are constantly expanding and contracting with changes in temperature and humidity, which can cause cracks and gaps to form between them. In addition, the paint on drywall is not always an ideal surface for adhesion, especially if it has been damaged or is peeling.
There are a few different options available when it comes to choosing an adhesive for attaching wood to painted drywall. One option is construction adhesive, which is a strong bonding agent specifically designed for this type of application. Another option is liquid nails, which is also a strong adhesive but can be more difficult to work with than construction adhesive.
Whichever option you choose, make sure to apply a generous amount of adhesive to both surfaces before pressing them firmly together.
How to Attach Wood to Drywall Without Studs
If you need to attach wood to your drywall but don’t have any studs to screw into, there are a few ways you can do it. The most common method is to use drywall anchors. These are small plastic or metal pieces that you insert into the drywall and then screw into.
Another option is to use adhesive strips. These are basically like very strong stickers that will hold the wood in place. Whichever method you choose, make sure you use screws that are long enough to go through the thickness of the wood and into the drywall at least an inch or two.
How to Attach Mdf Panels to Wall
If you’re looking to add a bit of extra dimension to your walls, MDF panels are a great way to do it. Here’s how to attach them:
1. Start by measuring the area you want to cover and cutting your MDF panels to size.
2. Next, use wood screws or construction adhesive to attach the panels to the wall. Make sure they’re evenly spaced and level before proceeding.
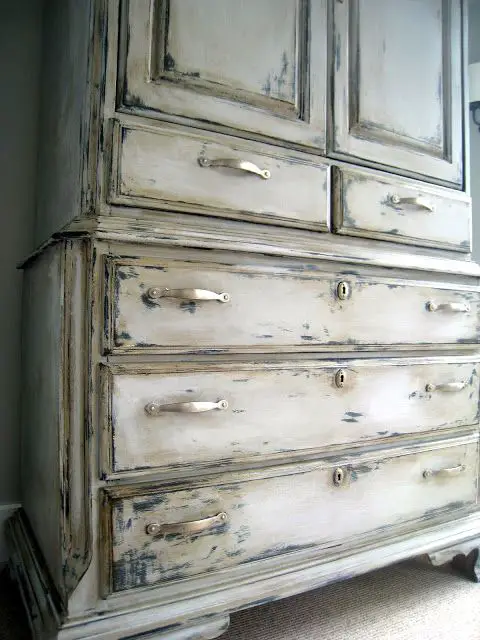
3. Once the panels are in place, you can add trim or molding around them for a finishing touch.
Just be sure that whatever you use is compatible with the adhesive you used originally.

Credit: thediydreamer.com
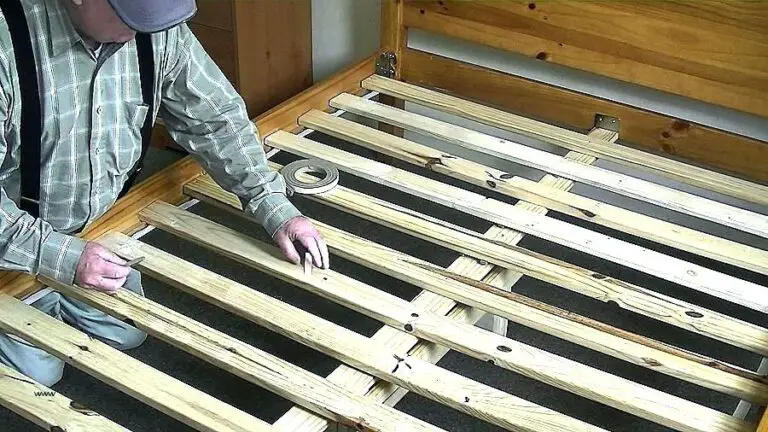
How Do You Attach Wood Planks to a Wall?
There are a few different ways that you can attach wood planks to a wall. The most common way is to use nails or screws. You can also use adhesive strips or glue.
If you are using nails or screws, you will need to pre-drill holes into the wood planks before attaching them to the wall. This will help to prevent the wood from splitting. When attaching the planks to the wall, start at the bottom and work your way up.
Use spacers between each plank so that they are evenly spaced out.
If you are using adhesive strips or glue, you will not need to pre-drill holes into the wood planks. Just apply the adhesive directly to the back of each plank and then attach it to the wall.
Start at the bottom and work your way up, making sure that each plank is level as you go along.
Whatever method you choose, make sure that all of the edges of each plank are flush against each other so that there is no gap between them. Once all of the planks are in place, caulk any gaps and then paint or stain them if desired.
How Do You Attach Wood Slats to Drywall?
If you’re looking to add some wood slats to your drywall, there are a few things you’ll need to do in order to ensure a secure and successful attachment. First, you’ll need to choose the right type of wood for the job. We recommend using either pine or cedar, as they’re both lightweight and easy to work with.
Once you’ve selected your wood, cut it into thin strips that will be easy to attach to the drywall.
Next, mark out where you want your wood slats to go on the drywall. We recommend using a level so that your slats are evenly spaced and level when attached.
Once you have your marks made, it’s time to start attaching the strips of wood. To do this, simply apply a layer of construction adhesive to the back of each strip and press it firmly into place on the drywall. Make sure that each strip is securely adhered before moving on to the next one.
Once all of your strips are in place, it’s time to finish up by adding trim around the edges. This will help give your project a polished look and make sure that no raw edges are visible. For an extra touch of style, consider painting or staining your trim before attaching it.
With these simple steps, attaching wood slats to drywall is easy and can add instant character and charm to any space!
How Do You Hang Wall Panels Without Nails?
If you’re looking for a way to hang wall panels without nails, there are several options available. You can use Command strips, which are adhesive strips that come in various sizes. You can also use 3M’s VHB tape, which is a strong double-sided tape.
Finally, you can use Velcro dots or squares.
How Do You Attach Wood Design to a Wall?
There are a few different ways that you can attach wood design to a wall. The most common way is with nails or screws. You can also use brackets or other hardware to secure the wood to the wall.
If you are using thin pieces of wood, you may be able to use adhesive tape or glue to attach them to the wall.
Easy DIY FLOATING SHELVES No bracket | DIY CREATORS
Conclusion
If you’re looking for a way to add some rustic charm to your home, one option is to attach wood planks to your walls without nails. This can be a relatively easy project that doesn’t require a lot of tools or materials.
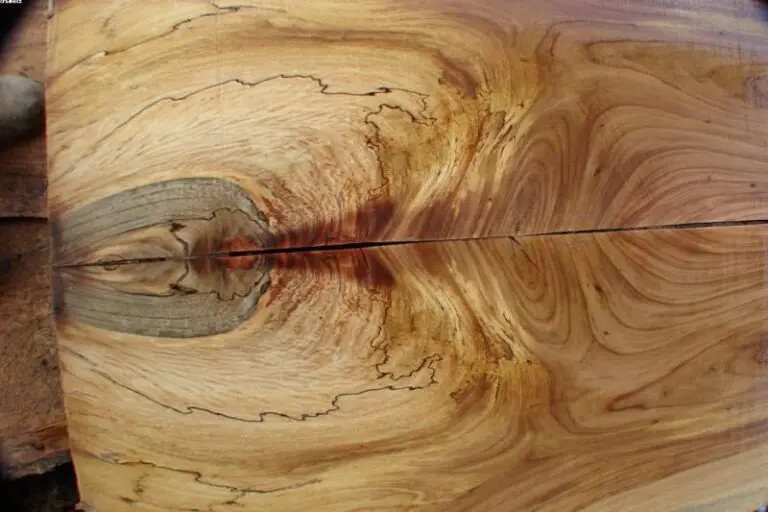
First, you’ll need to decide on the type of wood you want to use.
Pine is a good option because it’s lightweight and has a nice grain pattern. You’ll also need to decide how wide you want the planks to be. Once you have those things figured out, head to your local hardware store and have them cut the boards to size.
Now it’s time to prep the wall surface. Start by giving it a good cleaning with soap and water. Then, using painter’s tape, create guidelines for where each plank will go.
Once the wall is prepped and taped, it’s time to start attaching the planks.
There are a few different ways you can do this. One option is to use construction adhesive applied directly to the back of each board.
Another option isto screw the boards into place using small finishing nails and painters caulk as filler in between each board (this method requires predrilling holes). Whichever method you choose, simply apply adhesive or screw each board into place following your guidelines until the entire wall is covered.
Once all of the boards are in place, remove the painter’s tape and enjoy your new DIY accent wall!