Diy Wood Plaque Ideas
There are many different ways that you can make a wood plaque. One way is to use a stencil and paint the design onto the plaque. Another way is to use decoupage or scrapbook paper to decorate the plaque.
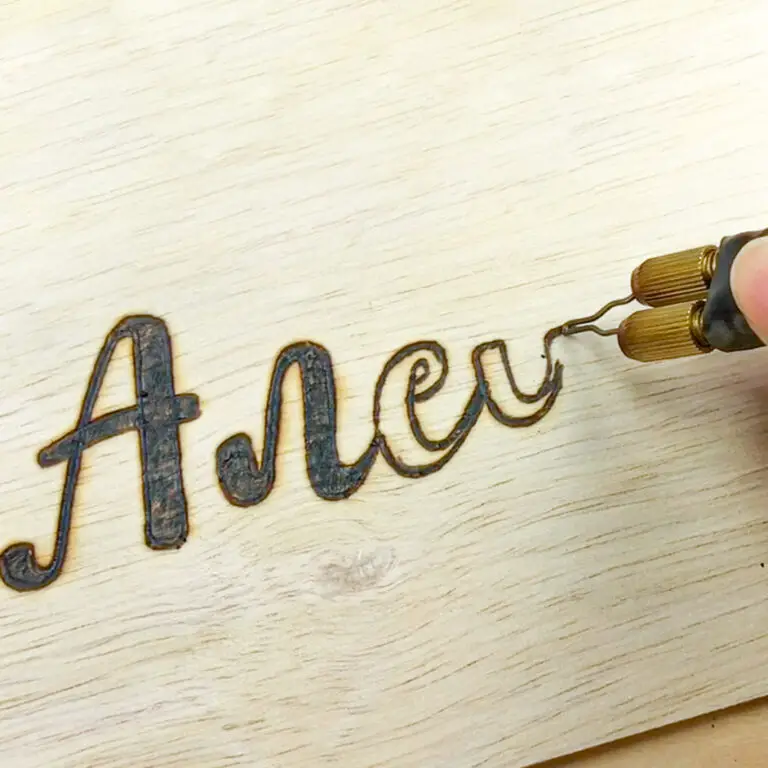
You could also carve a design into the wood or use pyrography to burn a design into the wood.
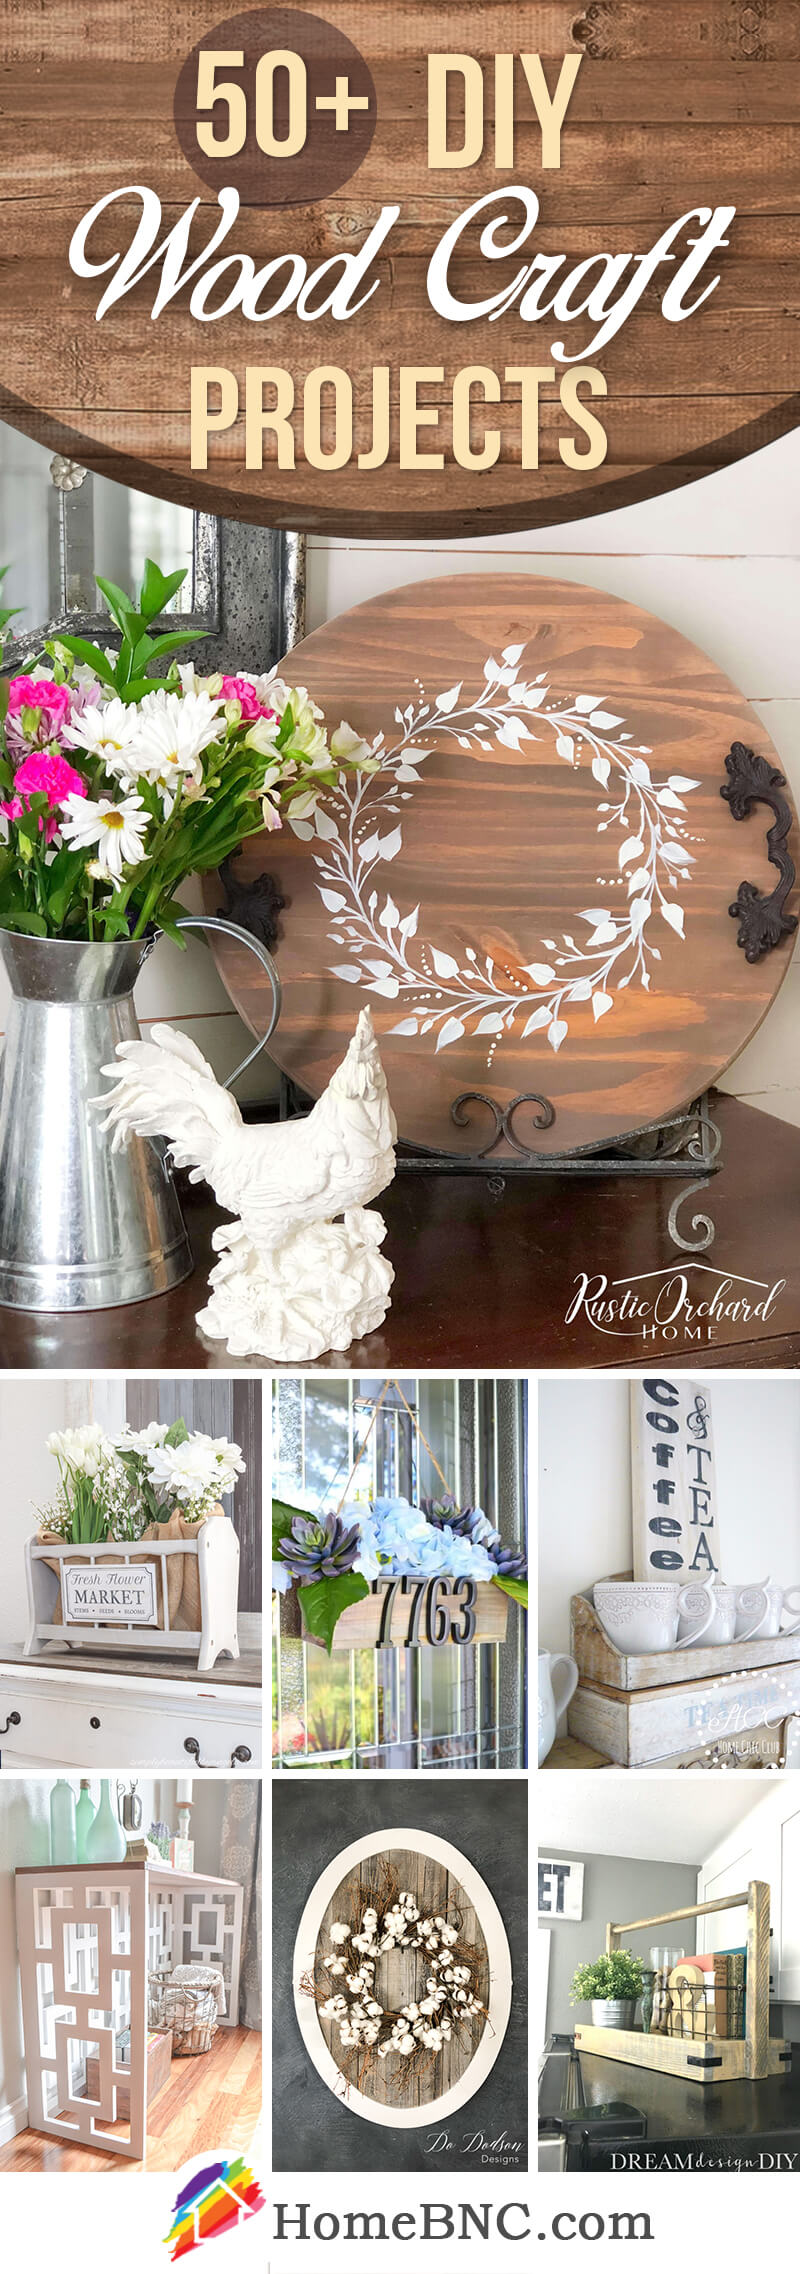
If you love crafting and DIY projects, then you’ll love these wood plaque ideas! With just a few supplies and some creativity, you can make beautiful plaques for your home or as gifts.
To get started, you’ll need some wood.
You can use any type of wood that you like, but we recommend using something that is relatively thin and lightweight. We also recommend using a smooth finish so that painting and stenciling is easier. Once you have your wood, decide on the size and shape of your plaque.
Then, use a pencil to lightly trace your design onto the wood.
Now it’s time to get creative! Use paint, stamps, stencils, or anything else you can think of to decorate your plaque.
Be sure to seal your design with a clear coat of sealer or varnish so that it will last for years to come.
These DIY wood plaques are easy to make and they look great! Get creative and have fun with them!
How to Make a Wooden Plaque With Words
Making a wooden plaque with words is easy to do with the right tools and supplies. Here’s what you’ll need:
– A piece of wood that is large enough for your desired plaque size
– A saw to cut the wood to size (if necessary)
– Wood glue
– Clamps
– Paint or a sealant (optional)
1. Cut the wood to size, if necessary. If you’re using a pre-cut piece of wood, skip this step.
2. Apply wood glue to the back of the plaque. Spread it around evenly with a brush or your fingers. 3. Place the plaque on your work surface, glue side down.
4. Use clamps to secure the plaque in place while the glue dries. 5. Once dry, remove the clamps and flip the plaque over.
Personalized Wooden Plaques
Personalized wooden plaques are a thoughtful and unique way to show someone you care. Whether you’re looking for a gift for a special occasion or simply want to show your appreciation, these plaques are sure to please.
There are many different companies that offer personalized wooden plaques, so you’re sure to find one that fits your budget and style.
Some companies even offer custom engraving, so you can really make the plaque your own.
When choosing a company to create your plaque, be sure to read reviews and compare prices. You’ll want to find a company that offers high-quality products and great customer service.
Once you’ve found the perfect company, simply choose the design you like best and personalize it with your own text or images. These plaques make wonderful gifts for friends, family members, or even co-workers. So go ahead and show someone how much you care with a personalized wooden plaque!
Diy Plaque Award
Do you have an upcoming event where you need to give out awards? If so, DIY plaque awards may be the perfect solution! They are easy and inexpensive to make, and you can customize them to fit your needs.
Plus, they add a personal touch that will be appreciated by the recipients.
To get started, all you need is a piece of wood or plastic, some paint or markers, and some adhesive. You can find these supplies at any local craft store.
Once you have your materials, decide on the size and shape of your plaque. Then, use your paint or markers to decorate it however you like. Write a message of congratulations or thanks, or include the date and location of the event.
Be creative!
When your plaque is complete, add an adhesive hanger to the back so it can be displayed proudly. That’s it!
These simple DIY plaque awards are sure to please anyone who receives one.
Wood Plaque Blanks
Do you love the look of wood plaques, but hate the high price tag? Well, good news! You can make your own wood plaque for a fraction of the cost with some supplies from your local craft store.
Here’s what you’ll need to get started:
-Wood plaque blank (I like to use basswood, but any type of wood will work)
-Sandpaper
-Stain or paint (optional)
-Ruler or straight edge
-Pencil or pen
– Vinyl letters or decals (optional)
first, start by sanding your wood plaque blank. This will help create a smooth surface for painting or staining.
If you’re going to be adding vinyl letters or decals, now is the time to do that as well. Once your plaque is prepped and ready to go, it’s time to add your stain or paint. I like using a simple white paint for my plaques, but feel free to get creative!
Let your plaque dry completely before moving on to the next step.
Now it’s time to add your quote, saying, or other text. Use a ruler or straight edge to help keep your text nice and straight.
I like using a pencil first so I can erase if needed, but you can also use a pen if you’re confident in your handwriting. And that’s it! Your DIY wood plaque is complete. Hang it up and enjoy!
Wood Plaques
Wood plaques are a classic way to show off your favorite photos, art, or quotes. They come in many different sizes and styles, so you can find the perfect one for your home or office. Wood plaques are also very easy to make yourself!
All you need is a piece of wood, some paint or stain, and some creative ideas. Here are some tips on how to make your own wood plaque:
1. Choose a piece of wood that is the right size and shape for your project.
You can find pre-cut pieces of wood at most hardware stores.
2. Paint or stain your piece of wood before adding any other design elements. This will help the finished product look more polished and professional.
3. Use stencils or freehand drawings to add quotes, images, or patterns to your plaque. Be as creative as you like!
4. Seal the deal by adding a layer of polyurethane over top of your design.
This will protect it from wear and tear (and keep it looking good for years to come).
Credit: homebnc.com
How Do You Make Wood Plaque?
Wood plaques are a great way to add a personal touch to any room or office. Making your own wood plaque is a relatively easy process that can be done in just a few steps.
First, you will need to gather your materials.
You will need a piece of wood (the size and type of wood will depend on what you want your plaque to look like), some sandpaper, paint or Stain, and some clear sealer. You may also want to gather some other tools such as a saw, drill, and clamps if you do not have them already.
Once you have all of your materials, the first step is to sand down the piece of wood.
You want to make sure that the surface is nice and smooth so that your paint or stain will go on evenly. If there are any rough spots, use sandpaper to smooth them out.
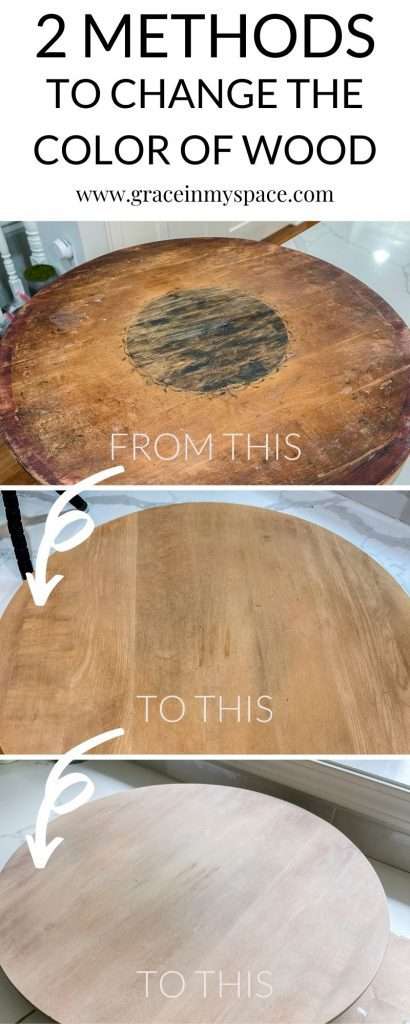
Next, it’s time to paint or stain your wood plaque.
Again, this is entirely up to you and what look you are going for. If you are using paint, apply it evenly with a brush and let it dry completely before proceeding. If you are staining the wood, apply the stain evenly with a cloth and let it sit for several minutes before wiping off any excess.
Finally, once your paint or stain is dry, it’s time to seal the deal! Apply a clear sealer over the entire surface of the plaque using a brush or spray bottle. This will protect your work from scratches or fading over time.
Let the sealer dry completely before hanging up your new wood plaque!
What Do You Put on Wood Plaques?
Wood plaques are a great way to add a personal touch to your home décor. You can use them to display photos, artwork, or even just words and phrases that inspire you. But what do you actually put on wood plaques?
Here are some ideas:
-Photos: Whether it’s a family portrait or a landscape shot from your last vacation, photos always look great on wood plaques. Just make sure to use acid-free tape or glue so the photo doesn’t damage the wood over time.
-Artwork: If you have kids who love to draw, why not frame their artwork on a wood plaque? You could also print out favorite quotes or poems and mount them onto the plaque for a pretty and unique decoration.
-Words and Phrases: Sometimes all you need is a simple word or phrase to remind you of what’s important in life.
Write down your family motto, your favorite Bible verse, or anything else that brings you joy and hang it up for all to see.
What Wood is Best for Plaques?
There are a few factors to consider when deciding what type of wood to use for a plaque. The first is the look you want to achieve. Different woods can create different aesthetics, so decide if you want a rustic look or something more polished.
Another thing to consider is the weight of the wood. Some woods are very heavy and thick, while others are lighter and thinner. This will affect how easy it is to hang the plaque on the wall.
Finally, think about how durable you need the plaque to be. Some woods are more likely to chip and break than others.
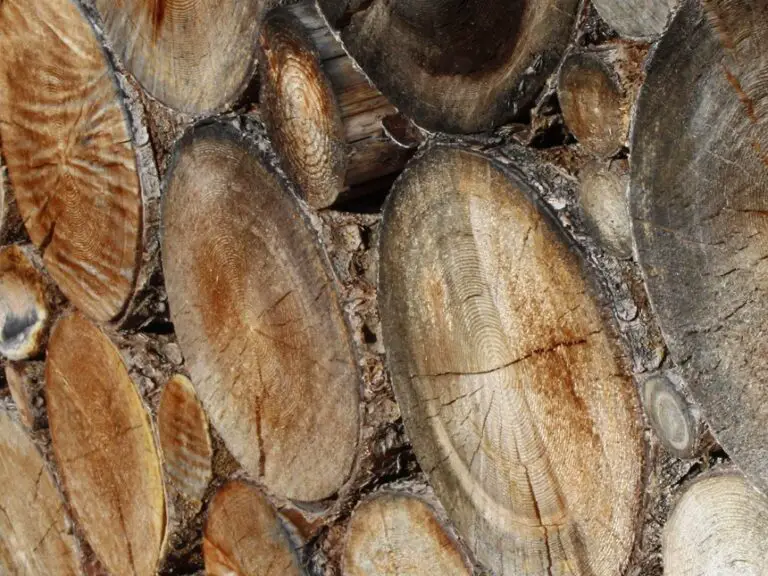
Some popular choices for wood plaques include cherry, oak, walnut and maple.
These all have different looks and textures that can give your plaque a unique appearance. If you’re looking for something rustic, cherry might be a good option. Oak has a classic look that works well for both formal and informal settings.
Walnut is darker and richer in color, which gives it a luxurious feel. Maple is light and creamy in color with a smooth grain texture.
No matter what wood you choose, make sure it’s high quality so your plaque will last for years to come!
How Do You Transfer Onto a Wooden Plaque?
There are a few different ways that you can transfer onto a wooden plaque. One way is to use mod podge. First, you will need to print out your image on regular paper.
Then, brush a layer of mod podge onto the plaque and place your paper face down onto the wet mod podge. Next, use a brayer or something similar to smooth out any bubbles and wrinkles. Finally, let it dry for 24 hours before adding another layer of mod podge over the top of the image.
Another way to transfer an image onto wood is by using gel medium. This method works best with laser prints or images printed on transparency film. First, brush a layer of gel medium onto your wood surface and then place your print face down onto the wet surface.
Use a brayer or something similar to smooth out any bubbles and wrinkles. Let it dry for 24-48 hours before peeling off the paper backing. You may need to add another coat of gel medium over the top of the image if it starts to fade after awhile.
Conclusion
This blog post is all about DIY wood plaque ideas. The author begins by sharing a few of her own personal favorites that she has made, including a “Happy Fall” sign and a “Welcome” sign for her front door. She then goes on to provide detailed instructions for how to make each one.
If you’re looking for some creative and unique ways to spruce up your home décor, then these DIY wood plaque ideas are definitely worth checking out!