Can Balsa Wood Be Stained
Balsa wood is a type of wood that is often used in model making and crafts. It is lightweight and has a very soft grain. Balsa wood is easy to work with and can be stained or painted.
Balsa wood is a lightweight, yet strong material that is often used in model making and other crafts. It can be stained to create different effects and shades, but it is important to use the right type of stain and technique to avoid damaging the wood.
Water-based stains are the best option for staining balsa wood, as they will not cause the wood to swell or warp.
To apply a water-based stain, simply soak a clean cloth in the stain and wipe it onto the surface of the wood. Allow the stain to dry completely before proceeding with any additional steps.
Oil-based stains can also be used on balsa wood, but they should be diluted with mineral spirits to avoid damaging the wood.
Apply an oil-based stain using a clean cloth or brush, working in small sections until the entire surface is covered. As with water-based stains, allow oil-based stains to dry completely before moving on.
Once you have applied your desired stain, you may want to seal it with a clear coat of varnish or lacquer.
This will protect the finish and ensure that it lasts for years to come.
Staining Balsa Wood With Coffee
Balsa wood is a light and porous wood that is often used for model making and other crafts. It can be difficult to stain evenly, but coffee is a natural pigment that can give your balsa wood a nice, even color.
To start, sand your balsa wood down with fine-grit sandpaper.
This will help the coffee stain adhere evenly to the surface. Next, brew a strong cup of coffee – you want it to be very concentrated so that it will give the balsa a deep color. Once your coffee is ready, soak a clean rag in it and then wring it out so that it’s damp but not dripping wet.
Rub the rag over the surface of the balsa wood in long strokes until you’ve covered the entire piece.
Let the coffee stained balsa dry completely before moving on to the next step. If you want a darker color, you can repeat this process once or twice more until you’re happy with the results.
Once you’re done staining, seal the balsa with a clear sealant to protect the color from fading or bleeding over time.
Wood Conditioner
Wood conditioner is a product that is used to protect and preserve wood. It is applied to the surface of the wood to create a barrier against moisture and other elements that can damage the wood. Wood conditioner also helps to restore the natural color of the wood and give it a healthy shine.
Painting Balsa Wood
Balsa wood is a very popular material for making model airplanes. It is also used for other crafts, such as carving and painting. Balsa is a very soft wood, so it is easy to work with.
When painting balsa wood, you need to be careful not to use too much paint. Balsa is a porous wood, so the paint can seep in and make the wood swell. This can cause the paint to crack and peel off.
To avoid this, apply a thin layer of paint and let it dry completely before adding another coat.
If you are using water-based paints, you will need to seal the wood first with a clear sealer. This will prevent the paint from soaking in and swelling the wood.
You can find clear sealers at most hardware stores.
Tsp on Wood Paneling
When it comes to tsp on wood paneling, there are a few things you need to know. First, tsp can be quite damaging to wood paneling if not used properly. Second, when using tsp on wood paneling, always make sure to follow the manufacturer’s instructions carefully.
And third, if you’re not careful, tsp can also leave behind streaks and smears.
With that said, let’s take a closer look at each of these points.
1. Tsp can be quite damaging to wood paneling if not used properly.
If you use too much tsp on your wood paneling, it can cause the finish to become dull and damaged. Additionally, if you don’t rinse the area thoroughly after cleaning with tsp, it can also lead to staining and discoloration. So, it’s important that you use caution when using this cleaner on your wood paneling.
2. When using tsp on wood paneling, always make sure to follow the manufacturer’s instructions carefully.
The last thing you want is to damage your wood paneling by using too much or too little of the cleaner. So, be sure to read the manufacturer’s instructions carefully before getting started.
This will help ensure that you use the right amount of product and avoid any potential damage.
Caulking Wood Paneling
If your wood paneling is looking a little dated, you can easily update it with some fresh caulk. This guide will show you how to caulk wood paneling like a pro!
First, start by removing any old caulk that is cracked or peeling.
Use a utility knife or putty knife to scrape away the old caulk, being careful not to damage the wood beneath. Once all of the old caulk is removed, use a vacuum cleaner with attachments to suck up any dust or debris.
Next, it’s time to apply the new caulk.
Cut the tip of the tube at a 45-degree angle and load it into your caulking gun. Starting in one corner, run a bead of caulk along the seam where the wall meets the wood paneling. Smooth it out with your finger as you go along.
Continue until all of the seams are filled in.
Let the new caulk dry for 24 hours before painting or staining over it. And that’s it – you’ve successfully updated your wood paneling with fresh caulking!
Painting Wood Paneling Grey
If your home has wood paneling, you may be wondering if painting it is a good idea. After all, wood paneling can be tricky to paint and the results are not always what you expect. However, painting wood paneling grey can actually be a great way to update your space without having to replace the paneling entirely.
Here are a few things to keep in mind if you’re considering painting your wood paneling grey:
1. Choose the right shade of grey. There are countless shades of grey out there, so it’s important to find one that will complement your existing décor and furniture.
A light grey might be best if you want to brighten up a dark room, while a darker shade could be perfect for creating an elegant or moody atmosphere.
2. Prep the surface before painting. Wood paneling can often be shiny and smooth, which means paint won’t always adhere well to it.
To ensure good results, sand down the surface of the wood paneling before applying paint. This will help create a rougher surface for the paint to grip onto.
3 .
Use primer before painting . Applying primer before painting your wood paneling grey will help improve coverage and give you better-looking results overall . Be sure to use a quality primer specifically designed for use on glossy surfaces .
4 . Consider using chalk paint . Chalk paint is becoming increasingly popular for its ability to adhere well to difficult surfaces like wood paneling .
It also has a beautiful matte finish that can add depth and interest to any space . Just keep in mind that chalk paint can take longer to dry than regular latex paint , so plan accordingly .
Can You Paint Vinyl Wood Paneling
Sure, you can paint vinyl wood paneling! In fact, painting is one of the easiest ways to change the look of your paneling and give any room a fresh, new feel. Here are a few tips to get you started:
1. Start by thoroughly cleaning the paneling. Use a mild soap and water solution and scrub away any dirt or grime. Rinse well and let the paneling dry completely before proceeding.
2. Next, sand the surface of the paneling to help create a smooth base for paint. Use a fine-grit sandpaper and be sure to go with the grain of the wood for best results.
3. Once yourpaneli ng is prepped and ready, it’s time to start painting!
Choose a high-quality latex paint in whatever color you desire – just be sure to use an acrylic primer first if you’re working with dark colors. Apply evenly using a brush or roller, taking care to avoid drips or streaking as you go along. Let each coat dry completely before adding another until you’re happy with the final result!
Wood Paneling Bubbling
If you have wood paneling in your home, you may have noticed that it can start to bubble and peel over time. This is usually caused by moisture getting behind the paneling and causing the adhesive to fail. You can usually tell if this is happening if you see water spots or discoloration on the paneling itself.
If your wood paneling is starting to bubble, there are a few things you can do to try and fix it. First, you will need to remove any loose pieces of paneling. Next, use a putty knife or similar tool to scrape away any old adhesive from the back of the panels.
Once all of the old adhesive is removed, you can then clean the surface with a damp cloth.
Once the surface is clean, you will need to apply new adhesive before reattaching the panels. There are a variety of adhesives that can be used for this purpose, so be sure to choose one that is compatible with your particular type of wood paneling.
If done correctly, this should fix the problem and keep your wood paneling looking great for years to come!
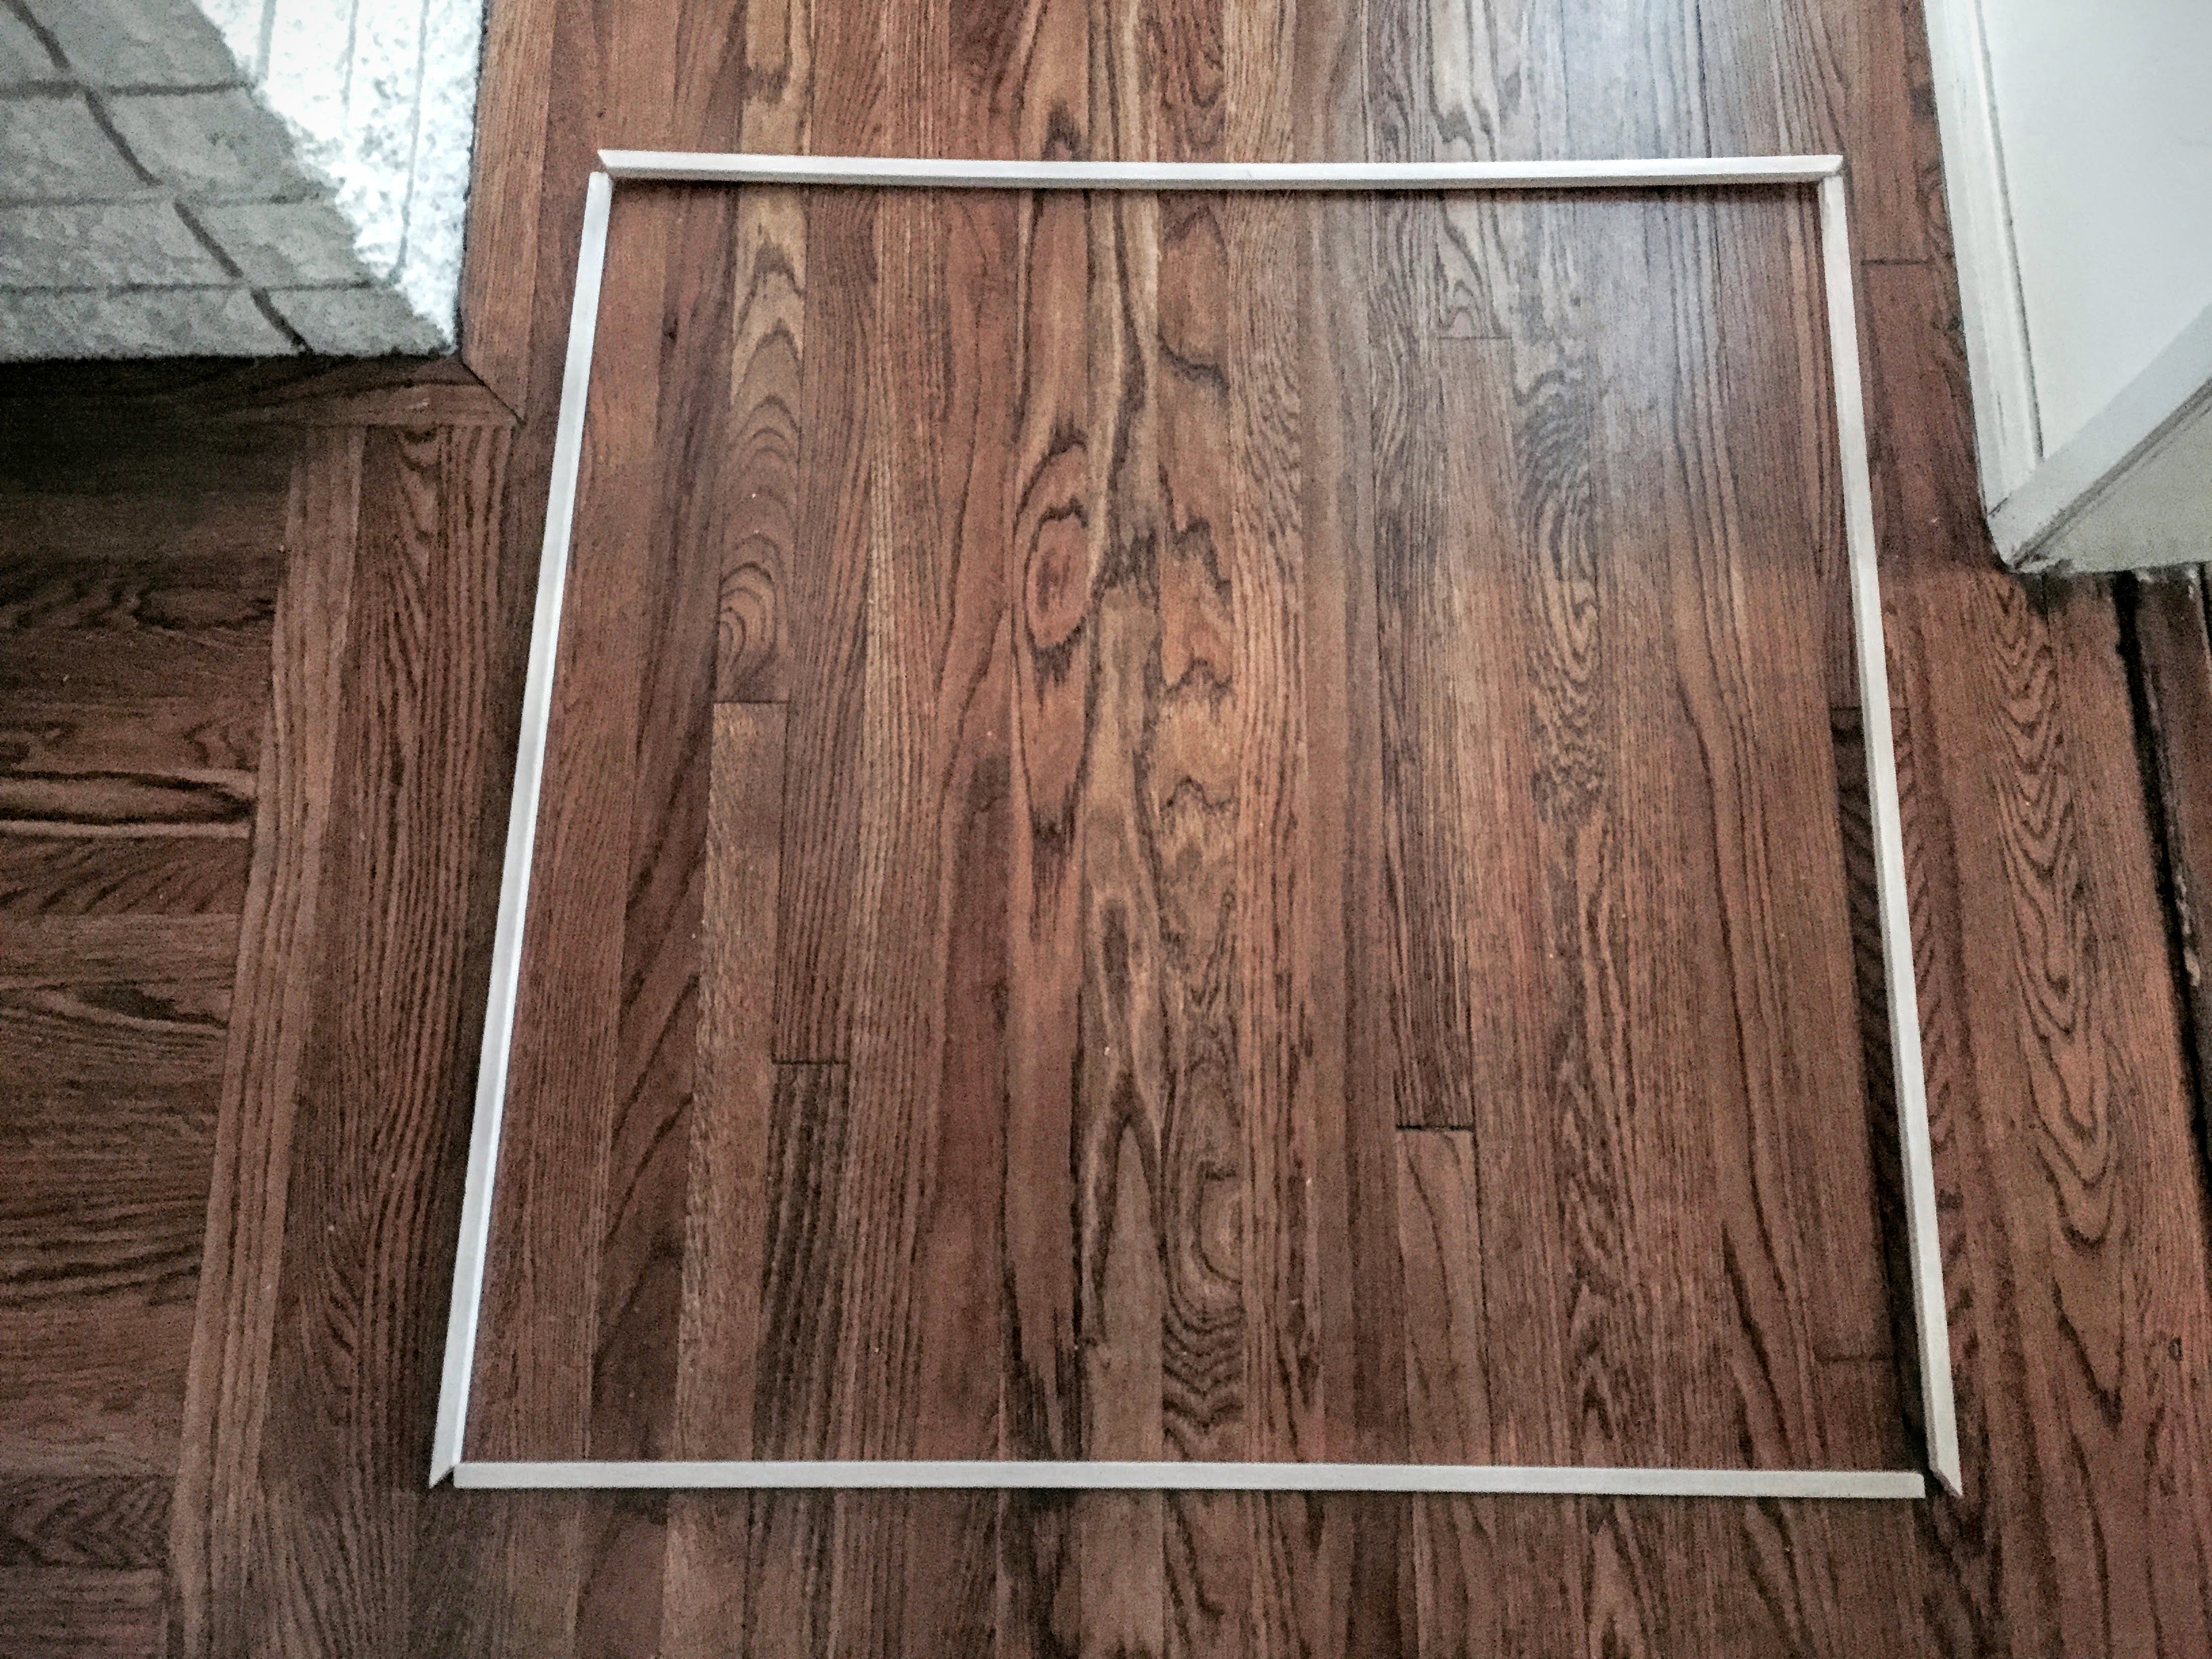
Credit: www.thecrainesnest.com
Can Balsa Wood Be Varnished?
Yes, balsa wood can be varnished. The best way to do this is to use a clear polyurethane varnish. This will protect the wood and give it a nice shine.
You can also use other types of varnish, but make sure to read the labels carefully so that you don’t end up with a sticky mess.
How Do You Dye Balsa Wood?
Balsa wood is a very popular material for crafting, and it can be dyed to create interesting effects. The best way to dye balsa wood is to use an alcohol-based ink or dye. This will help the color penetrate the wood and prevent it from bleeding or fading.
To start, sand the balsa wood to create a smooth surface. Then, apply a base coat of white paint or primer. Once the base coat is dry, apply the ink or dye directly to the wood using a brush or sponge.
You can also use a spray bottle for larger areas.
Allow the ink or dye to dry completely before adding any additional coats of paint or varnish. This will help protect the color and keep it from fading over time.
How Do You Seal Balsa Wood?
Balsa is a very soft wood that is often used in model making and other crafts. It is easy to cut and shape, but it can be difficult to seal. Balsa is a very absorbent material, so it will soak up any type of sealer you use.
This can make it hard to get an even coat of sealer on the wood.
There are a few different ways that you can seal balsa wood. You can use a clear acrylic sealer, a spray-on polyurethane, or even just plain old white glue.
Each of these methods has its own advantages and disadvantages.
Clear acrylic sealers are very easy to apply, and they dry quickly. However, they can yellow over time and they don’t offer much protection against water damage.
Spray-on polyurethanes are more durable and waterproof, but they can be difficult to apply evenly. White glue is the cheapest and easiest option, but it doesn’t offer much protection against moisture or wear and tear.
No matter which method you choose, make sure you apply several thin coats rather than one thick coat.
This will help the sealer last longer and prevent it from peeling off in large chunks.
How Do You Stain Basswood?
Basswood is a beautiful, light-colored wood that can be stained to achieve a range of different looks. To stain basswood, you will need to sand the surface of the wood to create a smooth finish, then apply a pre-stain conditioner. Once the pre-stain conditioner has been absorbed into the wood, you can apply your chosen stain color.
Basswood accepts stains well and produces lovely results!
The Easy Secret To Staining Cheap Wood (So It's Not Blotchy)
Conclusion
Balsa wood is a good candidate for staining because it absorbs stain well and doesn’t require a primer.However, balsa wood is a very soft type of wood, so be careful not to over-sand or you’ll damage the surface. When sanding balsa wood, always use a fine-grit sandpaper.
To stain balsa wood, start by sanding the surface with a fine-grit sandpaper.
Once the surface is smooth, apply the stain with a clean cloth and allow it to sit for several minutes before wiping away any excess. Let the stained balsa wood dry completely before proceeding with your project.


