Wood Carving Dremel Bits Guide
There are many different types of wood carving Dremel bits, each designed for a specific type of carving. The most common bits are the ball nose bit, the flat nose bit, and the v-bit. The ball nose bit is good for general purpose carving and can be used to create rounded edges.
The flat nose bit is good for creating sharp corners and flat surfaces. The v-bit is good for cutting grooves and channels.
All the different types of Dremel carving bits. Back to the basics.
If you’re looking to get into wood carving, then you’re going to need a good set of Dremel bits. In this guide, we’ll go over some of the best bits for wood carving and what each one is used for.
One of the most important bits for wood carving is the spindle gouge.
This bit is used to create long, deep cuts in the wood and can be used to carve out large areas. It’s also great for creating detailed designs and patterns.
Another essential bit is the V-shaped bit.
This is perfect for making precise cuts and can be used to carve tight corners and angles.
The ball nose bit is another great choice for wood carving. Thisbit creates smooth, curved surfaces and can be used to create beautiful swirls and curves in your carved projects.
Finally, the flute cutter bit is perfect for making small, intricate cuts. This bit is perfect for adding details to your carved pieces.
With these essential Dremel bits, you’ll be able to create beautiful carved projects that are sure to impress!
Best Dremel Bits for Wood Carving
If you’re looking for the best Dremel bits for wood carving, you’ve come to the right place. In this blog post, we’ll give you a detailed rundown of the best bits for your Dremel tool, as well as some tips and tricks on how to get the most out of your carving.
Dremel bits come in all shapes and sizes, but there are a few that are particularly well-suited for wood carving.
The first is the pointed bit, which is great for making small, precise cuts. If you need to make larger cuts or want more control over your carving, then the ball nose bit is a good choice. For roughing out large areas of wood, the drum sander bit is ideal.
To get started with your carving project, simply attach the appropriate Dremel bit to your tool and start moving it over the surface of the wood. You can use different strokes and speeds to create different effects. Experiment and see what works best for you!
When you’re finished carving, be sure to sand down any rough edges with a fine-grit sandpaper. This will help ensure that your project looks its best when it’s complete.
Wood Carving Dremel Kit
A wood carving Dremel kit is a perfect way to get started in the wonderful world of wood carving. With a few simple tools, you can take a chunk of wood and turn it into a beautiful work of art.
The most important part of any wood carving project is the tool you use.
A Dremel is a high-speed rotary tool that can be used for many different applications, including carving. It has a wide variety of attachments and accessories that make it perfect for working with wood.
When choosing a Dremel for your wood carving projects, it’s important to select one that has enough power to do the job without being too powerful and difficult to control.
The Dremel 4000 Series Variable Speed Rotary Tool is a great option for beginners. It has two speed settings (5,000 and 35,000 RPM) so you can adjust the speed based on the material you’re working with and your own comfort level.
In addition to the Dremel itself, you’ll also need some other basic supplies before you get started on your first project.
You’ll need gloves to protect your hands from the sharp blades, goggles to protect your eyes from flying debris, and earplugs or headphones to protect your ears from the loud noise generated by the Dremel. You’ll also need some sort of work surface – a sturdy table or countertop will do fine – as well as plenty of light so you can see what you’re doing clearly. Finally, make sure you have all of the safety gear listed above before beginning any project!
Dremel Wood Carving for Beginners
Dremel wood carving is a great way for beginners to get into the hobby of wood carving. It is relatively inexpensive and easy to find everything you need to get started. The key to success with Dremel wood carving is taking your time and being patient.
In this blog post, we will go over everything you need to know about getting started with Dremel wood carving, including what tools you need and some basic techniques.
When it comes to choosing a Dremel tool for wood carving, there are two main types: rotary tools and oscillating tools. Rotary tools are the more traditional option and are great for detailed work.
Oscillating tools are newer on the market but are becoming increasingly popular for woodcarving due to their versatility. Both types of tools have their pros and cons, so it’s important to do your research before making a purchase.
Once you’ve chosen your tool, it’s time to gather the rest of your supplies.
You will need some sort of work surface (a sturdy table or desk works well), a few clamps, safety glasses, gloves, and ear protection. For blades, we recommend starting out with a few basic ones like a straight edge, U-gouge, V-gouge, and skew chisel. These will allow you to tackle a variety of projects without having to invest in a lot of specialty blades upfront.
Now that you have all your supplies gathered together, it’s time to start carving! As we mentioned before, the key to success with Dremel wood carving is taking your time and being patient. Start by clamping your piece of wood securely onto your work surface then put on your safety gear (gloves, glasses, ear protection).
Next select the blade you want to use based on the type of cut you want to make (straight or curved) and attach it to your tool according
directions .
Once your blade is attached , hold down firm but not too tight as this can cause vibration .
Beginners should also avoid using too much pressure as this can lead breakage or loss control over the blade . Instead , let the weight of the tool do most of the work for you . If going too slow , increase speed slightly until find comfortable rhythm that still allows maintain control over cuts . When finished , turn off power completely then release pressure from grip before removing blade according instructions manual .
Rotary Tool Accessories Guide Pdf
If you’re like most people, you probably have a rotary tool or two sitting in your toolbox. But what are they really for? And what kinds of accessories can you use with them to get the most out of your investment?
In this blog post, we’ll take a close look at rotary tools and their accessories. We’ll discuss what they’re used for and how to select the right ones for your needs. By the end, you should have a better understanding of these versatile tools and how to get the most out of them.
Rotary tools are handheld power tools that use a spinning bit to cut, grind, sand, or polish materials. They’re often used for tasks that would be difficult or impossible to do by hand, such as cutting intricate shapes or smoothing rough edges.
There are many different types of rotary tool bits available, each designed for specific tasks.
For example, carbide-tipped bits are great for cutting through hard metals like steel, while diamond-tipped bits can be used on glass and ceramic materials.
When selecting a rotary tool bit, it’s important to choose one that is compatible with the material you’ll be working with. Otherwise, you run the risk of damaging both the material and the tool itself.
Credit: www.youtube.com
What Dremel Bit Do I Use to Carve Wood?
There are a few different types of Dremel bits that can be used for carving wood. The most common type is the high-speed steel (HSS) bit, which is ideal for general purpose carving. For more detailed or delicate work, you may want to use a carbide-tipped bit, which stays sharper longer and can handle more intricate carving.
To get started, choose the type of bit you want to use and then select the appropriate size and shape. It’s important to start with a sharp bit so that your carving will be clean and precise. If your bit is dull, it will cause the wood to tear or chip rather than produce smooth, clean lines.
Once you have selected your bit, insert it into the Dremel tool and tighten it securely. You’re now ready to start carving! Begin by outlining the area you want to carve using light pressure.
Once you have an outline, you can start deepening your cuts and adding details as desired.
As you carve, periodically stop and check your progress. If you need to make any adjustments, simply loosen the bit slightly, make your adjustment, then retighten before continuing.
When you’re finished carving, simply remove the bit from the tool and unplug the Dremel.
What are the Best Bits for Carving Wood?
There are a few different bits that can be used for carving wood, but some are better than others. For instance, a spiral bit is great for making intricate designs, while a straight bit is better for more simple carvings. Here is a list of the best bits for carving wood:
1. Straight Bit: This type of bit is great for making simple carvings and cuts. It can be used to create straight lines or curves, depending on how you hold it.
2. Spiral Bit: A spiral bit is perfect for creating intricate designs and patterns.
It can also be used to carve out small details or shapes.
3. V-Groove Bit: This type of bit is perfect for creating v-shaped grooves in your woodwork. It’s also great for carving out letters or other shapes.
4. Fluted Bit: A fluted bit creates beautiful, smooth curves in your woodwork. It’s perfect for adding embellishments or decorations to your pieces.
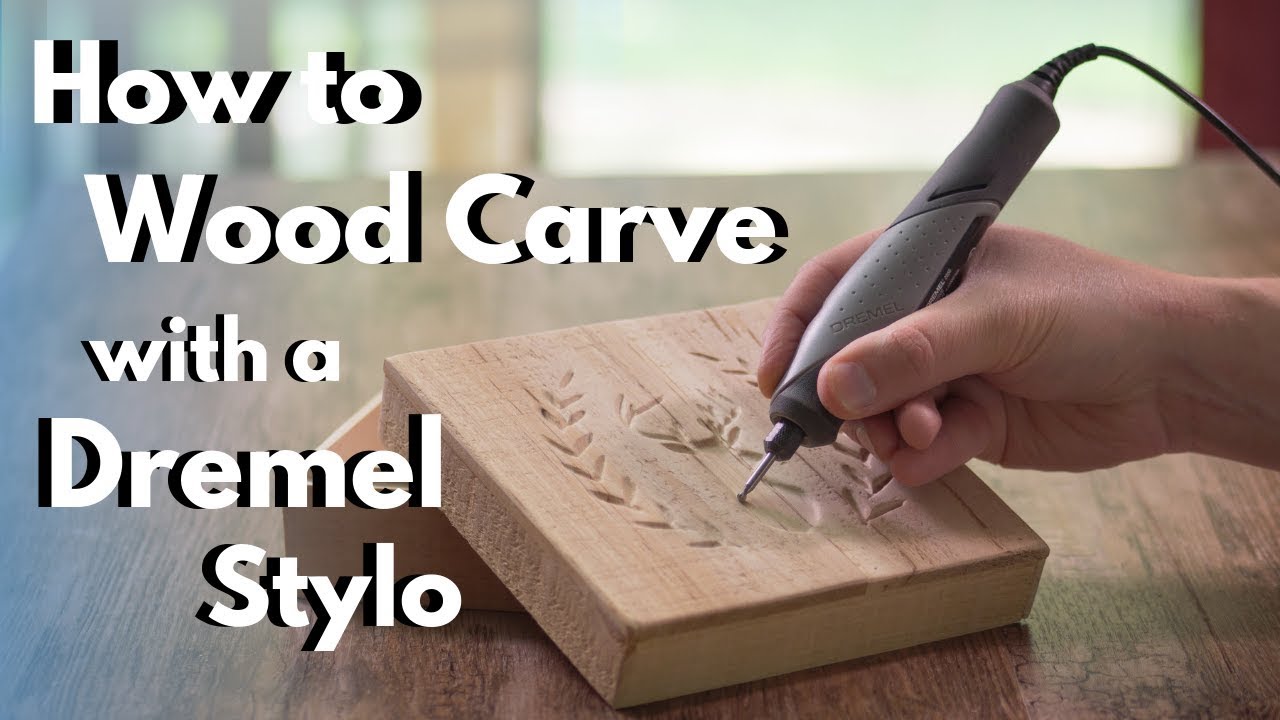
How Do You Wood Carve With a Dremel?
Assuming you would like a step-by-step guide on wood carving with a Dremel:
1. Pick out your design. If you’re a beginner, it’s probably best to start with something relatively simple.
Once you get the hang of it, you can move on to more complicated designs. You can find inspiration for your carving project by looking online or in magazines, or you can come up with your own design. However you choose to do it, make sure your design is transferred onto the wood piece that you’ll be carving.
This can be done by freehand drawing or tracing over a printed design.
2. Select the right bit for your Dremel. There are many different types of bits that can be used with a Dremel, and each one is designed for a specific purpose.
For wood carving, you’ll want to use a carbide-tipped bit because it’s strong enough to handle the material without breaking and will stay sharp longer than other types of bits.
3. Attach the bit to your Dremel. Make sure that the bit is properly secured before beginning your project.
4 .Begin carving away at your wood piece following along the lines of your design . Start slow and increase speed as needed .
It’s better to go slowly at first so that you don’t make any mistakes . Remember ,you can always carve more but you can’t carve less !
5 .
When finished , remove any excess debris from your carving using a brush or compressed air .
What are Pink Dremel Bits For?
If you’re a crafter or enjoy working on small projects, then you’ve probably heard of Dremel bits. These are small, rotary tools that can be used for a variety of tasks like sanding, carving, and polishing. There are many different types of Dremel bits available, each designed for specific purposes.
For example, pink Dremel bits are specifically designed for use with glass and other delicate materials.
Pink Dremel bits are made from a soft material that is less likely to damage delicate surfaces like glass. They’re also often used for polishing applications because they create a smooth finish without leaving any scratches.
If you’re working on a project that requires precise detail work, then pink Dremel bits are definitely worth considering.
Conclusion
If you’re interested in wood carving, then you’ll need to find the best Dremel bits for the job. In this guide, we’ll show you some of the most popular types of Dremel bits for wood carving, as well as how to use them. With the right bit, you can create amazing carved designs in wood!