How to Stagger Wood Look Tile
There are a few things to keep in mind when staggering wood look tile. The first is the size of the tile. You want to make sure that the tiles are all the same size so that they fit together nicely.
The second is the pattern. You want to make sure that the tiles are staggered in a way that looks good and is easy to follow. The third is the grout line.
You want to make sure that the grout lines are straight and even so that they don’t stand out too much.
- Decide on the overall layout of the tile
- You will need to determine how many rows and columns you will have
- Start by laying out the first row of tile
- Make sure that each tile is level with the others
- Once the first row is laid out, begin working on the second row
- offset each tile so that it is half a tile width away from the tiles in the first row
- This will create a staggered look
- Continue this process until all of the rows are complete
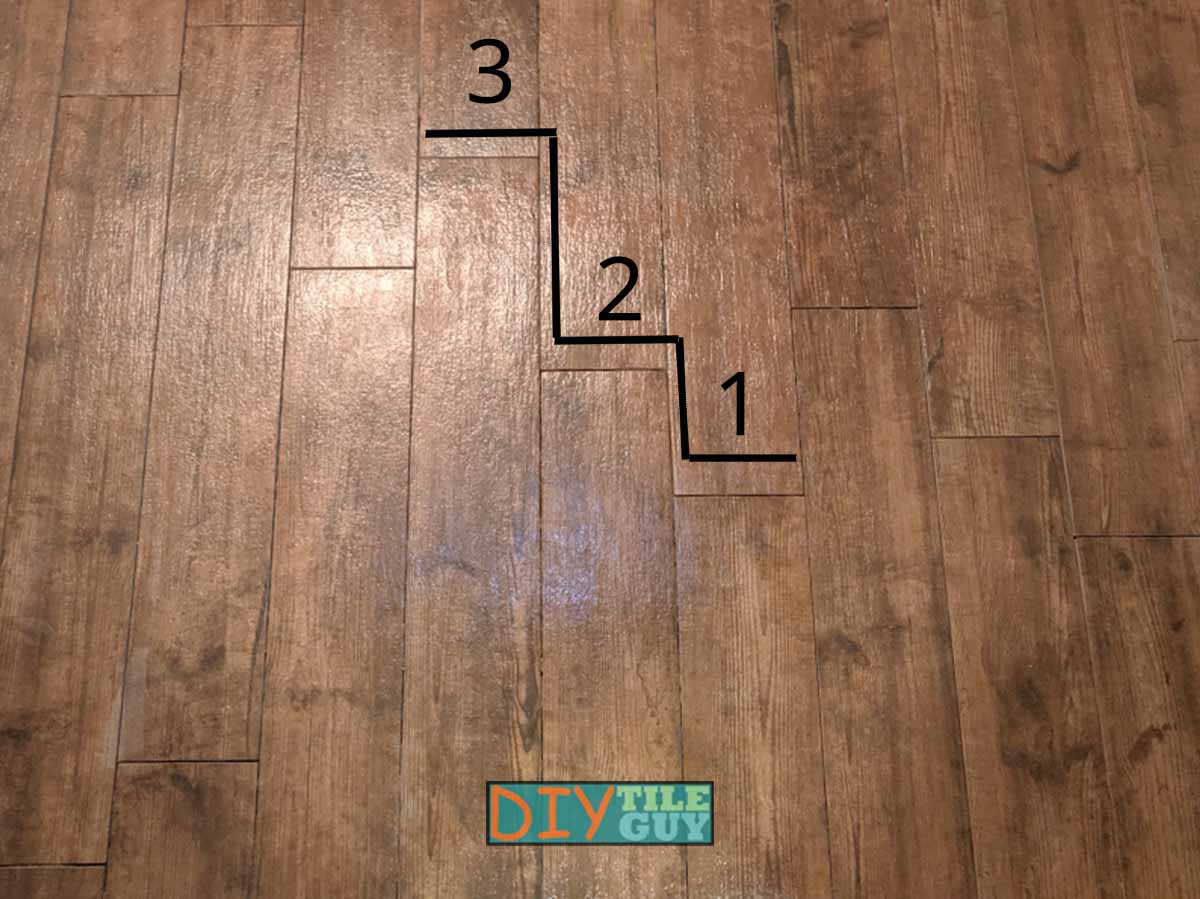
Credit: www.diytileguy.com
How Do You Stagger Wood Effect Tiles?
If you want to create a wood effect tile floor, there are a few things you need to do in order to achieve the best results. One of the most important things is to stagger the tiles. This means that each row of tiles should start and end with a half tile, rather than a full tile.
This creates an illusion of a wider space and also helps to break up the overall look of the floor. It can be tricky to get the hang of staggering tiles, but once you’ve done it a few times it will become much easier. Here are some tips on how to stagger wood effect tiles:
1. Start by laying out all of your full tiles first. Then, take your half tiles and lay them out next to the full tiles, making sure that they are offset by half a tile width.
2. When you come to install the tiles, start with a full tile at one end and work your way along, fitting in half tiles as necessary until you reach the other end.
Make sure that each row is staggered so that no two rows are exactly alike.
3) If you’re using adhesive to stick down your tiles, make sure that you apply it evenly across both sides of each tile so that they adhere properly.
Where Do You Start Wood-Look Tile?
If you’re looking to achieve a wood-look for your home, one option is to use wood-look tile. But where do you start? Here are some tips:
1. Decide on the room or space you want to tile. This will help you determine the size and type of tile you need.
2. Choose your tiles.
There are many different types and styles of wood-look tile available, so take your time perusing your options before making a selection.
3. Prep your space. Once you have your tiles, it’s time to prep the space you’ll be tiling.
Make sure the surface is clean and level before starting to lay down your tiles.
4. Start tiling! Begin in one corner of the room and work your way out from there, laying each tile carefully into place until the entire area is covered.
How Do You Lay a Staggered Tile Pattern?
If you want your tile flooring to have a bit more personality, you can opt for a staggered tile pattern. This type of pattern is created by offsetting the tiles so that they don’t line up perfectly with one another. The result is a more organic look that can add visual interest to any space.
Laying a staggered tile pattern is not much different from laying any other type of tile pattern. The main difference is that you need to be careful to offset the tiles correctly so that they create the desired effect. Here are the basic steps for how to lay a staggered tile pattern:
1. Begin by measuring out your space and determining how many tiles you will need. Then, calculate what size each individual tile should be in order to achieve the overall desired effect.
2. Once you have all of your materials ready, it’s time to start laying out your tiles.
Begin in one corner of the room and work your way outwards. As you lay each tile, make sure to offset it slightly from the ones around it so that they don’t line up perfectly.
3. Once all of your tiles are in place, grout them according to manufacturer’s instructions and enjoy your new floor!
Why is 50% Tile Pattern Not Recommended?
There are a few reasons why 50% tile patterns are not recommended. One reason is that they can be quite difficult to install correctly. If the tiles are not installed level with each other, the pattern will look off and it will be very difficult to fix.
Another reason is that 50% patterns can be quite hard to clean. dirt and grime can build up in the crevices between the tiles, making it difficult to get a clean look. Finally, 50% patterns can be quite slippery when wet, so they are not ideal for areas where there is a lot of foot traffic or where people might be walking around in bare feet.
How to- laying wood look tile in a room tips and tricks
Wood Look Tile Laid Wrong
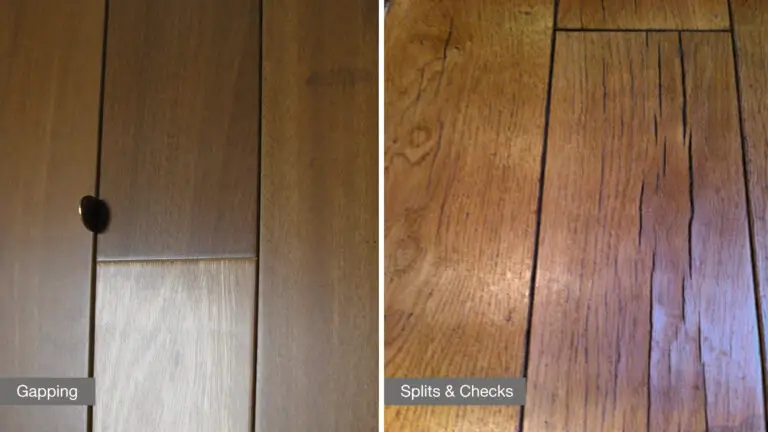
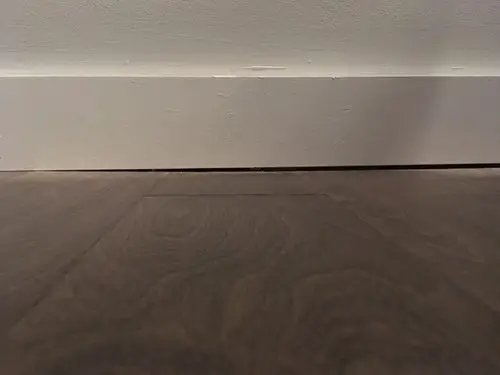
Wood look tile is a popular choice for floors and walls, but if it’s not laid correctly, it can cause problems. If the tiles are not level or the grout lines are too wide, the tile can look uneven and sloppy. It’s important to make sure that the surface is prepared properly before laying the tile, and that the tile is laid in a consistent pattern.
Otherwise, you’ll end up with a floor that looks less than perfect.
Conclusion
Wood look tile is becoming increasingly popular as an alternative to traditional wood flooring. While it shares many of the same benefits as wood floors, such as durability and a natural look, it also has some advantages over wood. One of the biggest advantages of wood look tile is that it can be installed in a staggered pattern, which gives it a more natural appearance.
To install wood look tile in a staggered pattern, start by laying out the first row of tiles along one wall. Then, offset the second row of tiles so that they are half a tile width away from the first row. Continue this process until all the rows are complete.