How to Replace Rotted Wood in a Camper
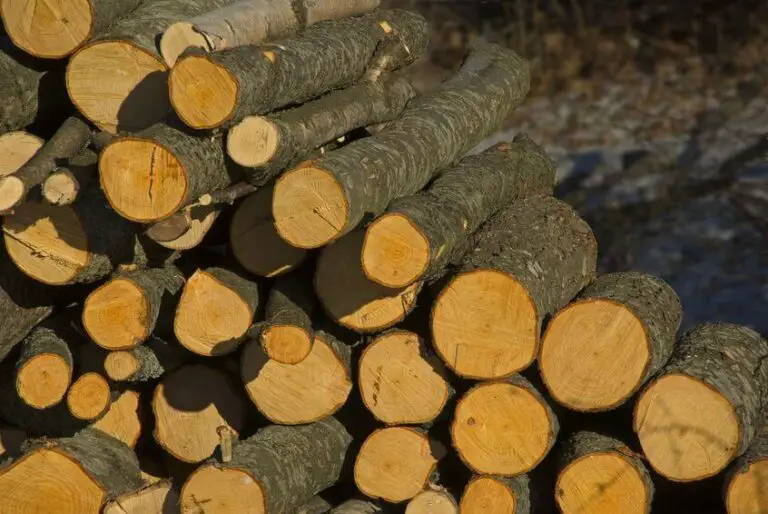
If you own a camper, then you know that they can be a lot of work to maintain. One of the most common issues that campers face is rot in the wood. This can be caused by many things, but the most common is water damage.
If you have rot in your camper, then it is important to replace the rotted wood as soon as possible. Otherwise, the rot will spread and cause even more damage.
- Inspect the damage to the camper and determine what needs to be replaced
- Remove any old, rotted wood from the camper
- Cut new pieces of wood to fit the space where the old, rotted wood was removed
- Secure the new pieces of wood in place with screws or nails
- Caulk around the new pieces of wood to seal them in place and prevent future water damage
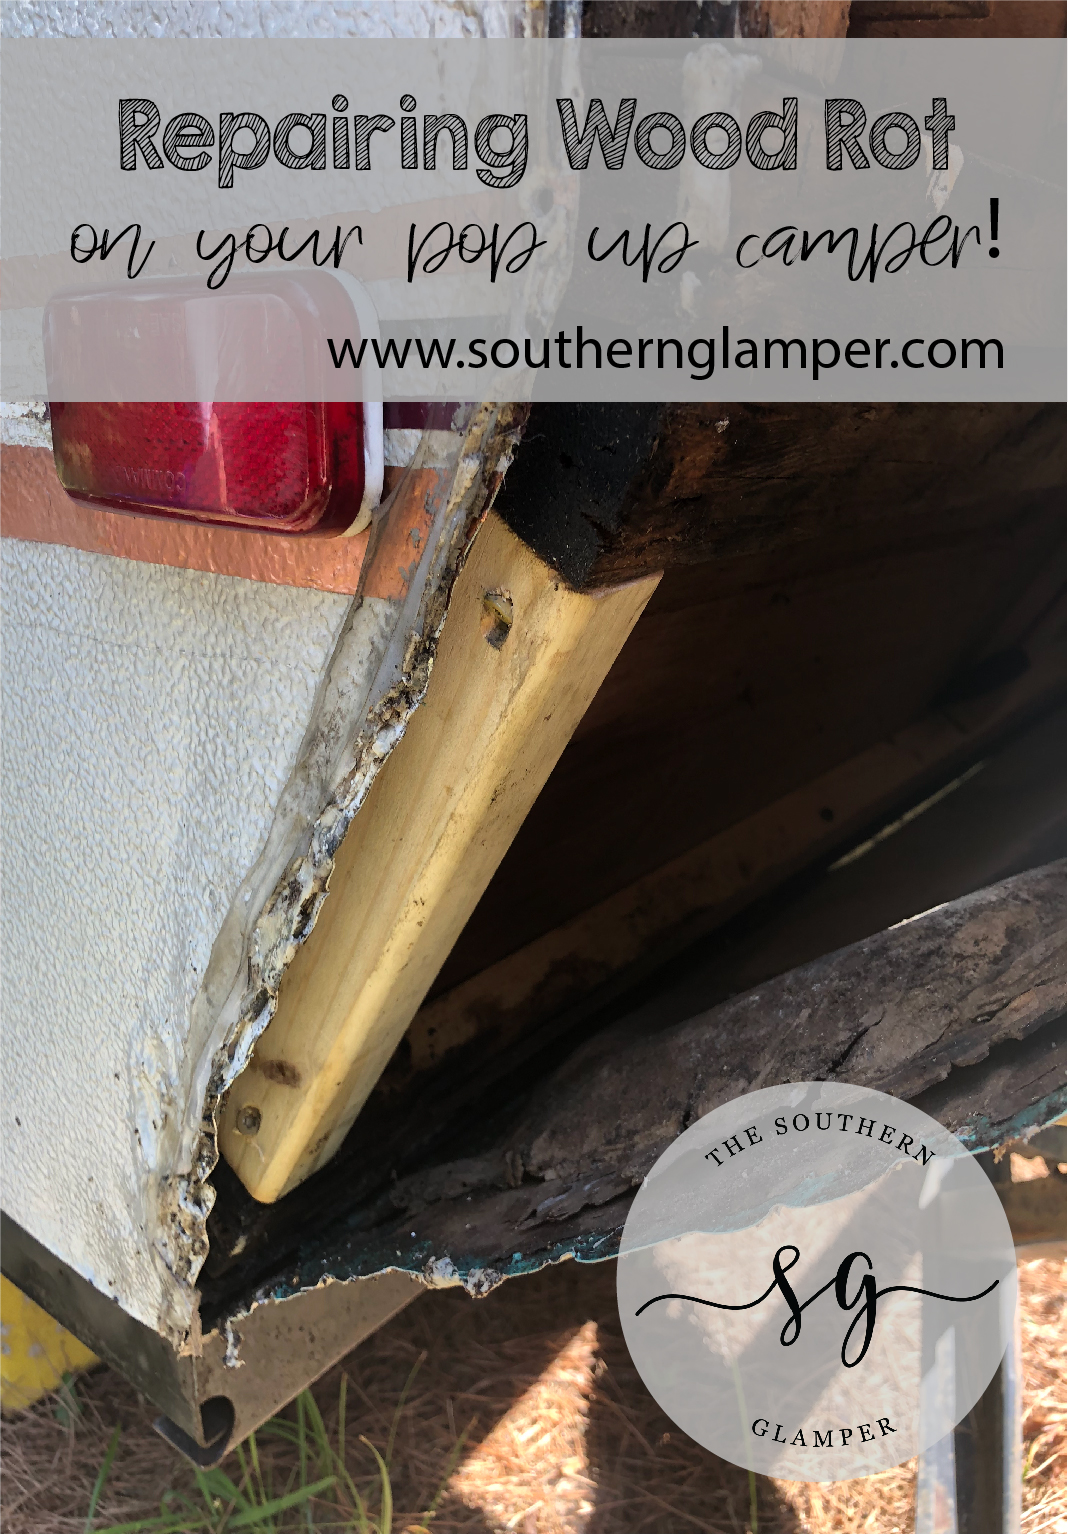
Credit: www.southernglamper.com
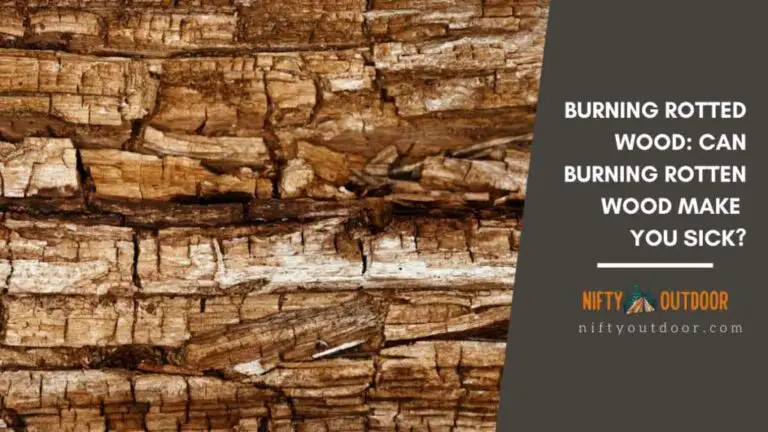
How Do You Fix Rotten Wood Without Replacing It?
If your wood is starting to rot, there are a few things you can do to try and salvage it. First, remove any loose or flaking pieces of wood. Next, use a wire brush or sandpaper to remove any remaining debris from the surface of the wood.
If the rot is deep, you may need to use a chisel and hammer to remove it. Once you have removed as much of the rot as possible, apply a sealant or primer to the area to help prevent further damage.
What Can I Use for an Rv Subfloor?
There are a few different materials that can be used for an RV subfloor. One common material is plywood, which is easy to work with and relatively inexpensive. Another option is oriented strand board (OSB), which is also easy to work with but slightly more expensive than plywood.
Finally, you could use particle board, but it is not as durable as either plywood or OSB and is more expensive. Ultimately, the best material to use for your RV subfloor will depend on your budget and the level of durability you need.
What Kind of Wood is Used in Travel Trailers?
There are a few different types of wood that are used in travel trailers, but the most common is plywood. Plywood is a strong and durable material that is easy to work with, making it a popular choice for travel trailer construction. Other woods that are sometimes used in travel trailers include particle board and oriented strand board (OSB).
Can a Camper Floor Be Replaced?
A camper floor can be replaced, but it is a big job. The entire interior will have to be removed, and the old flooring ripped out. Then, new subflooring will have to be installed, followed by the new flooring.
It is possible to do this yourself, but it is a lot of work. If you are not experienced in construction or renovation projects, it is probably best to hire a professional.
Leaking Camper and Wood Rot Repair
How to Repair Camper Corners
If you have a camper, you know how important it is to keep it in good condition. That means regularly inspecting all the parts and making sure they’re in working order. One part of your camper that you might not think about very often are the corners.
But if they become damaged, it can cause big problems.
Here’s a step-by-step guide on how to repair camper corners:
1. Inspect the damage.
If the corner is just cracked or chipped, you can probably fix it yourself. But if the damage is more extensive, it’s best to take it to a professional.
2. Clean the area around the damage.
This will help ensure that the repair adhesive bonds properly.
3. Apply a repair adhesive to the back of a patch or piece of replacement corner material. Then press it into place over the damaged area and hold for several seconds until it’s secure.
4 . Let the adhesive dry completely before using your camper again . This usually takes 24 hours .
5 If necessary , apply caulk around the outside edge of t he patch or replacement piece to create a weatherproof seal .
Conclusion
If your camper has rotted wood, it’s important to replace it as soon as possible. Rotted wood can lead to serious structural problems and even cause your camper to collapse. To replace rotted wood, you’ll need to remove the old wood, cut new pieces to size, and install them in the same way as the old ones.
You may also need to add additional support to make sure the new pieces are secure.