How to Make Wood Signs With Words
Making wood signs with words is a fun and easy project that anyone can do. All you need is a piece of wood, some paint, and a stencil or template for the words. First, sand your piece of wood to create a smooth surface.
Then, paint your background color onto the wood. Once the background is dry, position your stencil or template on the wood and trace around it with a pencil. Next, use a saw or jigsaw to cut out the shape of the letters.
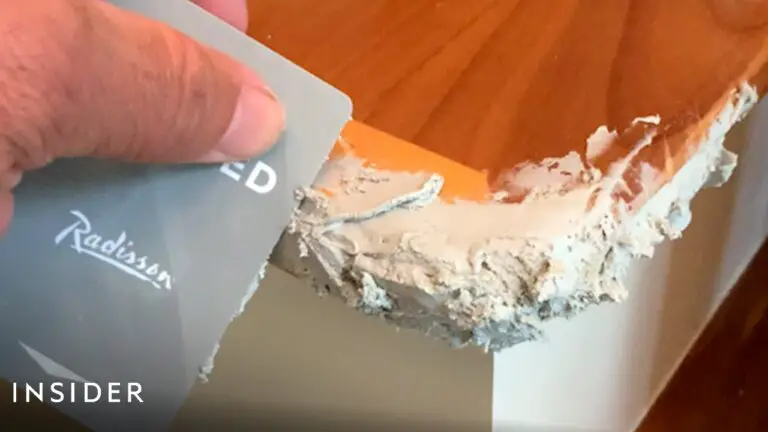
Finally, paint your letters and add any other details like distress edging or hanging hardware .
- Find a piece of wood that is the size and shape that you want your sign to be
- Use a pencil to sketch out the words or phrase that you want on your sign onto the wood
- Use a saw to cut out the shape of the sign from the piece of wood
- Sand down any rough edges on the sign
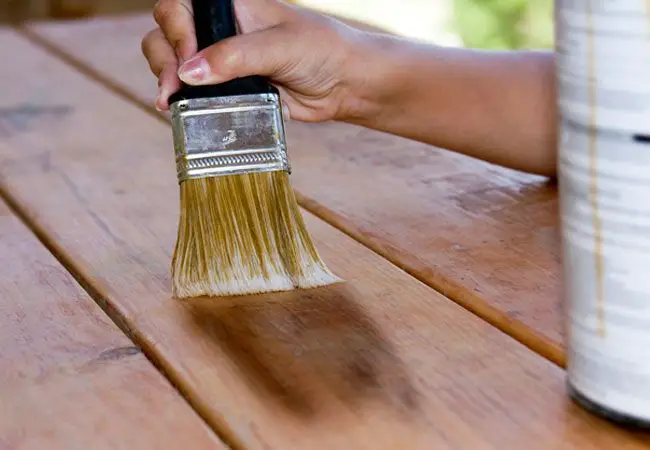
- Paint or stain the sign in your desired color or finish
- Let the sign dry completely before hanging it up or displaying it
How to Make a DIY Word Light Sign Out of Wood – FULL TUTORIAL – Thrift Diving
How Do You Put Words on Wooden Signs?
Wooden signs are a great way to add a personal touch to your decor. You can use them to display quotes, family names, or any other words that you want to share with your guests. But how do you actually put the words on the sign?
Here are four methods that you can use to get perfect results every time.
1. Use a stencil
One of the quickest and easiest ways to put words on a wooden sign is to use a stencil.
Simply position the stencil on the wood and then paint over it with your chosen color. Once the paint is dry, carefully peel off the stencil to reveal your perfectly painted word or phrase.
2. Paint freehand
If you’re feeling confident, you can try painting your words freehand. This method does take some practice, but it’s definitely doable! Start by sketching out your words lightly with pencil first so that you have a guide to follow as you paint.
Then go over your pencil lines with paint, using thin brushstrokes for best results. Erase any visible pencil lines once you’re finished painting.
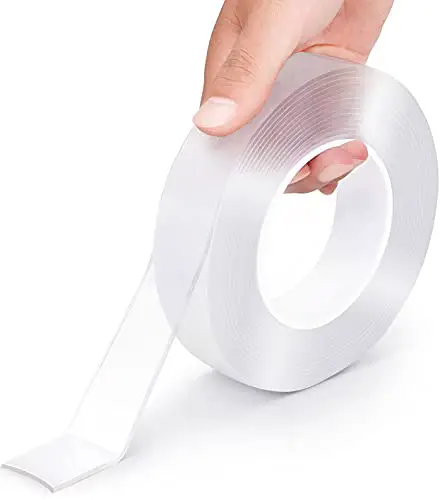
3. Use stickers or rub-ons
If hand-painting isn’t really your thing, there’s no need to worry! You can also use stickers or rub-on transfers to create beautiful wooden signs without any artistic talent required. Simply find some pretty stickers or transfer designs that fit your desired look, and apply them according to their instructions (usually just by peeling and sticking).
Voila – instant decoration! Just be sure not to choose anything too heavy-duty so that it doesn’t damage the wood surface underneath when you remove it later on down the line.
How to Do Lettering on Wood Signs?
There are a few different ways that you can do lettering on wood signs. One way is to use a stencil. You can either purchase a stencil or make your own.
If you are going to make your own, you will need to find a template online or in a craft book. Then, trace the letters onto the wood with a pencil and cut them out with a scroll saw or jigsaw. Another way to do lettering on wood signs is by using stickers.
You can purchase pre-made stickers or create your own using vinyl decals. Once you have your stickers, apply them to the wood and then paint over them with a color of your choice.
How Do You Add Writing to Wood?
Adding writing to wood can be done in a few different ways. One popular method is using a wood burning tool. This tool heats up and allows you to write on the wood with it.
Another way is to use paint or a Sharpie marker. You can also carve into the wood with a knife or other sharp object.
How to Make Custom Wood Signs?
Custom wood signs are a great way to add personality and charm to your home décor. They can be made from any type of wood, but the most popular choices are cedar, pine, and birch. You can find these woods at most hardware or home improvement stores.
The first step is to select the piece of wood you want to use. Make sure it is large enough to accommodate the text or design you want to carve into it. If you are unsure, ask a sales associate for help choosing the right size.
Once you have your piece of wood, use a pencil to sketch out your design. If you need inspiration, look online or in magazines for ideas. When you have finalized your design, use a saw to cut out the shape of the sign.
Next, sand down the edges of the sign using medium-grit sandpaper until they are smooth. Once all the edges are sanded, wipe down the sign with a damp cloth to remove any dust particles. Now it’s time to paint!
Choose paint colors that will complement your décor and apply them evenly across the surface of the sign using a brush or roller. Allow ample time for the paint to dry completely before proceeding to the next step.
To add an extra layer of protection and durability, seal your custom wood sign with polyurethane varnish or lacquer.
Apply two coats using a foam brush, making sure each coat is completely dry before adding another layer on top. Once both coats have been applied and have dried completely (overnight is best), your custom wood sign is ready to hang!
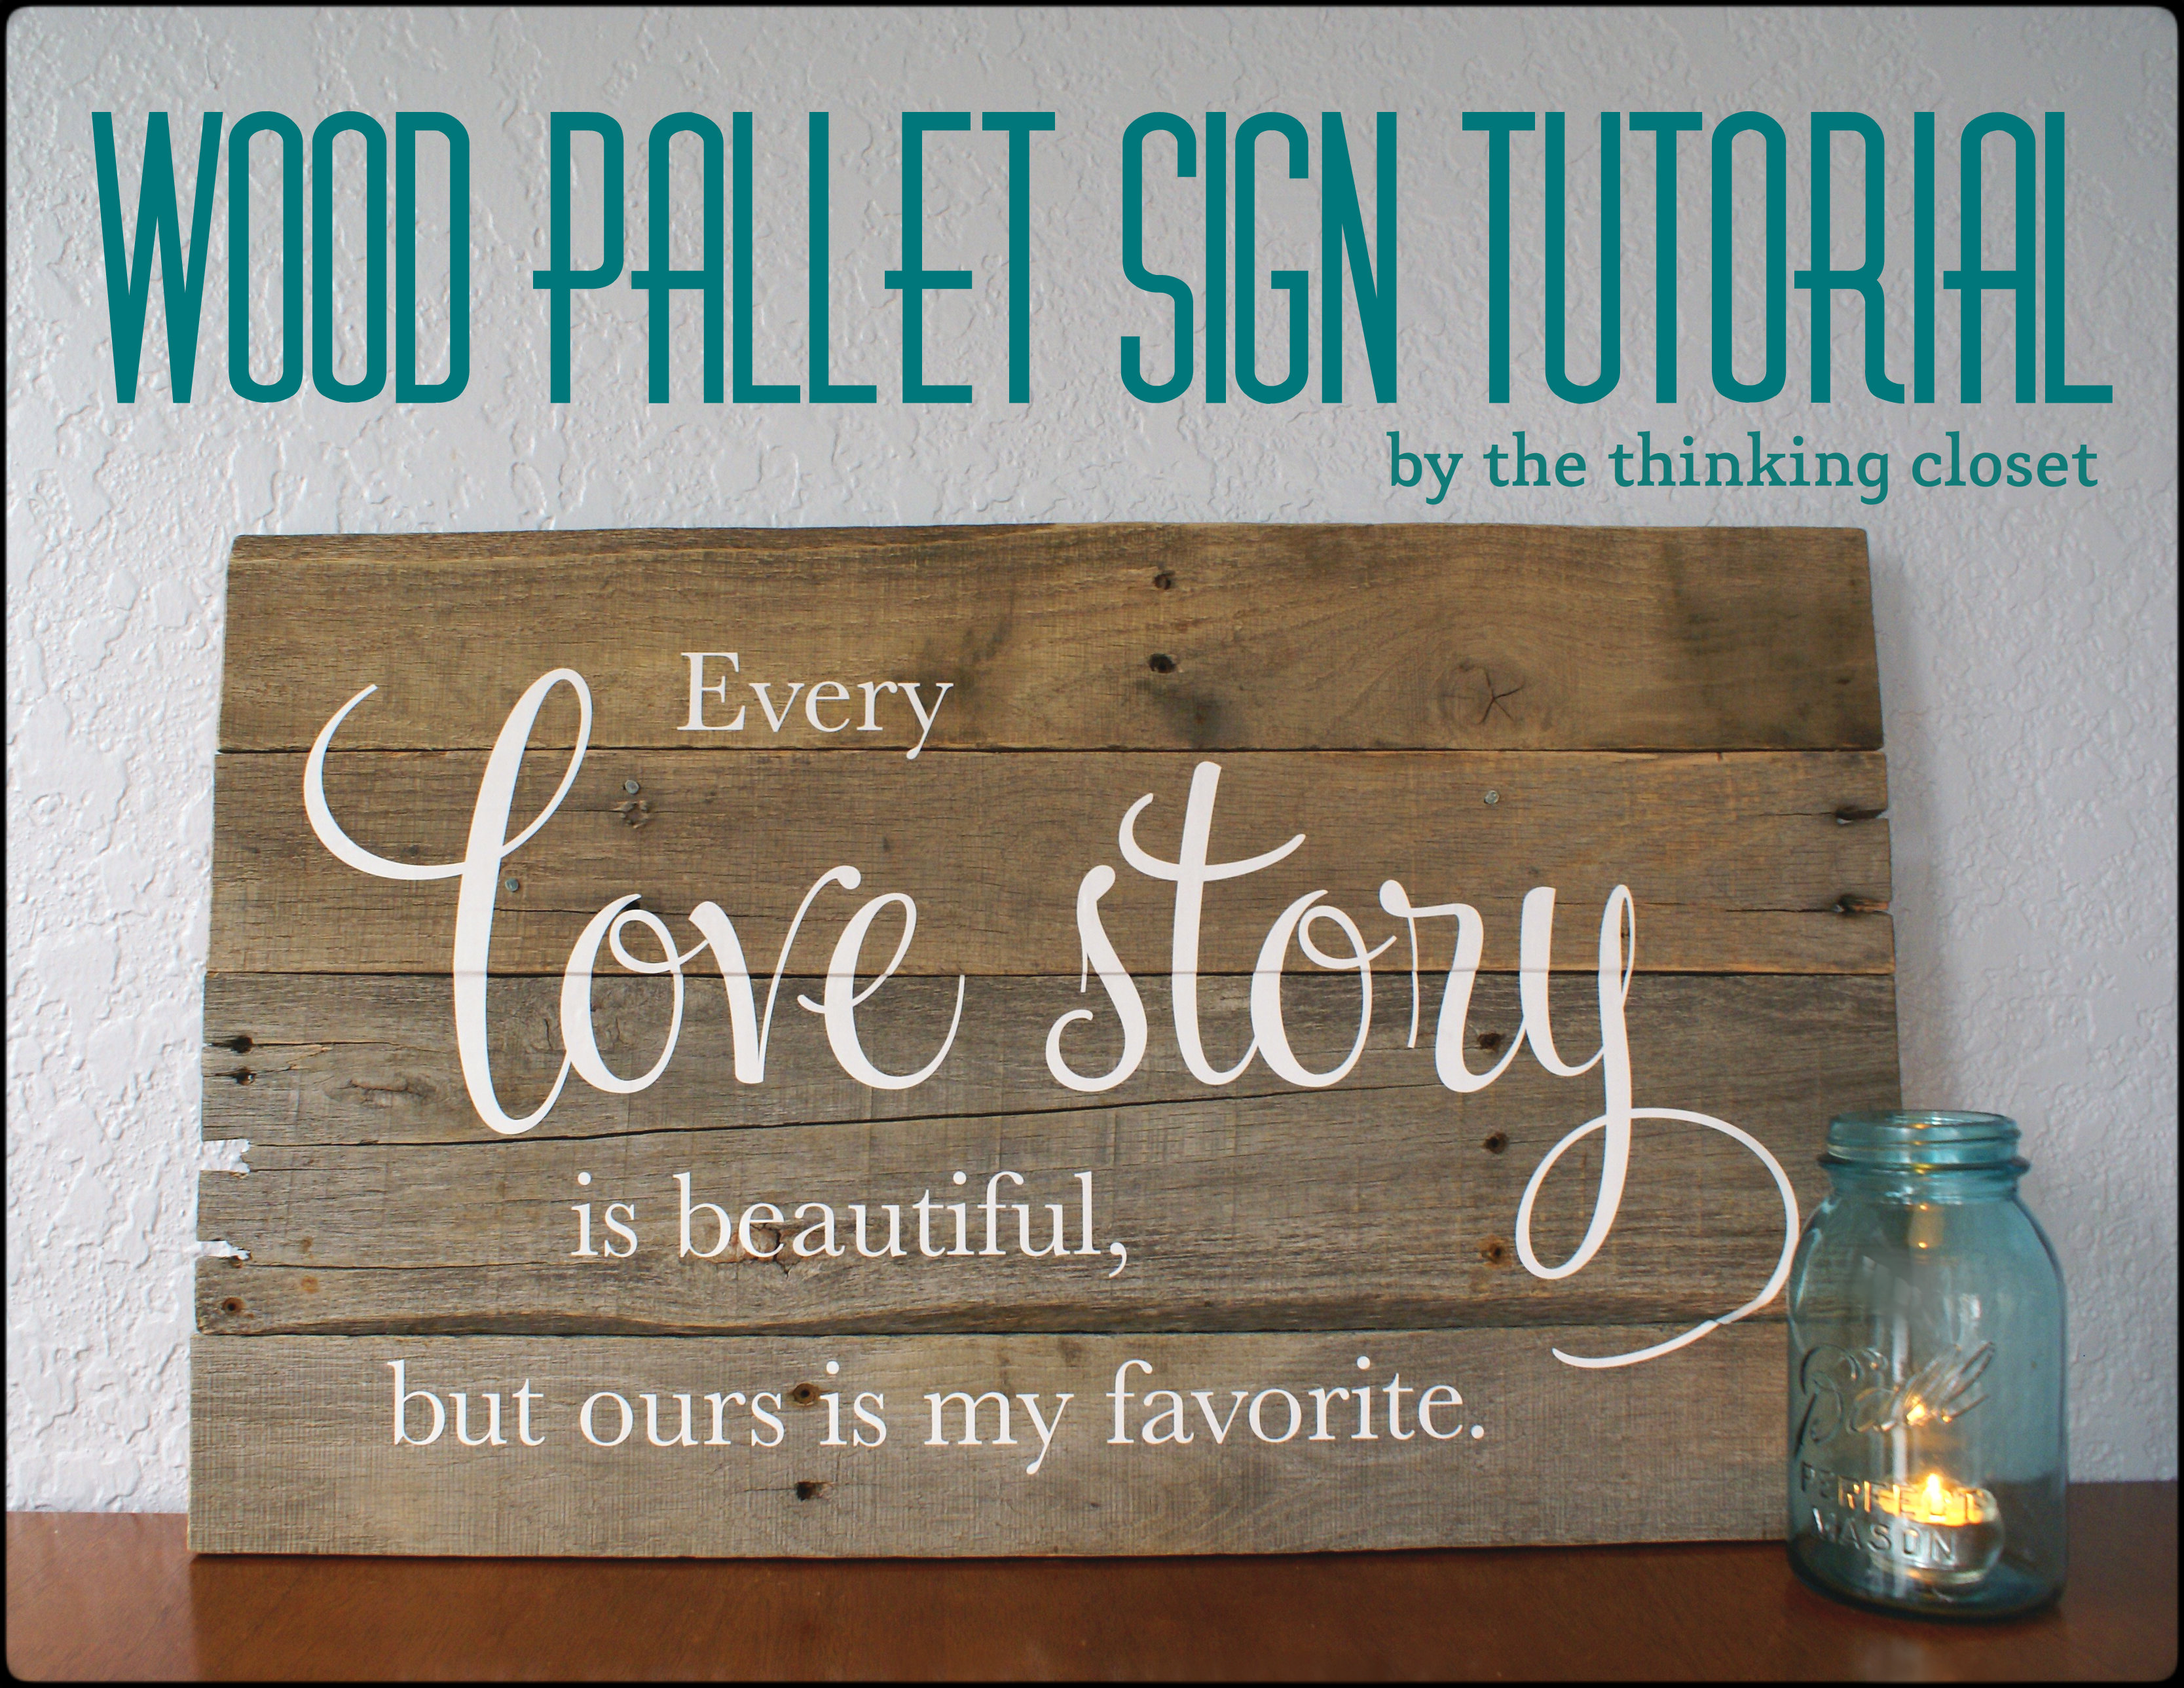
Credit: www.thinkingcloset.com
How to Make Wooden Signs With a Router
Are you looking for a fun and unique way to decorate your home? If so, why not try making wooden signs with a router? With this handy tool, you can easily create beautiful and personalized signs for your walls or doors.
Here’s how:
1. Begin by sketching out the design of your sign on paper. Once you have an idea of what you want, use a pencil to trace the outline onto a piece of wood.
2. Next, set up your router with the appropriate bit for carving out your design. A straight bit works well for simple designs, while more complex ones may require a spiral or V-shaped bit.
3. Carefully guide the router along the traced lines, taking care not to go too deep or veer off course.
For best results, move the router in a slow and steady motion.
4. Once you’ve finished routing out the design, sand down any rough edges and then paint or stain the wood as desired. You can also add embellishments such as letters or numbers if desired.
That’s all there is to it!
How to Make Wooden Signs With Cricut
Making your own wooden signs with Cricut is a great way to add personalization to your home décor. Here’s everything you need to know to get started!
First, gather your supplies.
You will need:
-Cricut machine and cutting mat
-Vinyl or stencils for your design (if using vinyl, make sure it is removable)
-Paint pens or markers in the colors you want to use
-Acrylic paint (optional)
-Sponge brush (optional)
-Clear sealer (optional)
Now that you have everything you need, it’s time to start creating! If you are using vinyl for your design, the first step is to cut it out with your Cricut machine.
If you are using stencils, you can skip this step. Once your design is cut out or ready to go, begin tracing it onto your wood sign using a pencil or pen. If you make any mistakes while tracing, don’t worry!
You can always erase them and try again.
After your design is completely traced onto the wood, it’s time to start painting! If you are using paint pens or markers, simply fill in the areas of your design with color.
If you are using acrylic paint, squeeze some of each color onto a paper plate or palette and use a sponge brush to apply it evenly over the surface of your wood sign. Allow the paint to dry completely before moving on to the next step.
Once all of the paint is dry, it’s time to add a clear sealer if desired. This will help protect your sign from wear and tear over time. Simply spray or brush on a layer of sealer and allow it to dry completely before displaying your new sign proudly!
How to Make Rustic Wood Signs
Are you looking for a fun and unique DIY project? Try making rustic wood signs! This project is easy to do and can be customized to fit your home’s décor.
Plus, it’s a great way to add a personal touch to your space.
Here’s what you need to get started:
-A piece of wood (we used an old fence picket)
-Paint ( we used white paint, but you can use any color that you like)
-Sandpaper
-A stencil or template (optional)
-Twine or rope (optional)
first, start by sanding down your piece of wood. This will help the paint adhere better and give your sign a more “rustic” look.
Next, paint your sign using whichever color you have chosen. We went with white, but feel free to get creative! If you are using a stencil or template, now is the time to apply it before painting over top.
Once the paint is dry, remove the stencil/template if necessary. And that’s it – your sign is complete! If desired, you can add twine or rope around the edges for extra detail.
Hang up your new sign and enjoy!
Conclusion
Making wood signs with words is a great way to add some personalization to your home décor. You can use any type of wood for this project, but we recommend using something like plywood or MDF so it’s easier to work with. Choose a word or phrase that you want to feature on your sign, then use a stencil or freehand the letters onto your wood.
Once you have your letters traced out, start painting them in! If you want an aged look for your sign, consider using a white paint pen to make some “distress marks” around the edges of the letters. When everything is dry, seal your sign with a layer of polyurethane and hang it up!