How to Make a Branding Iron for Wood
A branding iron is a tool that can be used to mark wood with a design or logo. Making your own branding iron is a relatively simple process that requires only a few materials and tools.
First, you will need to create a stencil of the design or logo that you want to brand into the wood.
This can be done with any software that allows you to create vector images, such as Adobe Illustrator. Once you have created the stencil, print it out on regular printer paper.
Next, use an X-acto knife or other sharp cutting tool to cut out the stencil.
Be sure to cut along the outside of the lines so that your final product will have clean, crisp edges.
Now it’s time to transfer the stencil onto metal. You can do this by tracing around the stencil with a permanent marker, then using a jeweler’s saw to cut out the design.
Alternatively, you can use a laser cutter if you have access to one.
Once your design is cut out of metal, heat it up in a forge or with a blow torch until it is red hot. Then press it onto the wood surface that you want to brand.
Hold it in place for several seconds before removing; this will ensure that the image is burned into the wood surface.
- Cut a piece of metal to the desired size and shape for your branding iron
- If you don’t have access to a welder, you can use a piece of steel pipe or another sturdy object
- File the edges of the metal so they are smooth and won’t cut into the wood when you use the branding iron
- Heat up the metal in a fire until it is red hot
- Use tongs to hold the metal while you heat it up so you don’t burn yourself
- Place your design onto the wood and press the hot metal onto it to brand it into the wood
- Hold it in place for a few seconds before moving on to another area
How to Make a Branding Iron Out of a Coat Hanger
Have you ever wanted to brand your own furniture or leather goods? Well, now you can with this tutorial on how to make a branding iron out of a coat hanger!
You will need:
-1 coat hanger
-1 piece of steel wool (or other abrasive material)
-1 blow torch (or other heat source)
-1 pair of pliers
-1 hammer
Instructions:
1. Begin by straightening out the coat hanger. You may need to use a pair of pliers for this.
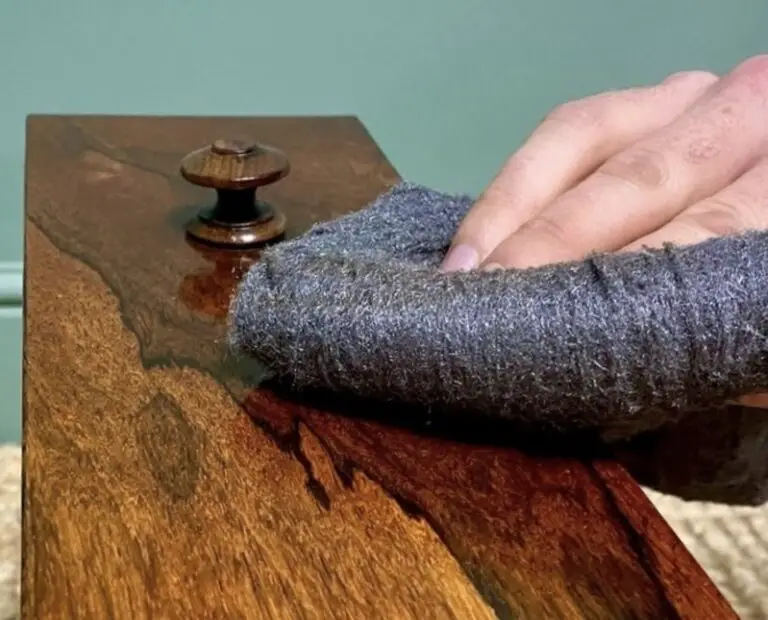
2. Once the coat hanger is straight, use the steel wool (or other abrasive material) to rough up the end.
This will help the design adhere better when it is heated.
3. Next, use the blow torch (or other heat source) to heat up the end of the coat hanger until it is glowing red hot.
4. Quickly stamp the design into whatever surface you are branding.
The hotter the metal, the deeper and darker the impression will be.
5. Allow the branded area to cool before handling it further.
Custom Branding Irons for Wood
Custom branding irons for wood are a great way to add a personal touch to your woodworking projects. Branding irons allow you to create unique and customized designs on your wood, adding an extra level of customization and personality to your work. There are a few things to consider when choosing a custom branding iron for your woodworking project:
-The size of the iron: You’ll want to choose an iron that is the right size for the project you’re working on. If you’re brandishing small pieces of trim or other delicate items, you’ll want a smaller iron so as not to damage the wood. Conversely, if you’re working on a large piece of furniture or another item that can handle more heat, you can opt for a larger iron.
-The shape of the tip: The tip of the branding iron determines the shape of your design. There are many different shaped tips available, so take some time to look at all of your options and decide which one will best fit your needs. You can also find tips that allow you to change the shape of your design on the fly, which can be handy if you’re looking for something truly unique.
-The material: Most branding irons are made from steel, but there are also options available in brass and copper. Each material has its own benefits and drawbacks, so it’s worth doing some research into each option before making a decision. In general, steel is durable and will last long even with heavy use, while brass and copper offer a more vintage look but may not be as long lasting.
How to Make a Branding Iron Logo
A branding iron logo is a great way to add some personalization and flair to your products. Here’s how to make your own:
1. gather your materials.
You’ll need a piece of steel or cast iron, a design or stencil, and a way to heat the metal (a forge, campfire, or even a kitchen stove).
2. if you’re using a stencil, tape it securely onto the metal. If you’re freehanding the design, start drawing it onto the metal now.
3. use a hammer and chisel to etch the outline of your design into the metal. If you’re using a stencil, carefully remove it now.
4. heat up your branding iron in the forge or fire until it’s glowing red hot.
Then, touch it gently to the surface of the metal to brand your image into place!
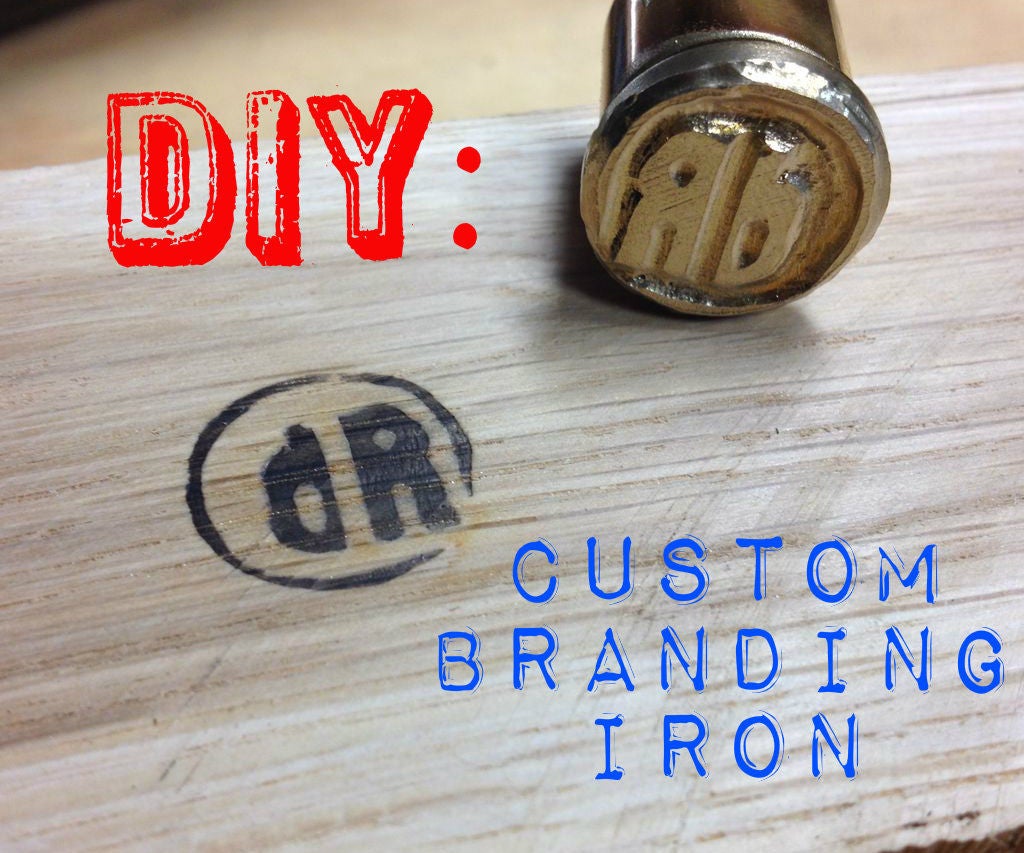
How to Make a Brass Branding Iron
A branding iron is a tool that has been used throughout history to mark livestock and other items with a hot, burning metal design. In modern times, people often brand wood or leather with a brass branding iron as a form of artwork or to create unique gifts. If you’re interested in making your own brass branding iron, here’s what you’ll need to do:
1. Find or purchase a piece of raw brass. You can usually find this at hardware stores or online metal suppliers.
2. Draw your desired design onto the brass using a permanent marker.
Keep in mind that the design will be reversed when it’s branded, so plan accordingly!
3. Use a saw or other cutting tool to carefully cut out your design from the brass sheet. Be sure to wear gloves and eye protection while doing this step.
4. Place the brass on a fireproof surface and heat it up until it’s glowing red-hot using a propane torch (this step should only be done by an adult). Once heated, quickly place the hot brass onto your prepared wood or leather item – be careful not to burn yourself! The heat will cause the material to darken and smoke slightly; this is normal and will add character to your finished product.
Allow the piece to cool completely before handling further.
How to Make a Branding Iron for Leather
A branding iron is a great way to add a personal touch to your leather goods. With a little bit of effort, you can create a unique and stylish brand that will make your products stand out from the crowd. Here’s how to make your own branding iron:
1. Start by heating up your iron. You’ll need to get it nice and hot, so that the design will transfer well to the leather.
2. While the iron is heating up, sketch out your design on a piece of paper.
Keep it simple – remember, you’re working with a small area here!
3. Once the iron is hot enough, begin tracing your design onto the piece of leather. Be sure to go slowly and evenly, so that the lines are nice and clean.
4. Allow the design to cool and set for a few minutes before moving on. This will help ensure that it doesn’t smudge or smear when you’re finished branding.
5. That’s it!
Your new branding iron is ready to use on all kinds of leather goods – have fun personalizing everything from belts to wallets!
Credit: www.instructables.com
What Metal is Best for a Branding Iron?
There is no definitive answer to this question as it depends on a number of factors, such as what the branding iron will be used for and what kind of metal the object being branded is made from. However, some metals are better suited for branding irons than others. For example, copper has good heat conductivity and is relatively soft, making it ideal for branding softer materials like wood.
Stainless steel, on the other hand, has a high melting point and is very strong, making it better suited for branding harder objects like metal or glass.
How Do You Brand Wood Without a Branding Iron?
If you’re looking to brand wood without a branding iron, there are a few methods you can try. One is to use a stencil and paint or permanent marker to create your design. Another is to carve your design into the wood with a knife or other sharp object.
You could also try using a burning tool, like a soldering iron, to create your design. Whichever method you choose, make sure to practice on scrap wood first so you don’t ruin your project!
How Do You Make a Wood Burning Brand?
There are a few things you need to know before you can start making your own wood burning brands. The first is what type of wood to use. Different woods will burn at different rates, so it’s important to choose one that will give you the results you want.
A good rule of thumb is to use a hardwood like oak or maple for slow, even burns, and a softer wood like pine for quick, hot burns.
Once you’ve selected your wood, it’s time to get started on making your brand. The first step is to find a piece that is large enough to make your desired design.
Then, using a sharp knife, cut away any bark or knots from the piece of wood. This will help ensure that your brand burns evenly.
Next, using a pencil or other sharp object, trace out your design onto the piece of wood.
Once you’re happy with the way it looks, it’s time to start burning! If you’re using a power drill, be sure to set it on low speed so as not to damage the wood. Slowly and carefully guide the tip of the drill along your tracing until the entire design has been burned into the wood.
Now all that’s left to do is add some handles! You can either carve them out of the same piece of wood or attach them separately – whatever works best for you. Just be sure that they’re securely fastened so they don’t come off during use.
And there you have it – your very own custom-made wood burning brand!
How Do You Heat a Branding Iron for Wood?
Assuming you would like tips on heating a branding iron for woodworking:
The best way to heat your branding iron is to use a soldering torch. If you don’t have access to a soldering torch, you can use a propane or butane BBQ lighter.
Place the tip of the lighter against the metal branding head and hold it there until the metal is hot enough to brand with.
Another method is to heat the branding iron in a fire. This works best if you have a forge, but if you don’t, you can build a small fire in a metal container (like an old soup can) and place the branding iron head in the fire until it’s hot enough to use.
Be careful not to overheat the metal, as this will damage it and make it less effective at branding.
How to Make a Branding Iron For Woodworking
Conclusion
In order to make a branding iron for wood, you will need the following supplies: a piece of wood (preferably oak), a soldering iron, some sandpaper, and some paint. First, use the sandpaper to rough up the surface of the wood. Next, take your soldering iron and heat it up until it is red hot.
Then, touch the tip of the iron to the surface of the wood; this will cause the wood to smoke and smell like burning hair. Finally, quickly apply a coat of paint to the branding iron before it cools down; this will help protect your brand from rusting.