How to Install Wall Thimble for a Wood Stove
There are a few things you need to take into consideration when installing a wall thimble for your wood stove. The first is the type of chimney you have. If you have a masonry chimney, then you will need to use a stainless steel liner that is compatible with the thimble.
If you have a factory-built metal chimney, then you will need to use an insulated stainless steel chimney liner. The next thing to consider is the clearance between the combustible material and the flue pipe.
- Choose the location for the wall thimble
- The thimble should be placed about 4 inches above the floor and centered on a stud in the wall
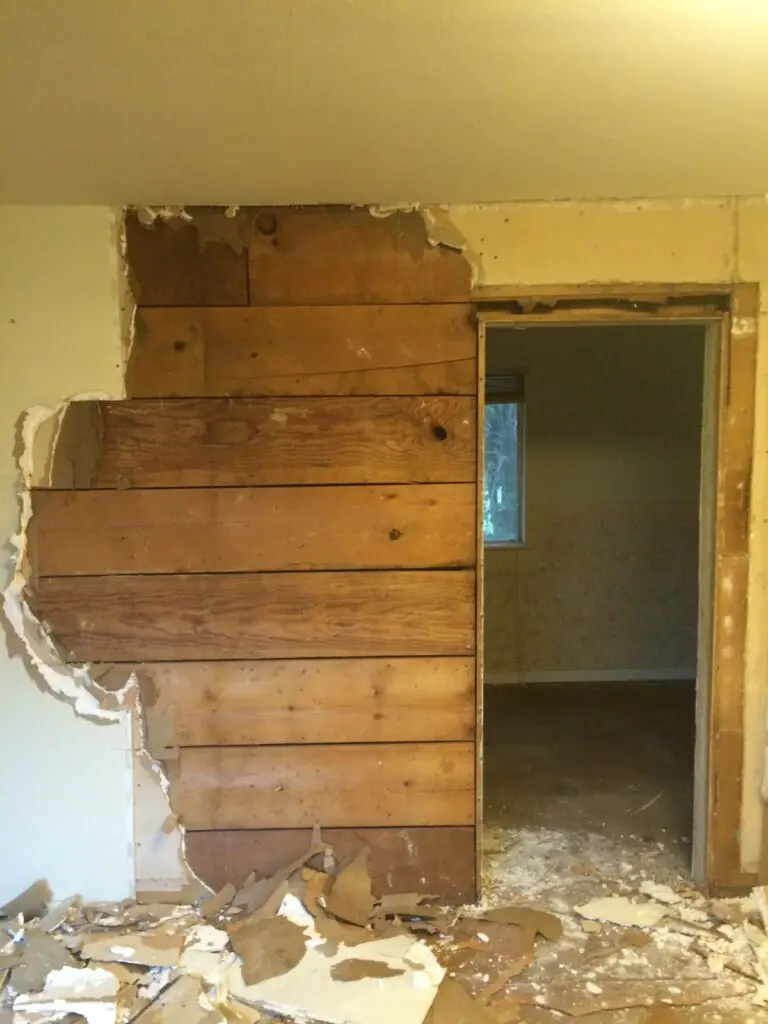
- Cut a hole in the drywall for the thimble using a saw or knife
- The hole should be big enough to fit the thimble snugly
- Install any metal flashing that came with the thimble, if needed
- This will help to protect your home from fire hazards
- Insert the thimble into the hole and secure it in place with screws or nails
- Be sure to attach it securely so that it doesn’t move around when you are inserting your stove pipe later on
- 5 Finish up by taping over any seams or gaps with heat-resistant tape to further protect your home from fire hazards
Wall Thimble Installation
6 Inch Wall Thimble for Wood Stove
If you have a wood stove, then you know that one of the most important parts of the installation is the wall thimble. The wall thimble allows you to install your wood stove pipe through an existing hole in the wall. This type of installation is usually done when the wood stove is being installed in an existing home.
The 6 inch wall thimble for wood stove is one of the most popular sizes. This size will work with most standard sized wood stoves. It is important to make sure that you get the right size thimble for your particular model of wood stove.
If you are not sure, then you should ask someone at your local hardware store for help.
Installing a wall thimble is not difficult, but there are a few things that you need to know before you start. First, you need to make sure that the hole in the wall is big enough to accommodate the thimble.
Second, you need to make sure that the flue pipe from your wood stove will fit through the thimble without any problems. Third, you need to seal around the edges of the thimble with high temperature silicone caulk or furnace cement.
Once you have these three things taken care of, then installing your 6 inch wall thimble for wood stove should be a breeze.
Just follow these simple steps and you’ll have your new wood stove up and running in no time!
Diy Wall Thimble
If you’re looking to save money on your next home improvement project, consider a DIY wall thimble. This simple device can help you insulate your walls and improve your home’s energy efficiency.
A wall thimble is a small, cylindrical device that helps to seal gaps around electrical outlets and light switches.
They are easy to install and can be found at most hardware stores. Simply insert the thimble into the gap between the outlet box and the drywall. Then, use caulk or expanding foam to seal any remaining gaps.
Not only will this improve your home’s energy efficiency, but it will also help to prevent drafts from coming through these openings. So if you’re looking for an easy and inexpensive way to improve your home’s comfort level, consider installing some wall thimbles!
How to Install a Wood Stove Chimney Through Wall
A wood stove chimney can be installed through a wall if you have the right tools and materials. Here’s what you’ll need:
– A drill with a long bit (at least 3 feet)
– A hammer
– Nails or screws
– A level
– A tape measure
– Cement board or other fireproof material (optional)
1. Begin by drilling a hole in the wall where you want the chimney to go.
The hole should be large enough to accommodate the chimney pipe. If you’re not sure, err on the side of making it too big rather than too small.
2. Once the hole is drilled, use the hammer to nail or screw the chimney pipe into place.
Make sure that it is level before moving on.
3. If desired, line the inside of the hole with cement board or another fireproof material. This step is optional but will help to protect your home in case of a fire.
4. Use the tape measure to determine how tall your chimney needs to be. Cut a piece of pipe to this length and attach it to the top of the first piece using nails or screws.
Duravent Wall Thimble Installation
Installing a Duravent wall thimble is a quick and easy way to create a venting system for your wood stove. Here are the steps you need to take:
1. Begin by measuring the diameter of your flue pipe.
You will need to purchase a Duravent wall thimble that is slightly larger than your flue pipe.
2. Cut a hole in your exterior wall that is the same size as the outside diameter of your chosen thimble. It is important to use a saw with fine teeth so that the edges of the hole are smooth.
3. Place the thimble into the hole from the outside of your house and secure it in place with screws. Be sure to predrill pilot holes first so that you don’t crack the tile or siding around the hole.
4. Now it’s time to install your flue pipe through the thimble and into your wood stove.
Start by attaching one end of the pipe to the top of your stove, then thread it through the thimble and out through the hole in your wall. If necessary, use sheet metal screws to securethe pipe tothethimblefromtheinsideofyourhouse.<5> Finally, caulk aroundtheexterior edgeofthethimblesothatitisexposedtotheweatherproofed.
Wood Stove Wall Thimble Kit
There are many different types of woodstove wall thimble kits available on the market, so it is important to do your research before purchasing one. A woodstove wall thimble kit typically includes a metal sleeve that is inserted into the wall, a fireproof barrier, and some type of insulation. The most important thing to consider when choosing a woodstove wall thimble kit is the size of the opening in your wall.
You will also want to make sure that the materials used in the kit are compatible with your stove.
8 Inch Wall Thimble for Wood Stove
If you have a wood stove, then you know that one of the most important parts of the installation process is finding the right wall thimble. The wall thimble is what allows the pipe to pass through the wall and connect to the chimney. There are different sizes of wall thimbles, but if you have an 8 inch wood stove, then you will need an 8 inch wall thimble.
There are a few things to keep in mind when choosing a wall thimble for your wood stove. First, you need to make sure that the thimble is made of fire-resistant material. This is important because it will help to protect your home in case of a fire.
Second, you need to make sure that the thimble fits snugly around the pipe. If it is too loose, then there could be gaps that allow heat and smoke to escape. Finally, you need to make sure that the thimble is properly sealed so that no air can leak out.
Installing a wall thimble for your wood stove is not difficult, but there are a few things that you need to do in order to ensure that it is done correctly. First, mark the spot on the outside of your house where the center of the pipe will go through. Then, drill a hole through this point and into your house at least 2 inches wider than the pipe itself.
Insulated Wall Thimble
An insulated wall thimble is a great way to create an airtight seal around your chimney. This will help to keep heat in and cold out, as well as preventing pests and animals from nesting inside your chimney. The insulation also helps to muffle noise from the outside, making it a more peaceful place to be.

Credit: www.rockfordchimneysupply.com
Do You Need a Wall Thimble for Wood Stove?
If you’re considering installing a wood stove in your home, you may be wondering if you need a wall thimble. The answer is that it depends on the type of installation you’re planning. If the wood stove will be vented through an existing chimney, then you won’t need a wall thimble.
However, if you’re planning a direct vent installation or an unvented installation, then you will need a wall thimble.
A wall thimble is basically just a metal sleeve that’s installed in an opening in an exterior wall. It provides support for the pipe that will carry fumes from the wood stove to the outside of the house.
Without a wall thimble, the pipe would just be sitting in the hole in the wall, which could eventually lead to problems like leaks or structural damage.
So, if you’re planning anything other than a standard chimney-vented wood stove installation, make sure to get a good quality wall thimble to provide support for your venting system.
Can You Put Wood Stove Pipe Through Wall?
If you are considering installing a wood stove in your home, you may be wondering if you can put the stove pipe through the wall. The answer is yes, you can put the stove pipe through the wall, but there are some things to consider before doing so.
One thing to consider is the type of wall you have.
If you have an exterior wall, it is much easier to install the stove pipe than if you have an interior wall. This is because exterior walls are typically made of brick or concrete, which are both very sturdy materials. Interior walls are usually made of drywall or plaster, which are not as strong and could potentially crumble if the weight of the stove pipe is too much for them.
Another thing to keep in mind is the clearance from any combustible materials. The National Fire Protection Agency (NFPA) requires that there be at least two feet of clearance between any flammable materials and the wood stove. This means that if your interior wall is made of drywall, you will need to create a two-foot space around the perimeter of where the stove pipe will go before installing it.
This can be done by putting up some studs or furring strips and then attaching drywall over top.
Finally, make sure that any openings in your walls (such as windows or doors) are properly sealed before installing the wood stove pipe. This will help to prevent any smoke or fumes from entering your home through those openings.
Installing a wood stove can be a great way to heat your home efficiently and safely. Just make sure to do your research first and follow all local building codes and regulations.
Can a Single Wall Stove Pipe Go Through a Wall?
A single wall stove pipe can go through a wall if the wall is made of non-combustible material, such as brick or stone. If the wall is made of combustible material, such as wood, the stove pipe must be surrounded by a non-combustible material, such as sheet metal.
How Do You Seal a Chimney Thimble?
A chimney thimble is a metal sleeve that is used to seal the opening of a chimney. The thimble is installed by inserting it into the opening of the chimney and then attaching it to the adjacent wall with screws. Sealing a chimney thimble will prevent drafts from coming through the opening and will also help to keep out pests and animals.
Conclusion
If you have a wood stove, you know how important it is to have a good thimble. Without one, your stove will not be able to function properly and could even be a fire hazard. Luckily, installing a wall thimble for your wood stove is not difficult and only takes a few minutes.
Here are the steps:
1. Choose the right size thimble. It should be big enough to fit around the chimney pipe but not so large that it leaves gaps.
2. Cut a hole in the wall where the thimble will go. The hole should be slightly smaller than the thimble itself.
3. Insert the thimble into the hole and secure it in place with screws or nails.
Make sure it is snug so that there are no gaps around it.
4. Install your wood stove according to the manufacturer’s instructions, being careful to connect the chimney pipe to the thimble correctly.