How to Hang Wood Sign on Wall
There are a few different ways that you can hang a wood sign on your wall. The most common way is to use nails or screws. You will want to make sure that the nails or screws are going into studs in the wall so that they can hold the weight of the sign.
Another option is to use velcro strips. You will want to apply the velcro strips to both the back of the sign and the wall so that it will stay in place.
- Decide where you want to hang your wood sign
- Use a level to make sure it is straight
- Measure the distance from the top of the sign to the hook or nails you will be using to hang it
- Transfer these measurements to the wall with a pencil so you know where to put your hooks or nails
- 5-6
- Hammer in your nails or screws (depending on what you are using) making sure they are going into studs if possible for extra support
How To Hang Wood Signs | Quick Tip Tuesday
How to Hang Wood on Wall Without Nails
Looking for a way to add a little bit of rustic charm to your home décor? Hanging wood on your walls is a great way to do it! But you may be wondering, how can you hang wood on your wall without nails?
Here are a few options for you to consider:
1. Use Adhesive Hooks
Adhesive hooks are a great option for hanging lighter pieces of wood on your wall.
Just make sure that the adhesive is strong enough to support the weight of the wood. We recommend using 3M Command strips or another similar product.
2. Use Screws and Wall Anchors
If you’re looking to hang something heavier, screws and wall anchors are the way to go. Simply screw the wall anchor into the drywall and then screw your screw into the wall anchor. This will give you a much more secure hold than an adhesive hook will provide.
3. Use Picture Hanging Hardware
You can also use picture hanging hardware to hang your wood piece on the wall. This option is best if you’re planning on hanging something really heavy, like a large piece of driftwood or reclaimed barnwood.
Just attach the hardware to the back of your wood piece and then follow the instructions that come with the hardware to hung it up on your wall.
4. Use Magnetic Strips
If you want an even easier way tohang lighter pieces of wood on your walls, try using magnetic strips!
Just adhere the strip to the back of your wood piece and then stick it up on any metal surface – like a fridge or filing cabinet – in your home office or kitchen space.
How to Hang Heavy Wood Sign on Wall
If you’re looking to add a rustic touch to your home décor, look no further than a heavy wood sign! But if you’re not sure how to go about hanging it on your wall, don’t worry – we’ve got you covered. Here’s everything you need to know about hanging a heavy wood sign on your wall:
First, find the studs in your wall using a stud finder. Once you’ve located the studs, mark them with pencil so you know where to drill your holes. Next, measure the width of your sign and mark the center point on each stud.
Then, using a drill and an appropriately sized bit, create pilot holes at each marked center point.
Now it’s time to hang your sign! Start by threading sturdy wire through the pilot holes (leaving enough slack at either end for attaching hooks).
Then secure the wire in place by screwing small eye hooks into the pilot holes. Finally, use S-hooks or J-hooks to hang your sign from the wire. And that’s it!
Hanging a heavy wood sign may seem like a daunting task, but following these simple steps will ensure that it’s done right – and that your sign looks great on display in your home.
How to Hang Wood on Wall
If you’re looking to add a rustic touch to your home décor, look no further than hanging wood on your walls! This simple DIY project can be completed in just a few easy steps.
First, select the piece of wood you wish to hang.
Make sure it is light enough that it can be easily mounted to the wall with nails or screws. Once you have your wood selection, sand down any rough edges and stain or paint the wood to your desired finish.
Next, mark where you will be attaching the hangers to the back of the wood.
Drill pilot holes into the marks and then screw in your hangers. Be sure that they are securely attached so that your wood will not fall off of the wall when hung.
Finally, use a level to make sure your wood is straight and then Hang It On The Wall!
You now have a beautiful new piece of wall décor that adds character and warmth to any room!
How to Hang a Sign With No Hooks
We all know how annoying it is when we can’t find the right tools to hang up a sign. Whether it’s a family reunion, wedding, or special event, not having the proper hooks can really put a damper on things. But don’t worry, there’s a hack for that!
With just a few common household items, you can easily hang your sign without any pesky hooks.
Here’s what you’ll need:
-Tape (we recommend duct tape or packing tape)
-Scissors
-String or twine
-A marker
-Your sign!
First, lay your sign flat on the ground and measure out how much string or twine you’ll need to each side. Cut two pieces of string/twine that are equal in length and use your marker to make a small dot at the center of each string, about an inch from the end.
Next, place your sign face down on a table or other flat surface. Take one piece of string and affix it to the back of the sign using tape. Make sure that the string is centered on the back of the sign before attaching it with tape.
Repeat this step with the other piece of string on the opposite side of the sign.
Once both strings are attached securely to the back of your sign, flip it over so that the front is facing up again. Find something to tie each string around – we like using doorknobs or chairs – making sure that both strings are tight but not too taught.
And there you have it! A perfectly hung sign without any hooks required.
How to Hang Wooden Sign Outside
If you’re looking to add a personal touch to your home’s exterior, consider hanging a wooden sign outside. Here’s how to do it:
1. Choose the right location for your sign.
You’ll want to pick a spot that’s visible from the street but also sheltered from the elements.
2. Drill holes in the top and bottom of your sign using a drill bit that’s slightly smaller than your screws.
3. Insert screw eyes into the holes and screw them in until they’re tight.
4. Run a length of wire through the screw eyes and knot it at each end. The wire should be long enough so that your sign can hang freely without touching the ground.
5. Hang your sign from its wire and enjoy!
How to Hang Signs on Wall
If you’re looking for a creative and cost-effective way to display signs in your business or office, consider hanging them on the wall. Wall-mounted signs are an eye-catching way to grab attention and convey information, and they’re easy to install and change out as needed. Here’s a step-by-step guide to hanging signs on walls:
1. Choose the right sign material. Depending on the look you’re going for and where the sign will be located, you’ll want to select a material that is durable and easy to clean. For indoor signs, foam core or PVC may be good options.
For outdoor signs, weatherproof materials like aluminum or polycarbonate are best.
2. Select the right adhesive. Again, depending on the location of the sign and the material it’s made from, you’ll need to choose an adhesive that can hold up over time without damaging the surface it’s applied to.
3M Command strips work well for most general applications, but there are also specialized adhesives available for specific materials or situations (like wet environments).
3. Hang your sign! Once you’ve decided on the perfect spot for your sign and chosen the right adhesive, all that’s left is to hang it up!
Make sure that you follow any instructions provided with your adhesive regarding how long it needs to set before applying pressure (usually around 24 hours). And voila – your new wall-mounted sign is ready to go!
How to Hang a Thin Wooden Sign
Hanging a thin wooden sign may seem like a daunting task, but with the proper tools and techniques, it can be easily accomplished. Here are the steps you need to take:
1. Choose the right location for your sign.
The ideal spot is one that is visible and free from obstructions. If you’re hanging your sign outdoors, make sure it’s in a protected area where it won’t be exposed to harsh weather conditions.
2. Mark the placement of your sign using a pencil or other marking tool.
This will help ensure that your sign is hung evenly.
3. Drill pilot holes into the wood at the top corners of your sign using a drill bit that is slightly smaller than the diameter of your screws. This will prevent the wood from splitting when you screw it into place later on.
4 . Insert screws into the pilot holes and tighten them until they’re snug against the wood (but not so tight that they strip out the holes). Use washers on both sides of each screw to distribute weight evenly and prevent pulling through over time .
5 . Hang your sign using picture hanging wire or another type of strong cord or string . Make sure that the wire or cord is attached securely to each screw , and then adjust as needed until your sign hangs level .
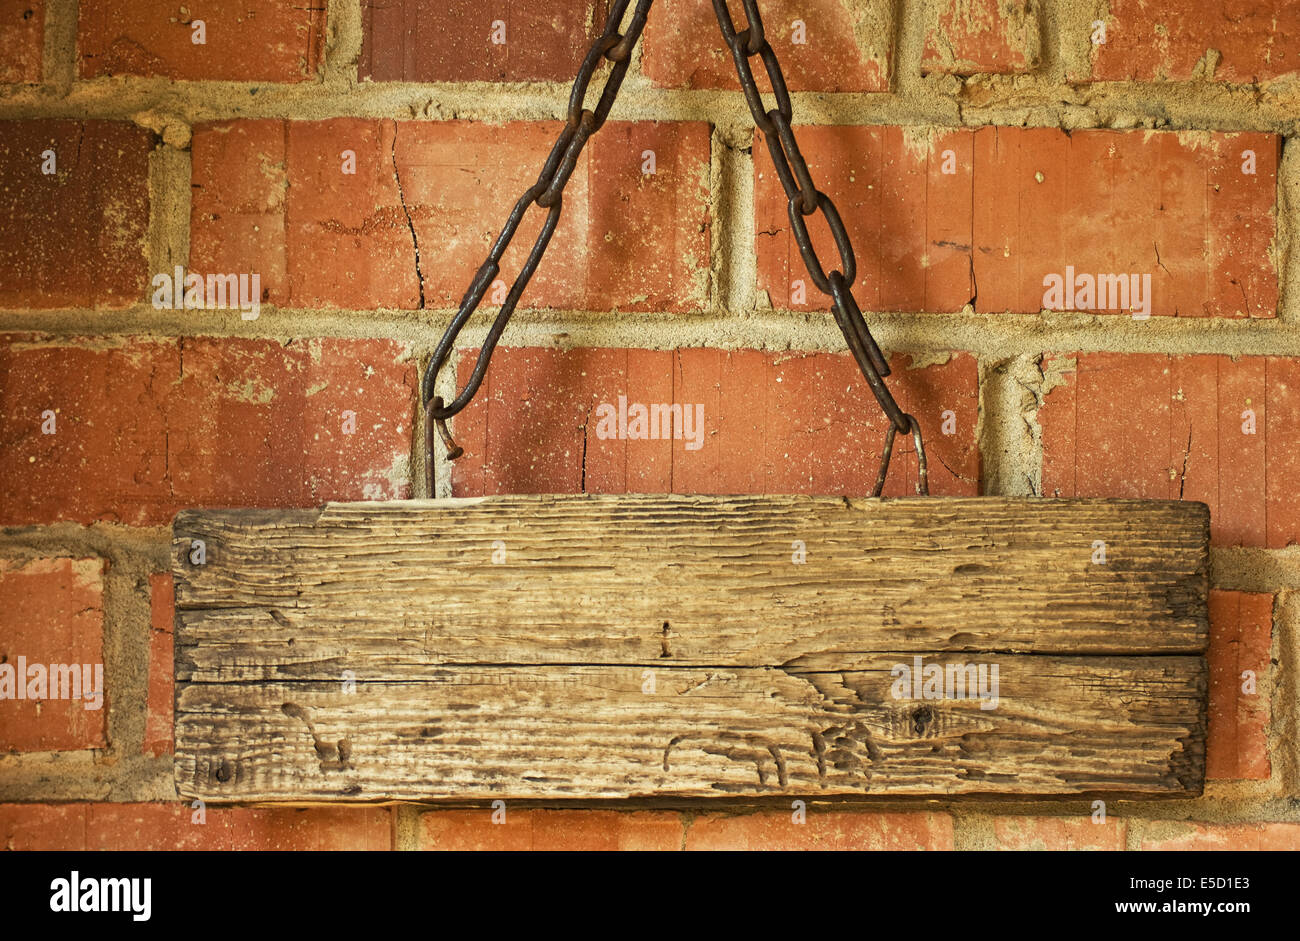
Credit: www.alamy.com
How Do You Hang Wood Signs Without Nails?
There are a few ways that you can hang wood signs without nails. You can use command strips, which are a type of adhesive strip that is designed for hanging things on walls without nails or screws. You can also use velcro strips, which work in a similar way.
Another option is to use small sawtooth hangers, which you can screw into the back of the sign. Whichever method you choose, make sure that the sign is securely attached to the wall so that it doesn’t fall and break.
How Do You Hang a Wooden Door Sign?
If you’re looking to add a personalized touch to your home décor, hanging a wooden door sign is a great way to do it! But if you’ve never done it before, the process might seem a bit daunting. Never fear – we’re here to help!
Here’s everything you need to know about how to hang a wooden door sign.
The first step is to gather your supplies. You’ll need the sign itself, of course, as well as some heavy-duty adhesive strips or mounting putty.
You may also want to use painter’s tape or masking tape to help keep things in place while you’re working.
Once you have your supplies, it’s time to get started! Begin by clean the surface on which you’ll be mounting the sign.
This will help the adhesive strips stick better and prevent any dirt or dust from getting trapped under the sign. Then, position the sign where you want it and use the tape to hold it in place.
Next, apply the adhesive strips or mounting putty according to their instructions.
Be sure to press them firmly into place so they make good contact with both the back of the sign and the surface on which it’s mounted. If using mounting putty, give it at least 24 hours to cure before moving on to the next step.
Now comes the fun part: decorating your new door sign!
Whether you opt for paint, markers, decals or anything else, let your creativity shine through! Once you’re finished embellishing your sign, all that’s left isto hang it up and enjoy!
How Do You Hang Thin Wood Signs?
There are a few ways that you can hang thin wood signs. The most common way is to use nails or screws. You can also use Command strips or Velcro to Hang your sign.
If you are using nails or screws, make sure that you predrill the holes for the hardware. This will prevent the wood from splitting when you insert the nail or screw. Start by holding the sign up to where you want to hang it and mark the wall with a pencil at each corner.
Then, remove the sign and measure how far apart your marks are. This measurement will be used to determine how wide your strip of wood needs to be in order for it to fit snugly between the two marks on the wall. Once you have your measurements, cut your strip of wood accordingly and then sand down any rough edges.
Now it’s time to add some hardware! For this method, we recommend using small finishing nails or screws with washers (for added stability). If you’re using screws, be sure not to overtighten them as this could cause the wood to crack.
Again, start by holding up your sign and lining up the top edge with one of your marked spots on the wall. Insert a nail or screw at each corner and then gently hammer or screw them in until they’re flush with the surface of the wood – being careful not go all the way through!
Now step back and admire your handiwork!
How Do You Hang a Wooden Sign With Rope?
There are a few different ways that you can hang a wooden sign with rope. The first option is to simply tie the rope around the sign. You’ll want to make sure that the knot is tight and secure so that the sign doesn’t fall.
Another option is to use eye hooks. First, screw the eye hooks into the top of the sign. Then, thread the rope through the eye hooks and tie it off.
This method is slightly more secure than tying the rope directly around the sign since it’s less likely for the rope to come loose from the eye hooks. Whichever method you choose, make sure that you measure out how much rope you’ll need before you get started so that your sign is hung at the perfect height!
Conclusion
In this post, the author gives a step-by-step guide on how to properly hang a wood sign on a wall. The author begins by outlining the tools needed for the job: a hammer, nails, and level. They then explain how to find the center of the sign and mark it with a pencil.
Next, they describe how to measure and mark where the nails will go into the wall. Finally, they provide instructions on how to hammer the nails into the wall and Hang Wood Sign.