How to Etch Wood
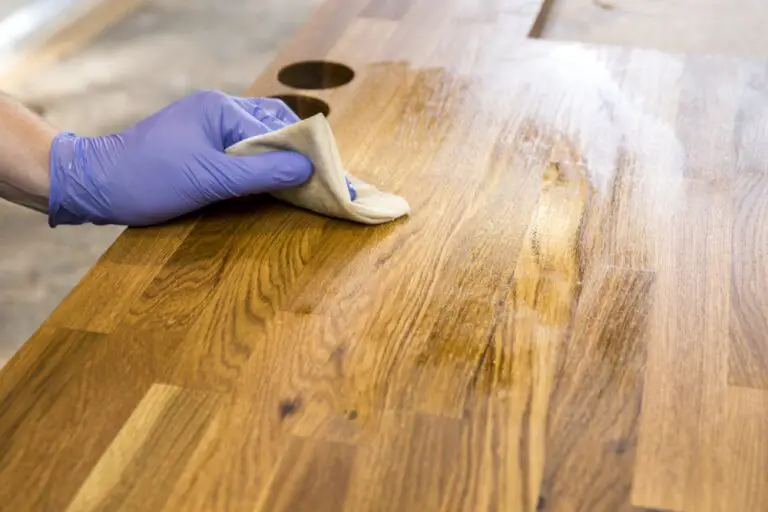
There are a few different ways that you can etch wood. The most common way is to use an etching cream or acid. You will need to apply the cream or acid to the wood with a brush and then let it sit for a few minutes.
After a few minutes, you will need to rinse the wood off with water.
- Gather your supplies
- You will need wood that is at least 3/4″ thick, a pencil, sandpaper, paint or a wood stain, a small paintbrush, and etching acid
- You can find etching acid online or at some hardware stores
- Sketch your design onto the wood with a pencil
- If you make a mistake, you can erase it with a bit of sandpaper
- Use the paintbrush to apply etching acid to the areas of the wood that you want to be etched
- The acid will eat away at the top layer of the wood, revealing the grain beneath
- Allow the acid to sit for 5-10 minutes before rinse it off with water
- Apply paint or stain to the etched area if desired

Credit: www.wikihow.com
How Do You Etch Letters into Wood?
There are a few ways that you can etch letters into wood. The first way is to use a stencil and paint over top of it. This will create a raised letter effect.
Another way is to use a router or engraving tool to carve the letters into the wood. This will create a more recessed look.
Can You Engrave Wood With a Dremel?
If you’re looking to add a personal touch to your woodworking projects, engraving is a great way to do it. And while you can certainly engrave wood by hand, using a Dremel tool makes the process much easier and faster.
Before we get started, it’s important to note that there are two different types of engraving: relief and intaglio.
Relief engraving is when the design is carved into the surface of the wood, while intaglio engraving is when the design is cut into the wood so that it’s recessed below the surface. For this project, we’ll be doing relief engraving.
Now let’s get started!
First, you’ll need to attach an engraving bit to your Dremel tool. Then, decide on the design you want to carve into the wood. If you’re not confident in your freehand drawing skills, try tracing out a simple design onto paper first and then transferring it onto the wood with carbon paper.
Once you have your design ready to go, start slowly carving into the wood following your lines. You can always go back and deepen or widen your cuts later if needed. Just take your time and be careful not to veer off course!
And that’s all there is to it!
What is Etching on Wood Called?
Etching on wood is a type of carving that uses acid to remove material from the surface of the wood. The process involves first creating a design on the wood using a pencil or other tool, then covering the design with an etching agent. The etching agent reacts with the wood to create a raised area around the design.
This raised area can then be carved away to create a 3D effect.
There are several different types of etching agents that can be used, each with its own advantages and disadvantages. One of the most popular etching agents is hydrochloric acid, which is relatively easy to find and use.
However, hydrochloric acid can be dangerous if not used properly, so it’s important to take precautions when working with it. Other common etching agents include nitric acid and sulphuric acid.
Etching on wood is a great way to add detail and depth to your carvings.
It’s also relatively easy to do, especially if you have experience working with acids. Just make sure you take proper safety precautions when handling any type of acidic substance!
How Do You Engrave Wood Without Burning It?
There are a few ways to engrave wood without burning it. One way is to use a Dremel tool with a ball-shaped tip. Another way is to use a router with an up-cut spiral bit.
Finally, you can also use a laser engraver.
Wood burning for beginners (pyrography) – how to get started
Etching Wood With Acid
Wood etching is a popular technique for adding decorative details to woodworking projects. The most common type of acid used for wood etching is hydrochloric acid, which is easily available and relatively safe to use. However, it’s important to take proper safety precautions when working with any type of acid.
When etching wood with hydrochloric acid, you’ll need to dilute the acid with water before applying it to the wood. The ratio of acid to water will depend on the strength of the acid and the desired effect. A 1:1 ratio of acid to water will produce a light etch, while a 1:3 ratio will produce a deeper etch.
Once you’ve diluted the acid, apply it to the area of the wood you want to etched using a brush or sponge. Allow the acid to sit on the surface for several minutes, then rinse it off with clean water. You may need to repeat this process multiple times to achieve the desired results.
If you’re not careful, hydrochloric acid can damage your skin and eyes. Always wear gloves and goggles when working with this substance. In addition, be sure to work in a well-ventilated area as the fumes from hydrochloric acid can be harmful if inhaled.
How to Etch Wood With Cricut
Etching wood with a Cricut machine is a great way to add personalization and detail to your projects. The process is simple and only requires a few materials. Here’s what you need to get started:
-Cricut machine
-Wooden plank or other piece of wood
-Vinyl stencil (you can create your own using the Cricut design software)
-Etching cream or spray paint
First, select the vinyl stencil you’d like to use and cut it out with your Cricut machine. If you’re creating your own design, be sure to mirror the image before cutting so that it will transfer correctly onto the wood.
Next, apply the stencil to the wood surface. Make sure it’s firmly adhered so that no etching cream or paint bleeds under the edges.
Now you’re ready to etch!
If using etching cream, apply it evenly over the entire stenciled area. Wait 10-15 minutes for the cream to work its magic, then rinse it off with water and remove the stencil. If using spray paint, simply apply evenly over the stenciled area and let dry completely before removing the stencil.
And that’s it! You now have a beautifully etched piece of wood ready for whatever project you have in mind!
Wood Etching Cream
Are you looking for a way to add some personalization to your woodworking projects? Wood etching cream is a great way to do just that! This type of cream allows you to create detailed designs and patterns on your wood pieces, without the need for expensive tools or complicated techniques.
So, what exactly is wood etching cream? It is a substance that contains hydrofluoric acid, which can etch away at the surface of wood (or other materials) when applied. This process will leave behind a smooth, engraved area that can be painted or stained if desired.
Etching cream is easy to use and relatively inexpensive, making it a great option for those new to woodworking or anyone on a budget. Plus, there’s no need to worry about making mistakes – simply wipe away any unwanted areas with a damp cloth and start again.
If you’re ready to get started with this fun technique, here’s what you’ll need:
-Wood etching cream (available at most hardware stores)
-A small paintbrush or toothpick for applying the cream
-Protective gloves and eyewear -A well-ventilated work area
Assuming you have all of the necessary supplies, let’s get started! Begin by putting on your gloves and eyewear, then find an appropriate work area – somewhere with good ventilation where you won’t be disturbed. Next, take a look at your piece of wood and decide what design you want to create.
Once you have an idea in mind, sketch it out lightly with pencil so that you have a guide to follow.
Now it’s time for the fun part: applying the etching cream! Using your paintbrush or toothpick, carefully apply the cream to your sketched design.
Be sure not to go outside of the lines! Depending on how thickly you apply the cream, it will take anywhere from 1-15 minutes for it to etch into the wood.
Once enough time has passed, head over to your sink and rinse off the excess cream with warm water. Gently dry your piece with a soft cloth; if desired,you can now proceedwith painting or stainingthe newly etched area(s). And there you have it –a beautiful customizedpiece of woodworkthat was created using nothing more than some simple household supplies!
How to Engrave Wood Without Tools
Are you looking for a unique way to personalize your wood projects? Engraving wood is a great way to add a special touch, and it doesn’t require any special tools! Just follow these simple steps and you’ll be able to engrave any design you like.
1. First, choose the design you want to engrave. You can either freehand it or print out a template. If you’re freehanding, sketch lightly with a pencil so you can erase any mistakes.
2. Once you have your design ready, place the piece of wood on a stable surface. If you’re using a power tool like a Dremel, make sure it’s securely clamped down.
3. Start engraving your design!
For best results, use consistent pressure and go slowly at first until you get the hang of it. If you’re using a power tool, avoid overheating the wood by taking breaks frequently.
4. When you’re finished, sand down the area to smooth out any rough edges and voila!
You’ve successfully engraved your own wood project without any fancy tools!
Conclusion
Etching wood is a simple process that can add interesting detail and visual interest to any woodworking project. There are a few different ways to etch wood, but the most common and simplest method is to use an electric etching tool.
To start, you’ll need to gather your supplies.
You’ll need some protective gloves, a respirator mask, and some safety goggles. You’ll also need a piece of wood that’s big enough to work with, and an electric etching tool. Once you have everything gathered, you can start working on prepping your workspace.
Clear off any flammable materials from your work area, and make sure there’s plenty of ventilation. Put on your safety gear, and then plug in your etching tool. Hold the tip of the tool against the wood surface, and move it around in small circles or back-and-forth motions until you’ve achieved the depth of etching you desire.
Once you’re happy with the results, unplug the tool and allow the wood to cool completely before handling it further. Etched wood makes for beautiful accents in furniture projects or standalone pieces – get creative and have fun!