How to Electrify Wood With Battery Charger
Are you looking for a unique way to add some extra flair to your woodworking projects? If so, then you may want to try electrifying your wood with a battery charger. This is a relatively simple process that can be done with just a few household tools.
Plus, it’s an inexpensive way to give your creations a one-of-a-kind look.
- Gather your supplies: a piece of wood, a battery charger, and alligator clips
- Clip one end of the alligator clip to the positive terminal of the battery charger, and the other end to the piece of wood
- Touch the negative terminal of the battery charger to the piece of wood
- You should see sparks and hear a sizzling sound as the electricity flows through the wood
- Remove the alligator clip from the negative terminal when you’re done electrifying the wood
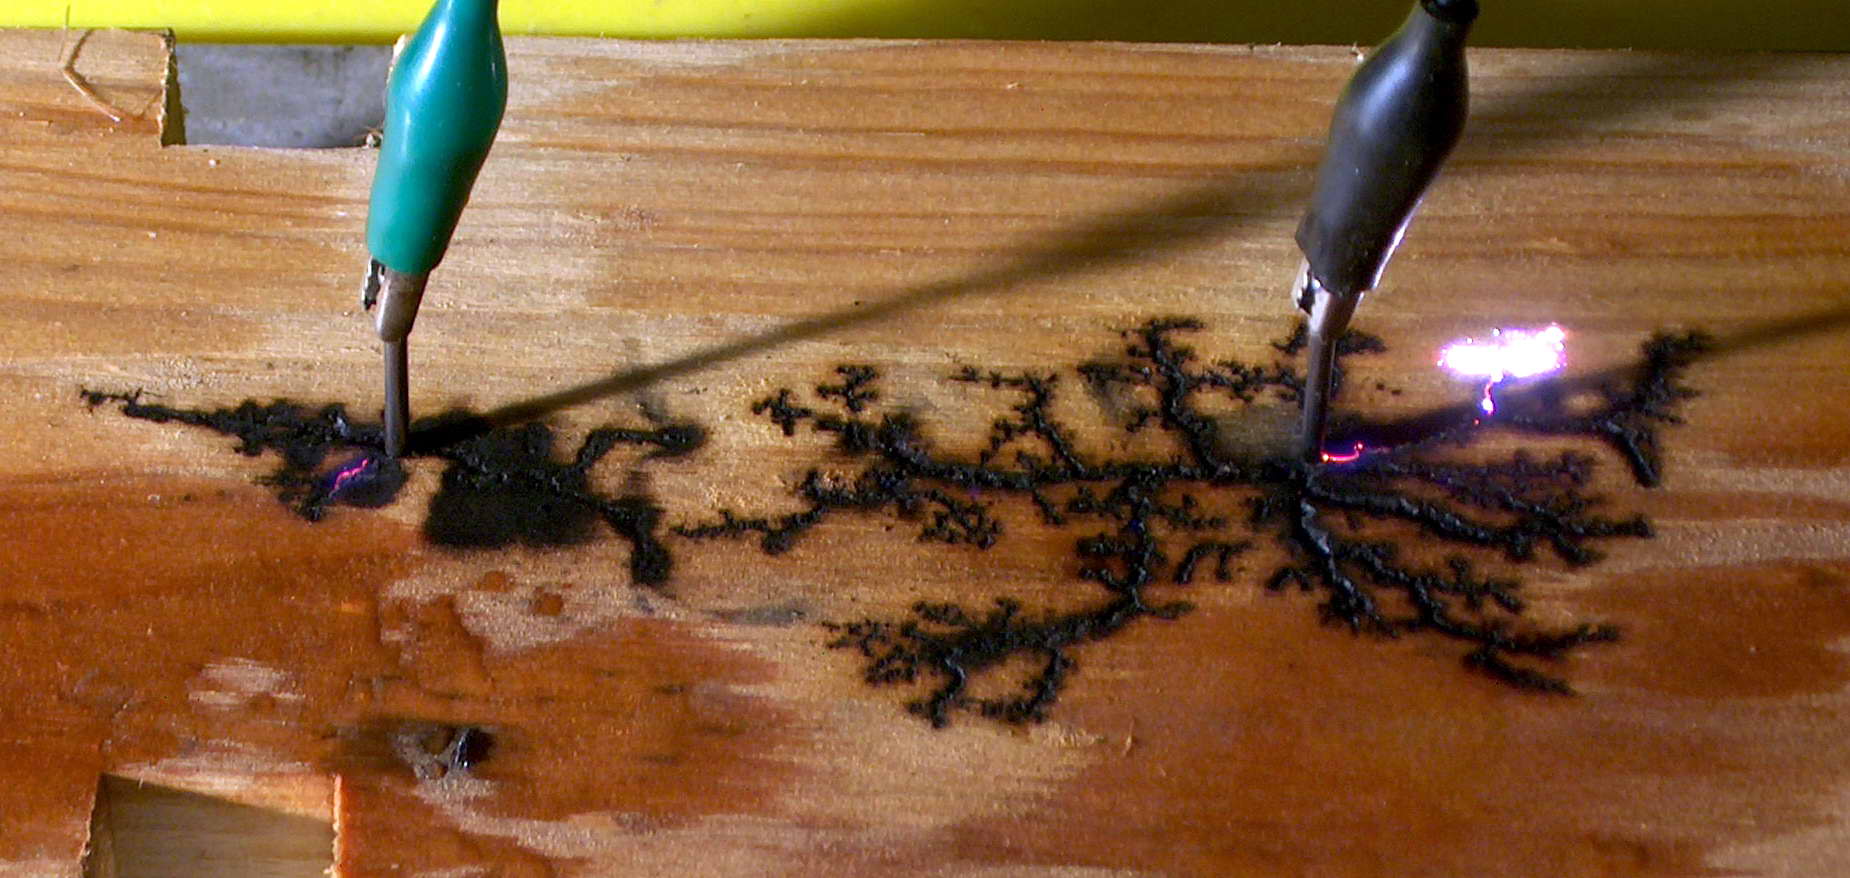
Lichtenberg Fractal Wood Burning
How to Electrify Wood With Car Battery
Do you have some wood that you want to electrify? Maybe you want to make a homemade battery powered electric fence. Or maybe you just want to shock your friends (not recommended).
Whatever your reasons, here’s how to electrify wood with a car battery.
You’ll need:
-A car battery
-Some jumper cables
-A piece of wood
-Something pointy (like a nail)
First, attach the positive (red) jumper cable to the positive terminal on the car battery. Then take the other end of the positive jumper cable and touch it to the nail. Now touch the negative (black) jumper cable to the negative terminal on the car battery.
Finally, touch the other end of the negative jumper cable to the piece of wood. If everything is hooked up correctly, when you touch the nail to the wood it should cause a spark and give you a little shock.
How to Electrify Wood at Home
Are you looking for a way to add a unique touch to your home décor? If so, you may want to consider electrifying wood. This process is relatively easy and can be done at home with just a few supplies.
What You’ll Need:
-Plywood
-Jigsaw
-Sandpaper (120 grit)
-Stain or paint (optional)
-High voltage power supply
Instructions:
1. Start by cutting your plywood into the desired shape using a jigsaw. If you’re not sure what design you want, there are plenty of templates available online.
Once your piece is cut out, sand the edges until they’re smooth.
2. Next, it’s time to stain or paint your wood if desired. This step is completely optional, but it can help give your finished product a more polished look.
Allow the stain or paint to dry completely before moving on to the next step.
3. Now it’s time to electrify! First, connect one end of your high voltage power supply to the positive terminal of your battery.
Then, touch the other end of the power supply to any metal object that will conduct electricity (such as a nail). Finally, touch the tip of the nail to any point on your plywood piece – this will complete the circuit and cause an electric current to flow through the wood, causing it to light up!
How to Electrify Wood With Microwave
If you’ve ever wanted to add a little bit of pizzazz to your woodworking projects, now you can with this handy guide on how to electrify wood with microwaves. This simple process uses the power of microwaves to create an electric current that can be used to power small devices or LEDs. You’ll need a few supplies before you get started, including:
-A block of wood
-A microwave-safe container filled with water
-A piece of metal (copper wire works well)
-An LED or other small device
To start, cut your block of wood into two pieces that are roughly the same size. Next, take your container of water and place it in the microwave.
Microwave the water for 2-3 minutes, or until it’s hot but not boiling. Carefully remove the container from the microwave and place one of your pieces of wood inside. Quickly cover the container so that the steam doesn’t escape.
After a minute or so, remove the lid and check on your piece of wood. If it’s significantly darker than when you started, it’s ready. If not, put the lid back on and give it another minute or two in the steam.
Once your piece of wood is darkened, carefully remove it from the container and set it aside to cool.
How to Electrify Wood With Welder
Are you interested in adding a unique touch to your woodworking projects? If so, you may want to try electrifying your wood. This process involves using a welder to add metal accents or embellishments to wood.
If you’ve never worked with a welder before, don’t worry – it’s not as difficult as it sounds. In fact, with a little practice, anyone can learn how to electrify wood with a welder. Here are the basic steps:
1. Choose the right type of welder for the job. If you’re only going to be working on small projects, a simple arc welder will suffice. For larger projects, however, you may need an oxy-acetylene torch setup.
2. Select the appropriate metal for your project. Thin gauge metals such as copper or aluminum work well for smaller projects, while thicker gauge metals like steel are better suited for larger pieces of furniture or decor.
3. Cut the metal into strips or shapes that will fit onto your wood piece.
You can use a jigsaw, bandsaw, or even tin snips to do this. Just make sure all of your cuts are straight and clean.
4 .
Weld the metal strips or shapes onto your wood piece using an arc welder set at low power . Start by tack welding each piece in place , then go back and weld along the entire length of each strip . Be sure to wear gloves and goggles when welding to protect yourself from sparks .
Credit: wooddad.com
Can You Wood Burn With a Battery Charger?
You can actually wood burn with a battery charger, but it’s not as easy as it sounds. You need to have the right kind of charger and the right type of wood. The process is pretty simple once you have those two things.
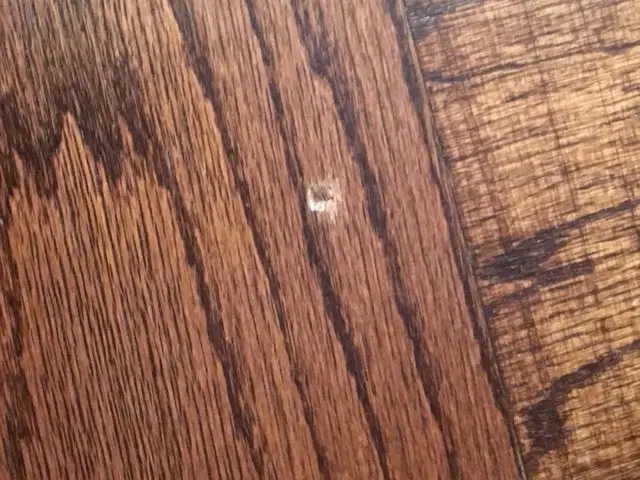
First, you’ll want to find a piece of wood that is dry and free of knots. Wet wood will not work for this project. Next, use a drill to make a hole in the center of the piece of wood.
The hole should be big enough to fit the prongs on your battery charger into. Once the hole is drilled, insert the prongs on your charger into the hole and turn on the power. The charge will cause the wood to heat up and start burning.
You can then use a pen or pencil to draw whatever design you want onto the wood. Just be careful not to touch the hot metal! When you’re finished, unplug the charger and let the wood cool before handling it.
How Many Volts Does It Take to Burn Wood?
It takes about 4,000 volts to burn wood. The voltage required to ignite wood depends on the type of wood, its moisture content, and how dry it is. For example, pine requires less voltage to ignite than oak.
Wetter woods require more voltage to ignite than drier woods.
How Do You Shock Electric Wood?
If you’re looking to add a bit of excitement to your woodworking, why not try shocking it with electricity? Electric wood is created by passing an electric current through wood that has been treated with a conductive solution. This process causes the wood to become harder and more resistant to wear and tear.
Additionally, the electrical shock gives the wood a unique grain pattern that can be quite visually striking.
To create your own electric wood, start by cutting a piece of untreated wood into the desired shape and size. Next, soak the piece of wood in a conductive solution for several hours or overnight.
Once the wood is fully saturated, carefully remove it from the solution and place it on a non-conductive surface.
How Do You Burn a Wood Pattern With Electricity?
If you want to burn a wood pattern with electricity, there are a few things you need to know. First, you need to find a piece of wood that is thick enough to withstand the heat of the electric current. You also need to make sure that the piece of wood is dry so that it doesn’t catch fire.
Finally, you need to choose an electrical current that is strong enough to burn the wood but not so strong that it will damage the wood.
To start, find a power source for your electric current. A household outlet will work fine.
Next, use sandpaper to roughen up the surface of the piece of wood. This will help the electrical current flow more evenly across the surface of the wood. Once the surface is roughed up, apply a conductive paint or pen onto the area where you want the design burned into the wood.
Make sure that there are no gaps in coverage; otherwise, your design may not come out as planned.
Now it’s time to connect your power source and begin burning your design into the wood! Start by slowly moving the tip of your electrode along the lines of your design.
If everything is working correctly, you should see smoke and sparks coming from where your electrode touches down on the paint/pen marks. Keep moving steadily along your design until it’s completely transferred onto the Wood surface!
Conclusion
In this blog post, the author explains how to electrify wood using a battery charger. First, the author describes how to build a simple circuit with a battery charger and two pieces of wood. Next, the author explains how to connect the circuit to the wood.
Finally, the author gives some tips on how to use the electrified wood.